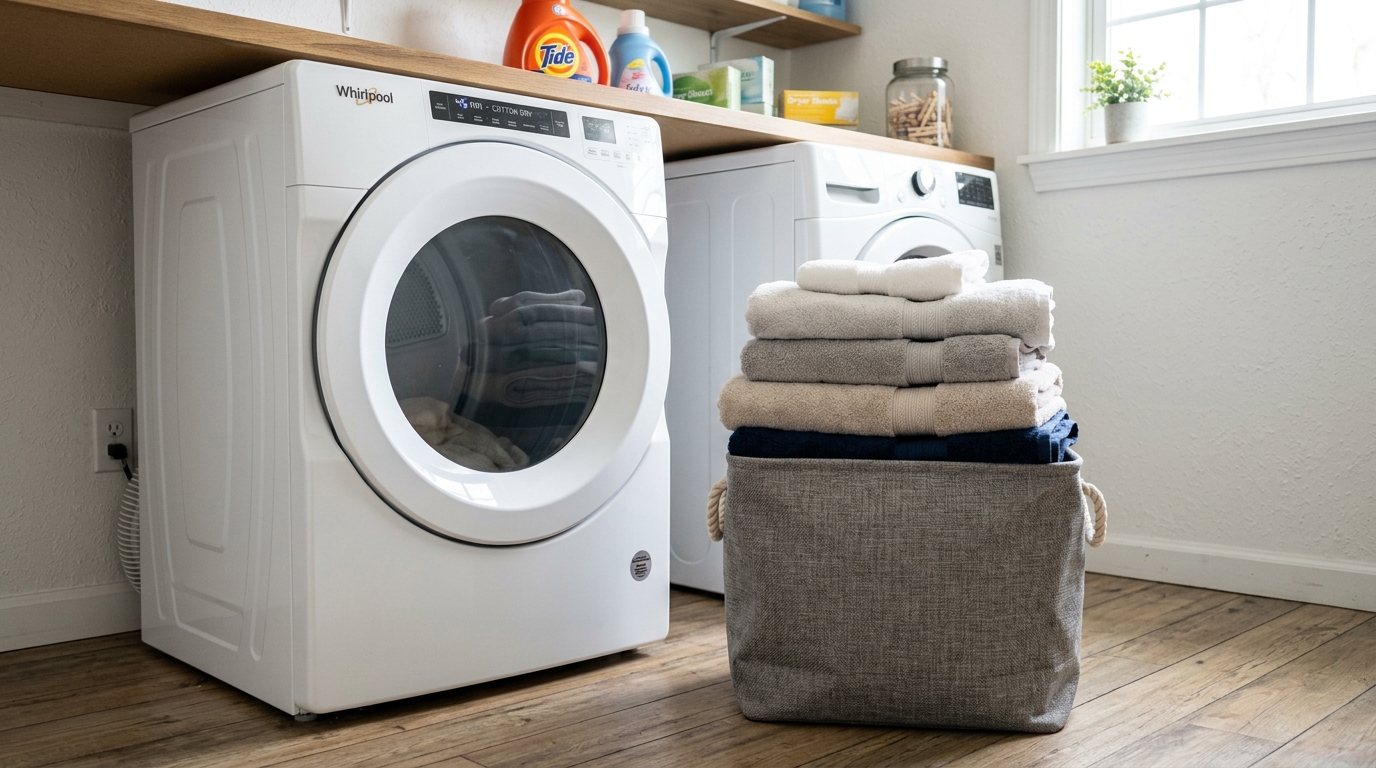
Electrolux Washing Machine E11 Error Code: Step-by-Step Fix
Required Tools for this Fix
- Pliers
- Bucket
Quick Summary Answer: Electrolux washer error code E11 indicates a “fill stage time out,” meaning your machine is taking too long to fill with water or is receiving no water flow at all. This issue is most commonly caused by fully or partially closed supply valves, kinked water inlet hoses, or clogged inlet filter screens. You can usually fix this problem by fully opening your water shut-off valves, straightening pinched fill hoses, and cleaning out sediment build-up from the water inlet mesh screens.
Electrolux front-load and top-load washers rely on strict internal timers during the start of every wash cycle. When you select a cycle and press start, the main control board opens the water inlet valves and monitors the tub’s water level using an electronic pressure sensor. If the machine fails to reach the targeted water level within eight to ten minutes, the control board halts the cycle and triggers the E11 error code to prevent pump damage or heating element burnout.
WARNING - ELECTRICAL AND WATER SAFETY: Always unplug your washing machine from the wall outlet and turn off both hot and cold water supply valves before performing any physical repairs or electrical testing. Working on energized appliances or under live water pressure can cause electric shock, severe injury, or property flooding. Always wear safety glasses and work gloves during diagnostics.
E11 Diagnostic Repair Overview
We created this quick-reference table to help you estimate the time, tools, and replacement costs associated with troubleshooting the E11 error code.
| Diagnostic Step | Est. Time | Tools Needed | Est. Cost |
|---|---|---|---|
| 1. Water Supply & Valve Check | 5 mins | Flashlight | $0 |
| 2. Hose Inspection | 5 mins | Flashlight, Towel | $0 - $20 |
| 3. Clean Screen Filters | 15 mins | Pliers, Bucket, Old Toothbrush | $0 - $10 |
| 4. Check Drain Line & Siphoning | 10 mins | Tape Measure | $0 - $15 |
| 5. Test Inlet Valve Solenoids | 20 mins | Multimeter, Screwdriver, Pliers | $0 - $45 |
| 6. Check Pressure Switch & Hose | 20 mins | Screwdriver, Pliers | $0 - $35 |
| 7. Control Board Diagnostics | 30 mins | Screwdriver, Multimeter | $0 - $180 |
Step-by-Step Diagnostic Testing Checklist
Before replacing expensive internal parts, work through this quick diagnostic checklist in order. We recommend starting with the easiest external checks first, as most fill issues stem from external water delivery problems.
- Step 1: Confirm that both home water supply valves behind the machine are turned fully counterclockwise to the open position.
- Step 2: Check both hot and cold water fill hoses for sharp bends, kinks, or crushing behind the cabinet.
- Step 3: Disconnect the fill hoses and clean out any sediment or mineral buildup on the water inlet valve screen filters.
- Step 4: Verify that your home water pressure meets the minimum requirement of 30 PSI at the wall spigots.
- Step 5: Ensure the drain hose is correctly installed and not pushed too far into the standpipe, which causes water siphoning.
- Step 6: Test the continuity and resistance of the water inlet valve solenoids using a digital multimeter.
- Step 7: Inspect the water level pressure sensor tube for blockages, kinks, or soap scum buildup.
Detailed Guide: How to Fix Electrolux Error Code E11
Step 1: Verify Water Supply and Home Shut-Off Valves
The most frequent culprit behind an E11 code is simply an interrupted water supply. Someone may have bumped the shut-off valves, or house main valves might have been turned down during recent plumbing work.
Start by pulling your washer slightly away from the wall to access the shut-off valves. Turn both the hot and cold water valves fully counterclockwise to guarantee they are completely open.
[Wall Supply Spigot] ---> [Water Fill Hose] ---> [Washer Inlet Mesh Filter] ---> [Inlet Valve Assembly]
If your home uses dual quarter-turn ball valves, make sure the handles are running parallel to the water lines. If the valves are fully open but water pressure seems low, turn off the valves, disconnect the hoses, and direct them into a bucket. Turn the valves on briefly to check for strong, consistent water pressure coming out of your home spigots.
Step 2: Inspect Water Fill Hoses for Kinks or Pinches
Modern washing machines require high water flow rates to satisfy internal fill timers. If the flexible rubber or braided stainless steel hoses behind the machine are pinched, water flow will drop below required thresholds.
Inspect the entire length of both fill hoses from the wall valve connections to the back of the washer. Look for tight bends, severe twists, or areas where the washer was pushed back too far, flattening the hose against the drywall.
INSPECT HOSES:
CORRECT:   [Spigot] ==================== [Washer] (Smooth curve)
INCORRECT: [Spigot] ========\  /======== [Washer] (Sharp kink/flattened)
                             \/
Straighten out any kinks and pull the machine forward enough to allow a smooth, gradual bend in the hoses. Additionally, check if you are using specialized “auto-shutoff” safety flood-prevention hoses. These specific hoses contain internal mechanical check valves that can accidentally trip and lock shut, choking off water flow and triggering the E11 code.
Step 3: Clean the Water Inlet Valve Screen Filters
Every Electrolux washing machine features small mesh filter screens embedded directly inside the water inlet valve ports on the back of the appliance. Over time, rust, sand, municipal sediment, and hard water minerals accumulate on these screens, completely blocking water entry.
                  +--------------------------------+
                  |  INLET VALVE PORT (Back View)  |
                  |                                |
                  |   +------------------------+   |
                  |   |   [Mesh Filter Screen] |   | <--- Clean sediment here
                  |   |    :: :: :: :: :: ::   |   |
                  |   +------------------------+   |
                  +--------------------------------+
First, shut off both water supply valves at the wall and unplug the washer from the wall outlet. Place a bucket or towel under the hose connections on the back of the machine to catch residual water, then unscrew the hoses.
Look inside the inlet ports where the hoses were attached; you will see small plastic or metal wire mesh screens. Use a pair of needle-nose pliers to gently pull the screens out of the valve ports.
PLIERS REMOVAL TECHNIQUE:
1. Grip center plastic tab of mesh screen with needle-nose pliers.
2. Pull straight out firmly (do not twist or pry).
3. Flush screen under sink running water while scrubbing with an old toothbrush.
Scrub the screens under warm running water using an old toothbrush to remove trapped debris and scale. If hard water lime scale is present, soak the screens in pure white vinegar for 15 minutes before reinstalling them. Push the clean mesh screens firmly back into the inlet ports, reconnect the hoses, turn on the water valves, and test the machine for leaks.
Step 4: Fix Drain Hose Height and Prevent Siphoning
A surprisingly common cause of an E11 code is water siphoning right back out of the washer while it tries to fill. If water leaves the wash tub at the same rate it enters, the internal water level will never rise, causing the control board timer to run out.
Siphoning happens when the drain hose is pushed too far down into your home standpipe or when the standpipe height is too low. The standpipe must be at least 24 inches high from the floor, but no higher than 96 inches.
SIPHONING PROBLEM:                 CORRECT INSTALLATION:

   [Standpipe]                        [Standpipe]
     |   ||                             |   ||
     |   || <-- Drain hose pushed       |   || <-- Zip-tie hose loosely
     |  /  \    too far down            |  /  \    Use anti-siphon clip
     | |    |   creates a siphon        | |    |   Maintain air gap!
     | |~~~~|                           | |    |
     | |~~~~|                           | |====| <-- Min 24" high
Make sure the drain hose extends no more than 5 to 7 inches down into the drain pipe. Use the factory plastic U-shaped hose guide to hold the drain hose at the proper angle without taping or sealing the pipe connection airtight. An airtight seal around the standpipe destroys the air gap and creates a vacuum siphon, pulling water straight out of the tub during fill cycles.
Step 5: Test the Water Inlet Valve Assembly with a Multimeter
If water supply, hoses, and screens are all clear, the issue is likely electrical or mechanical within the water inlet valve assembly. Electrolux washers typically use a dual or triple-solenoid valve assembly that electrically opens internal diaphragms when supplied with 120 volts AC from the control board.
Unplug the washing machine from the wall power outlet before opening the cabinet. Remove the top panel of the washer by removing the rear retaining screws and sliding the panel back and off.
Locate the inlet valve assembly directly where the fill hoses attach to the back panel inside the cabinet. Disconnect the wire harness connectors from each solenoid coil on the valve assembly.
       SOLENOID COIL MULTIMETER TESTING

         [ Digital Multimeter ]
         [      2.50 kΩ       ]
                /        \
               /          \
              (Probe)    (Probe)
                 |          |
                 v          v
              +----------------+
              | [T1]      [T2] |  <-- Solenoid Terminals
              |   Valve Coil   |
              +----------------+
Set your digital multimeter to the Ohms (Ω) setting (or 20k Ohms scale). Place one meter probe on terminal 1 and the second probe on terminal 2 of each individual solenoid coil.
A healthy, functioning solenoid coil should show a resistance reading between 2,000 and 4,000 ohms (2.0kΩ to 4.0kΩ). If your multimeter displays “OL” (Open Loop) or zero resistance, the solenoid coil has burned out and the complete water inlet valve assembly must be replaced.
Step 6: Inspect the Pressure Switch and Air Transducer Tube
The water level pressure switch (or pressure transducer) tells the main control board how much water is inside the wash tub. It calculates water depth by measuring air pressure built up in a small vinyl tube attached to the bottom of the outer tub.
If this clear or semi-opaque vinyl pressure tube becomes clogged with detergent residue, lint, or mineral deposits, air pressure cannot reach the sensor. Furthermore, if the tube develops a tiny pinhole, air escapes, meaning the sensor never detects rising water levels.
Pressure Switch / Transducer Assembly:
[Pressure Sensor Switch] <--- (Top of cabinet)
       |
       | [Clear Vinyl Air Hose]
       |
       +---> [Air Trap Chamber] <--- (Attached to bottom outer tub)
Locate the pressure switch mounted near the top perimeter of the washer frame inside the upper cabinet. Carefully squeeze the metal wire clamp and pull the thin vinyl hose off the bottom nipple of the pressure switch.
Inspect the hose carefully for cracks, chafing, or trapped water and detergent sludge. Disconnect the hose at the lower tub air trap as well, and blow firmly through the tube to clear out any internal blockage.
If you feel heavy resistance or cannot blow air through the tube, clear the blockage or replace the air hose entirely. Inspect the pressure switch body for cracks, burn marks, or moisture ingress before reassembling the component.
Step 7: Inspect Control Board Wire Harnesses and Relays
If the inlet valve tests good with your multimeter, the pressure switch tube is clean, and water pressure is strong, the primary control board may be failing to supply voltage to the valve coils.
Unplug the appliance and locate the main control board assembly, usually housed inside a plastic casing along the front or upper internal wall of the machine. Inspect all multi-pin harness plugs connected to the main board.
CONTROL BOARD HARNESS CHECK:
1. Visually check for scorched or blackened relay components.
2. Ensure harness connectors are fully locked into board headers.
3. Inspect wiring harness for pinched or broken wires along the frame.
Look for loose wires, backed-out terminal pins, or signs of moisture corrosion on the board trace pins. Check for blackened or melted plastic components near the power output relays on the board circuit path.
If your inlet valve solenoids test perfectly and all physical water supplies are confirmed, but 120VAC is never sent to the inlet valves during a start cycle, the main control board relay circuit has failed and requires replacement.
Technical Specifications & Diagnostic Measurements
To assist DIYers in accurate electrical testing, use these standard electrical baseline measurements for modern Electrolux washers:
ELECTRICAL SPECIFICATIONS REFERENCE:
- Rated Input Voltage: 120 Volts AC, 60 Hz
- Water Inlet Valve Coil Resistance: 2,000 Ω to 4,000 Ω (at 70°F / 21°C)
- Required Dynamic Water Pressure: 30 PSI to 120 PSI
- Max Fill Stage Time Allotment: 8 to 10 Minutes total
- Pressure Transducer Reference Voltage: 5 Volts DC (from main board)
Preventative Maintenance: How to Prevent E11 Errors
Once you have resolved your E11 error, implementing a few standard maintenance procedures will keep your washer running smoothly and prevent recurring fill problems.
- Flush Water Lines Annually: Turn off supply valves once per year, disconnect fill hoses, and flush line sediment out into a bucket.
- Avoid Auto-Shutoff Flood Safety Hoses: Use high-grade braided stainless steel fill hoses without internal mechanical check valves, as safety check valves often trip prematurely under high water pressure fluctuations.
- Clean Inlet Screens Every 6 Months: Set a calendar reminder to clean out hard water deposits from the rear inlet valve screens twice per year.
- Use High-Efficiency (HE) Detergent Correctly: Excessive detergent creates heavy oversudsing, which can choke the pressure sensor air tube and trigger false fill-timeout codes.
- Inspect Rubber Hoses for Aging: Replace standard rubber fill hoses every three to five years to prevent internal hose wall delamination, which restricts internal water flow.
Frequently Asked Questions (FAQ)
1. Can low home water pressure trigger an E11 code?
Yes, low water pressure frequently triggers the E11 error code. Electrolux washing machines require a continuous flow pressure of at least 30 PSI to satisfy fill timers. If your home has low water pressure, well pump issues, or multiple plumbing fixtures running simultaneously, the machine will fail to reach the necessary water level within the 8 to 10-minute target window.
2. How do I clear or reset the E11 code on my Electrolux washer?
You can perform a hard power reset by unplugging the washing machine from the wall outlet for at least five full minutes. While the unit is unplugged, press and hold the POWER/START button for 10 seconds to dissipate remaining stored capacitive energy on the main control board. Plug the washer back into the wall outlet; if the underlying physical issue is corrected, the code will be cleared.
3. Why is my washer filling with cold water but giving an E11 code on hot water cycles?
This pattern points directly to a problem on the hot water delivery line specifically. Check that your hot water supply valve at the wall is turned completely open and that your hot water heater is operating normally. If the supply is fine, the hot water solenoid coil inside the water inlet valve assembly has likely failed electrically or mechanically and needs replacement.
4. What is the difference between error code E11 and error code E13?
While both codes relate to water level issues, code E11 specifically means the machine took too long to fill with water (fill stage time out). Error code E13, on the other hand, indicates that the main control board detected an internal water leak or an unexpected drop in tub water levels during the wash cycle.
5. Do anti-flood auto-shutoff hoses cause E11 codes on Electrolux washers?
Yes, specialized flood-safe fill hoses are a common cause of false E11 errors. These hoses contain an internal spring-loaded check valve designed to snap shut if high flow rate surges occur. The rapid opening of your washer’s internal solenoid valves can inadvertently trip these check valves, shutting off water flow instantly and triggering an E11 code.
Practical Troubleshooting Workflow Diagram
Follow this simplified visual flow chart to guide your repair path step-by-step:
                  [E11 Code Appears on Screen]
                               |
                               v
               [Check Wall Shut-Off Valves]
                       /               \
            (Valves Closed)          (Valves Fully Open)
                 /                           \
         [Open Valves Fully]                  v
         [Test Washer Cycle]         [Inspect Fill Hoses]
                                       /             \
                              (Hose Kinked)        (Hose Straight)
                                   /                         \
                          [Straighten Hose]                   v
                          [Test Washer Cycle]     [Clean Valve Mesh Screens]
                                                              |
                                                              v
                                                  [Test Valve Solenoids]
                                                   /                  \
                                            (Failed Ohms)         (Passed Ohms)
                                                 /                      \
                                        [Replace Inlet Valve]     [Inspect Pressure Tube]
Diagnostic Summary and Final Recommendations
Fixing an Electrolux E11 error code is a straightforward repair that most homeowners can complete without calling a professional. By working systematically through the supply valves, fill hoses, mesh filter screens, and solenoid coils, you can quickly identify the exact point of restriction.
We suggest double-checking all water connections for drips or small leaks before pushing your washing machine back into its final position against the wall. Ensure you leave at least three to four inches of clearance behind the unit to avoid crushing your fill hoses or bending the drain line. If you complete all testing steps and your machine still displays an E11 code despite proper electrical readings and strong water flow, have a licensed appliance specialist evaluate the electronic control board.
Safety Precaution Notice
Before proceeding with any repair checklist: Always unplug the appliance from its electrical socket and turn off shutoff valves for incoming water (for washers and dishwashers). Discharge capacitors if working on motors.