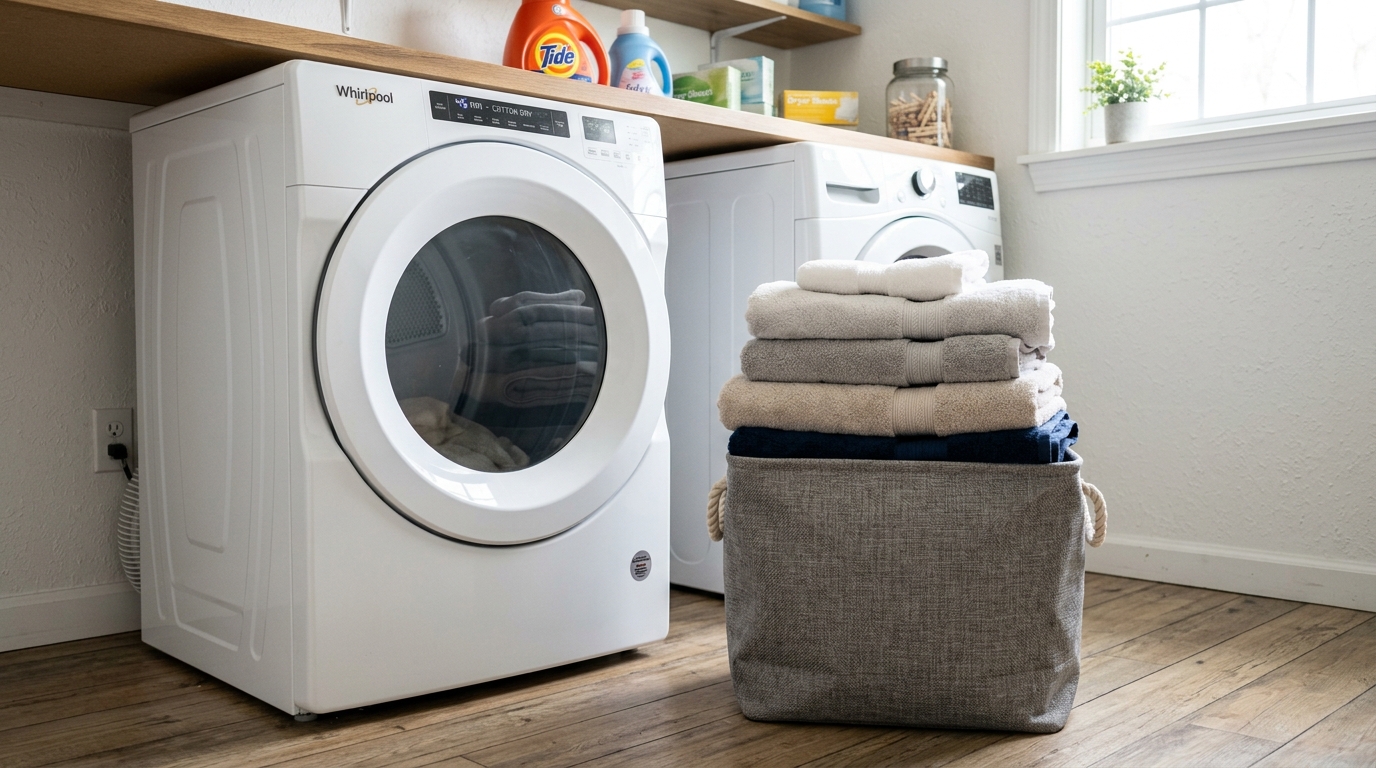
GE Clothes Dryer E61 Error Code: Step-by-Step Fix
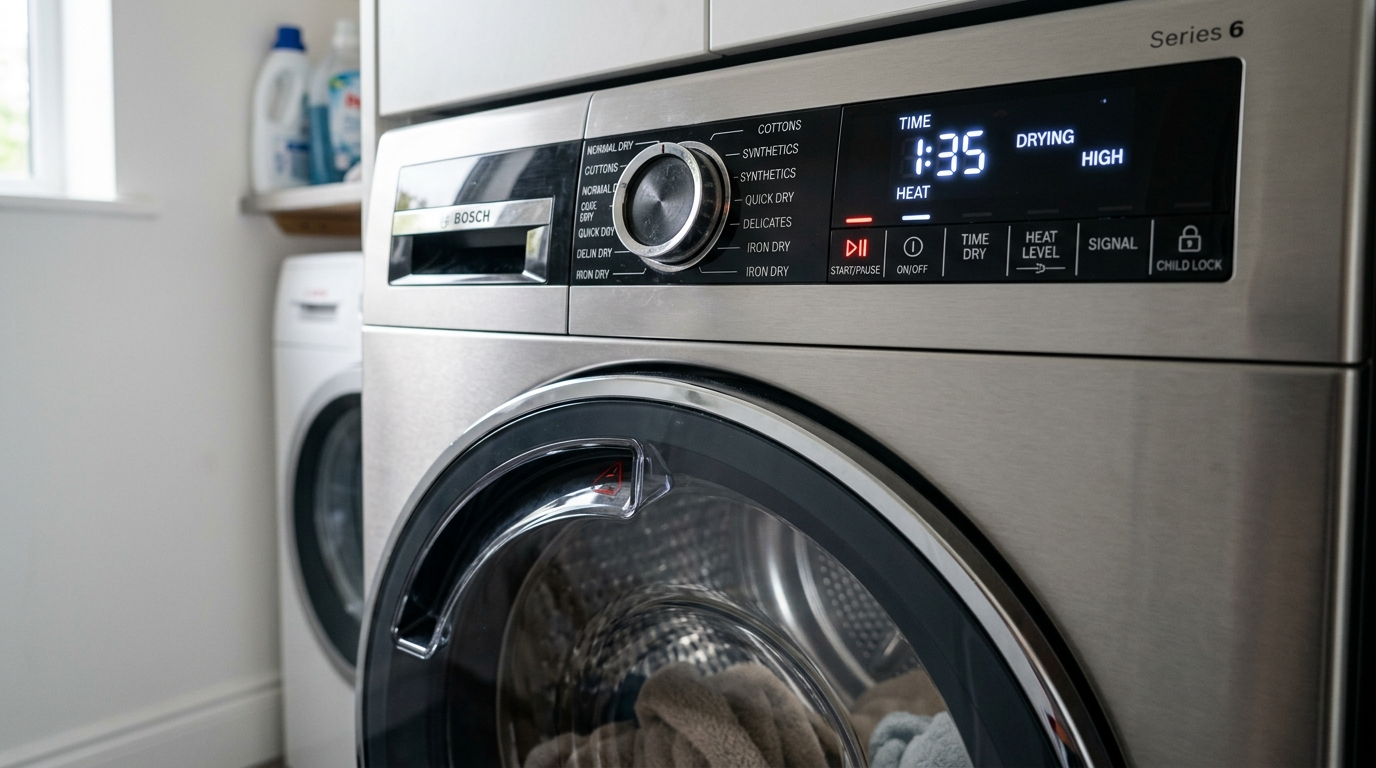
Required Tools for this Fix
- Screwdriver
- Multimeter
Quick Summary Answer: The GE dryer error code E61 indicates a heater safety high limit trip, meaning the high-limit thermostat on the heater assembly opened because operating temperatures exceeded safe design limits (typically 200°F–220°F). The primary cause is choked exhaust airflow from lint buildup, followed closely by a heating element coil that has shorted to ground and heats continuously. To resolve it, disconnect power, clean the exhaust venting system from the dryer to the exterior wall cap, and use a multimeter to check the high-limit switch and heating coils for electrical continuity.
WARNING: ELECTRICAL HAZARD
Electric dryers operate on a high-voltage 240-volt circuit that can cause severe shock or electrocution. Always unplug the dryer power cord from the wall outlet or trip both dedicated circuit breakers in your main electrical panel before removing any service panels. Never attempt component testing with the dryer connected to live power unless specifically directed to run a live diagnostic mode. Sheet metal edges inside dryer cabinets are razor-sharp; always wear cut-resistant gloves during disassembly.
What Does the GE Dryer E61 Error Code Mean?
Modern GE electronic dryers continuously monitor thermal performance through a network of sensors and safety switches. Error code E61 registers when the main control board detects that the heater safety high-limit thermostat has tripped open during a cycle.
This high-limit thermostat serves as an emergency thermal shutoff mounted directly onto the heating element chamber. Under normal operating conditions, the thermistor at the blower housing regulates operating temperatures by cycling the heating element on and off. If exhaust air cannot escape, heat rapidly concentrates inside the element box.
When temperature limits cross the safe threshold, the internal bimetal disc of the high-limit thermostat snaps open. This mechanical action physically breaks the circuit supplying electrical current to the heater element coils. The control board monitors the line voltage drops across these safeties and immediately halts the cycle, displaying the E61 fault to protect your home from a potential lint fire.
Common Symptoms Accompanying Code E61
- Mid-Cycle Shutdown: The dryer runs for 5 to 15 minutes, stops unexpectedly, and flashes E61 on the digital control console.
- Tumbling With No Heat: The drum rotates and the blower fan runs, but the air inside stays completely room temperature.
- Excessively Hot Cabinet: The top panel and right side of the dryer feel blistering hot to the touch just before the unit shuts down.
- Extended Dry Times: Clothes require two or three consecutive cycles to dry completely before the error code permanently trips.
- Burning Odor: A distinct scorched-lint smell emits from the drum or around the back panel of the appliance.
E61 Diagnostic Overview
| Diagnostic Step | Est. Time | Tools Needed | Est. DIY Cost |
|---|---|---|---|
| 1. Vent System Inspection | 20–30 mins | Drill, vent cleaning brush, vacuum | $0 – $25 |
| 2. High-Limit Thermostat Continuity | 15–20 mins | 1/4” nut driver, digital multimeter | $0 (Replacement: $15–$35) |
| 3. Heating Element Ground Test | 15 mins | Digital multimeter, work gloves | $0 (Replacement: $45–$95) |
| 4. Blower Wheel & Airflow Path Check | 25–40 mins | Screwdrivers, shop vacuum | $0 (Replacement: $20–$40) |
| 5. Control Board Relay Verification | 15 mins | Multimeter, Phillips screwdriver | $0 (Replacement: $120–$250) |
Primary Root Causes of Code E61
1. Restricted Venting and Lint Blockages
Over 80 percent of E61 error codes stem directly from restricted exhaust ductwork. When lint chokes the transition duct or the exterior wall termination damper, the high-volume air stream stops moving. Heat produced by the 5,000-watt electric element has nowhere to go, instantly tripping the safety high-limit switch.
2. Grounded Heating Element
A heating coil can sag or crack over time and touch the metal housing of the heater assembly. This creates a short circuit to ground that bypasses the control board’s cycling relays. The element stays energized non-stop at full wattage whenever the motor runs, overheating the chamber until the safety switch cuts out.
3. Weakened High-Limit Thermostat
Thermostats rely on internal bimetal contact discs that weaken after hundreds of expansion and contraction cycles. A degraded thermostat will begin tripping at significantly lower temperatures than its factory rating. In this state, the switch trips and triggers code E61 even when the dryer airflow is completely normal.
4. Malfunctioning Main Control Board Relay
The electronic control board houses small relays that toggle electrical line voltage to the heating element. If these relay contact points weld together from electrical arcing, the board can no longer shut off the heat. Temperatures spike out of control inside the cabinet, which forces the high-limit thermostat to trip.
Tools and Materials Required for the Repair
We suggest gathering your tools before opening the machine to streamline the repair process.
- Digital Multimeter: Capable of measuring resistance (ohms) and continuity with an audible beep.
- Nut Drivers: 1/4-inch and 5/16-inch magnetic drivers are standard for GE cabinet screws.
- Phillips Screwdriver: Size #2 for control console and bracket fasteners.
- Putty Knife: A flat, stiff blade to release spring clips beneath the top lid.
- Dryer Duct Cleaning Kit: A flexible drill-powered rotary brush and shop vacuum.
- Personal Protective Gear: Cut-resistant gloves and safety glasses.
Step-by-Step Diagnostic and Repair Checklist
Follow this systematic testing sequence to isolate the exact component failure causing code E61.
[ ] Step 1: Perform a Hard Power Reset
[ ] Step 2: Clear and Inspect the Entire Exhaust Run
[ ] Step 3: Inspect the Internal Lint Trap & Blower Housing
[ ] Step 4: Access the Heater Housing Assembly
[ ] Step 5: Test the High-Limit Thermostat with a Multimeter
[ ] Step 6: Test the Heating Element for Continuity and Ground Shorts
[ ] Step 7: Test the Inlet and Outlet Control Thermistors
[ ] Step 8: Verify Control Board Heater Relay Operation
Step 1: Perform a Hard Power Reset
Sometimes temporary power surges or brief thermal blips store an error code in the system memory.
Unplug the dryer power cord from the wall outlet completely. Leave the unit unpowered for a full 10 minutes to allow the control board capacitors to discharge completely.
Plug the power cord back into the receptacle and run a 10-minute Timed Dry cycle on high heat. If code E61 reappears immediately, proceed to physical diagnostics.
Step 2: Clear and Inspect the Entire Exhaust Run
Restricted air movement is the single most common culprit behind high-limit trips.
Disconnect the flexible transition duct from the back of the dryer. Look inside the pipe using a flashlight to identify dense lint plugs, bird nests, or crushed sections of flexible pipe.
Inspect the exterior vent hood on the outside of your home. Ensure the exterior flapper moves freely and is not stuck shut with lint, paint, or outdoor debris.
Run an expandable rotary vent brush through the entire length of the wall pipe while running a leaf blower or vacuum. Never use ribbed plastic or thin foil accordion ducting; replace non-rigid ducting with smooth-walled, rigid metal pipe.
[Dryer Air Exhaust Path]
Dryer Blower ---> Transition Hose ---> Wall Ducting ---> Exterior Flapper
      ^
      |-- Check for kinks here!       |-- Brush clean!   |-- Verify opens fully!
Step 3: Inspect the Internal Lint Trap & Blower Housing
A clean vent pipe helps very little if internal airflow cannot reach the exhaust port.
Pull the lint screen out from the door opening and shine a flashlight down into the chute. You will frequently find a dense layer of compacted lint blocking the entrance to the blower housing.
Remove the retaining screws holding the lint chute cover in place and pull out any trapped debris by hand or vacuum. Wash the lint screen under hot water using a soft nylon brush to remove invisible fabric softener residue films.
Spin the drum manually to verify that the internal blower wheel turns smoothly with the drum shaft. A cracked or stripped blower wheel will fail to generate sufficient cubic feet per minute (CFM) of air velocity, causing rapid heat build-up.
Step 4: Access the Heater Housing Assembly
To test the heating elements and high-limit sensors, you must open the dryer cabinet.
Ensure the dryer is completely unplugged from the wall. On most modern GE front-load matching models, remove the top panel screws located behind the console or along the back edge.
Slide the top panel backward and lift it off the chassis. Remove the screws securing the front control panel, unplug the wire harness connectors, and set the console safely aside.
On rear-serviceable models, turn the dryer around and remove the perimeter 1/4-inch hex screws securing the rear metal access panel. The heater housing is a long, silver galvanized metal duct located on the right-hand side of the interior base.
       +-------------------------------+
       |       [ Dryer Cabinet ]       |
       |                               |
       |   +-------+       +-------+   |
       |   | Drum  |       |Heater |   |
       |   |       |       |Duct   |   |
       |   |       |       | [S2]  |   | <-- High-Limit Thermostat (Top)
       |   |       |       | [S1]  |   | <-- Thermal Cut-Off Fuse (Middle)
       |   |       |       | [===] |   | <-- Heating Element Coils (Inside)
       |   +-------+       +-------+   |
       +-------------------------------+
Step 5: Test the High-Limit Thermostat with a Multimeter
The high-limit thermostat is mounted directly on the upper bracket of the heater housing duct. It features two terminal posts with heavy-gauge wires attached.
Label and disconnect both wire slip-connectors from the thermostat terminals to isolate the switch from the circuit. Never test components while they are connected to internal wiring harnesses; feedback loops will yield false readings.
Turn your digital multimeter dial to the lowest resistance setting (Ohms, $\Omega$) or use the audible continuity function. Touch one meter test lead to each terminal post on the thermostat.
At room temperature (around 70°F), the high-limit thermostat should be closed, showing nearly zero resistance (0.0 to 0.5 ohms). If your meter displays “O.L.” (Open Loop) or infinite resistance, the switch has permanently failed open and requires immediate replacement.
Multimeter Dial: [Continuity / Low Ohms]
Probes: [Probe 1] ---> Terminal A
        [Probe 2] ---> Terminal B

Reading:
  0.0 to 0.5 Ohms  == Switch is Closed (Normal at room temp)
  "O.L." or Inf.   == Switch is Blown/Failed Open (REPLACE)
Step 6: Test the Heating Element for Continuity and Ground Shorts
A deformed or grounded heater coil will cause code E61 repeatedly until it is repaired.
Locate the power terminals on the heating element assembly, typically situated near the bottom of the heater box. Disconnect the lead wires from the element terminals.
Place your multimeter test probes across the two primary element terminals to measure coil resistance. A functional GE electric dryer heating element should read between 18 and 24 ohms.
A reading of “O.L.” means the internal resistance wire has snapped, requiring element replacement. If you read the correct coil resistance, perform the critical chassis ground test:
Leave one meter probe firmly planted on an element terminal post. Touch the second meter probe to the clean metal chassis or the metal casing of the heater duct.
Your meter must display “O.L.” (Infinite Resistance). If you see any numeric resistance reading or hear a continuity beep, the coil is contacting the metal frame. This short forces the element to stay active continuously, demanding element replacement.
[Chassis Ground Test Configuration]
Meter Probe 1: Touch directly to Heating Terminal
Meter Probe 2: Touch bare metal heater housing
Result: Must read "O.L." (No path to ground allowed!)
Step 7: Test the Inlet and Outlet Control Thermistors
The control board relies on precise temperature data from thermistors to regulate heat cycles safely.
GE dryers utilize an inlet thermistor mounted on the heater duct assembly and an outlet thermistor located down on the blower wheel housing. Locate these sensors and disconnect their wire harnesses.
Unlike simple mechanical switches that read zero ohms, thermistors are temperature-sensitive resistors (NTC). At standard room temperature (77°F / 25°F), a standard GE thermistor reads roughly 10,000 ohms (10k $\Omega$) to 12,000 ohms (12k $\Omega$).
Set your multimeter to the 20k or 40k ohm scale to read these components accurately. If a thermistor reads completely open (“O.L.”) or zero ohms at room temperature, it has suffered an internal electronic failure and misleads the control board into error states.
Step 8: Verify Control Board Heater Relay Operation
If the duct is pristine and all heater housing safeties test within standard parameters, check the board relays.
Access the main electronic control board, which sits behind the front control panel or inside the top console. Locate the thick heater relay output traces, commonly labeled “HEATER”, “RLY-HTR”, or marked as heavy black wires leading down toward the cabinet bottom.
Examine the back of the printed circuit board for scorched solder traces, discoloration, or bulging capacitors. A blackened relay casing usually indicates internal electrical contact welding.
To test with a multimeter (unit unplugged), place leads across the normally open relay contact pins. The meter should display an open circuit (“O.L.”). If the contacts read direct continuity while disconnected from power, the relay is welded shut and the entire main control board assembly must be replaced.
High-Limit Thermostat Replacement Guide
If diagnostic testing proves your high-limit safety thermostat has blown open, follow these steps to install the replacement part.
- Verify the Correct OEM Part: Never install universal thermostats; always use original manufacturer replacement components specified for your model number. Incorrect temperature thresholds will either blow prematurely or create serious fire risks.
- Remove the Retaining Fasteners: Use your 1/4-inch magnetic nut driver to remove the single or dual mounting screws securing the old thermostat to the heater housing.
- Inspect the Mounting Surface: Wipe away any lint or carbon scoring from the sheet metal where the new switch will sit. The sensor face must sit completely flush against the duct wall to monitor core air temperatures accurately.
- Fasten the New Switch: Position the new high-limit thermostat on the bracket holes and secure the mounting screws firmly. Do not overtighten, as stripping the thin sheet metal threads prevents proper thermal contact.
- Attach Wire Leads: Reconnect the heavy-gauge wire spade connectors to the terminals. The connectors must fit tightly; loose spade terminals create high electrical resistance, generating localized heat that can burn the wires and prematurely trip the brand-new safety.
Preventative Maintenance to Keep E61 from Returning
Once you successfully fix code E61, simple routine maintenance stops the problem from resurfacing.
Clean the Ductwork Annually
We recommend cleaning the complete length of your rigid dryer exhaust duct once every 12 months. Homes with long duct runs containing several 90-degree elbows should undergo cleanings every six months.
Eliminate Flexible Foil Transitions
Flexible, corrugated foil or vinyl transition tubes trap substantial amounts of loose lint in their internal ridges. Replace these accordion pipes with rigid, smooth-interior aluminum vent piping. Smooth metal minimizes friction, lowers internal static pressure, and lets the dryer breathe at designed airflow rates.
Respect Drum Load Capacities
Avoid cramming large comforters, heavy blankets, or dense bath sheets tightly into the drum. Overpacking blocks internal airflow paths and forces wet fabrics directly against the exhaust intake grates. Air circulation stalls, the heating element overheats, and the high-limit switch steps in to shut the appliance down.
Frequently Asked Questions (FAQ)
Can I reset the E61 error code without taking the dryer apart?
You can clear the code display from the console by disconnecting power for 10 minutes or by using the panel reset sequence (such as pressing the Start button while rotating the selector dial on certain models).
However, this only clears the visual code on the display. If the high-limit thermostat has burned open or the vent remains blocked with lint, the dryer will fail to produce heat and will throw the E61 code again within minutes.
Does a tripped high-limit thermostat mean the dryer is going to catch fire?
No, the code indicates the exact opposite: your dryer’s safety systems functioned precisely as engineered. The high-limit thermostat cuts off power to the heating elements specifically to prevent dangerous internal temperatures that spark lint fires.
Consider code E61 an urgent warning that your appliance was dangerously close to overheating due to poor maintenance or a failed internal component.
Is the high-limit thermostat a self-resetting switch or a one-time thermal fuse?
GE uses both automatic-reset bimetal switches and one-time non-resettable thermal cut-offs on their heater assemblies. The primary high-limit thermostat features an internal bimetal disc that should close automatically once the duct cools back down to room temperature.
However, frequent thermal cycling weakens this disc, often causing it to stay open permanently. Adjacent thermal cut-offs are non-resettable thermal fuses; once they hit their safety rating, they blow open permanently and must be discarded.
How much does it cost to have a technician repair the E61 error?
Professional appliance repair companies typically charge a standard diagnostic service call fee between $80 and $130.
If the repair simply involves replacing the high-limit thermostat and clearing a vent restriction, total repair bills average between $150 and $250, including parts and labor. If the issue requires replacing an entire heater element housing or the main electronic control board, total repair estimates can climb between $300 and $450.
Why does my dryer element stay hot when the cycle isn’t running?
If the heating element remains active even when the drum is stationary or when you set the machine to “Air Fluff” (no heat), you have a grounded heating coil or a shorted control board relay.
When a sagging coil touches the metal frame, it draws power through the continuous neutral ground path. This is a severe fire and safety risk; unplug the dryer immediately and replace the element assembly before using the appliance again.
Safety Precaution Notice
Before proceeding with any repair checklist: Always unplug the appliance from its electrical socket and turn off shutoff valves for incoming water (for washers and dishwashers). Discharge capacitors if working on motors.