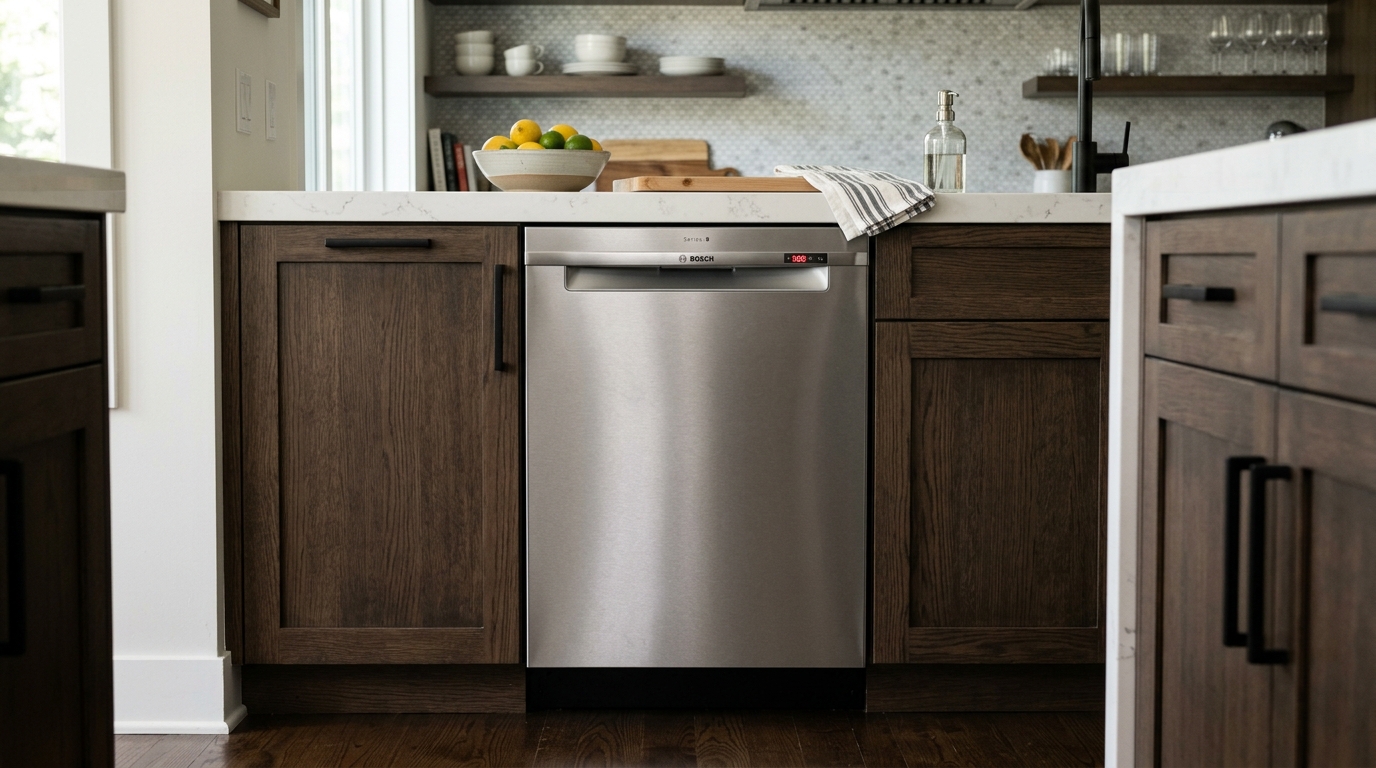
Bosch Dishwasher E15 Error Code: Step-by-Step Fix
Required Tools for this Fix
- Sponge
- Screwdriver
- Towel
Quick Summary Answer: The Bosch dishwasher E15 error code indicates that water has leaked into the bottom basin pan beneath the main tub, triggering the flood safety float switch. This safety system forces the drain pump to run continuously while flashing a water tap icon to prevent household flooding. The quickest fix is tilting the dishwasher back at a 45-degree angle to drain the base, but permanent resolution requires sealing the sump or fixing the underlying leaking component.
Understanding Bosch E15: What Triggers the Flood Switch?
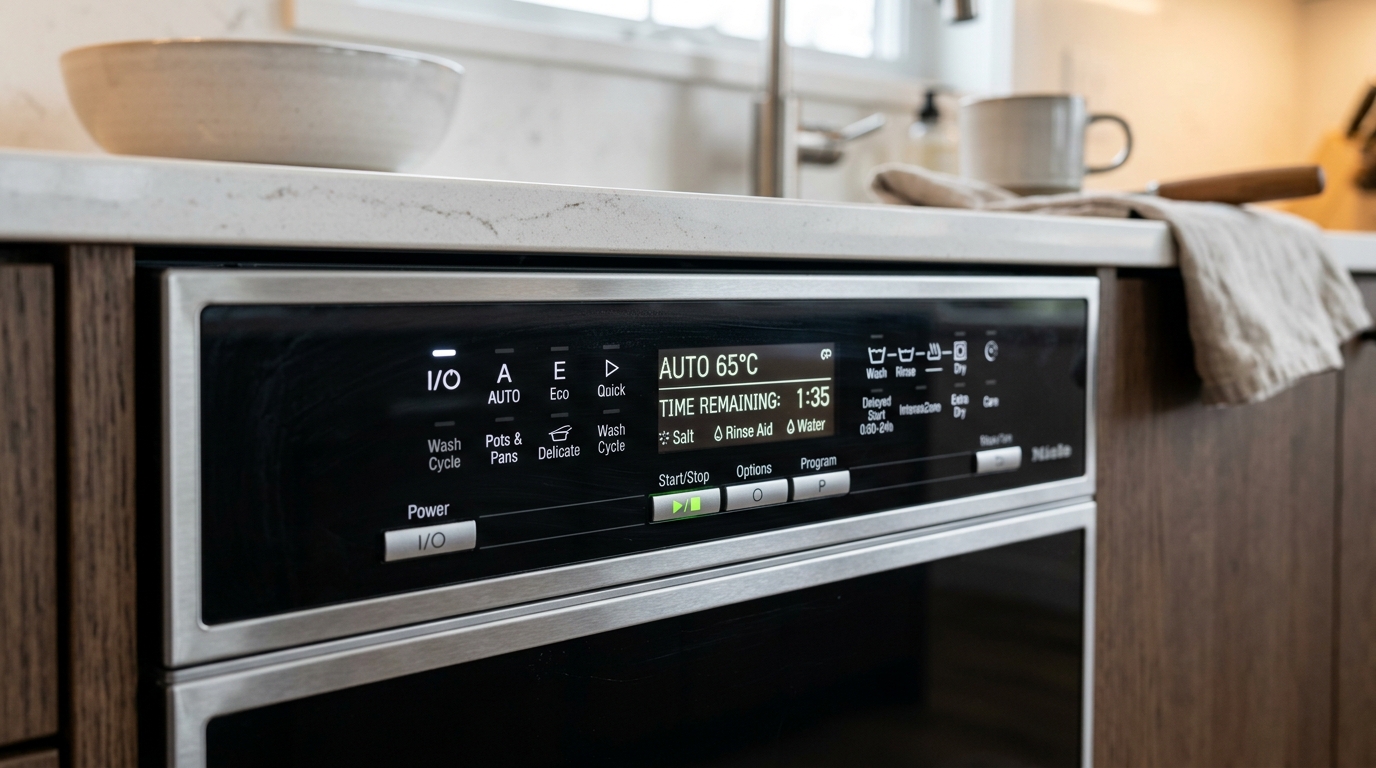
A Bosch dishwasher display flashing “E15” alongside a lit tap icon means the unit is in emergency flood-protection mode. We see this issue regularly across Bosch 300, 500, 800, and Benchmark series dishwashers.
The appliance uses an active drip pan positioned beneath the main stainless-steel wash tub. Inside this pan sits a small disc made of high-density Styrofoam resting directly above a microswitch.
When as little as two to three ounces of water collects in the pan, the Styrofoam disc floats upward. This mechanical movement trips the safety switch, sending an emergency signal to the main control board.
       [ Dishwasher Stainless Tub ]
                     |
       (Water leaks down tub seam)
                     v
+------------------------------------------+
|  Bottom Base Pan                         |
|  [ Water Accumulates ]                   |
|         |                                |
|         v                                |
|   (( Styrofoam Float Rises ))            |
|         |                                |
|         v                                |
|   [ Microswitch Tripped ] ---> E15 Error |
+------------------------------------------+
Once activated, the control board cuts power to the water inlet valve to prevent incoming water. Simultaneously, it engages the drain pump continuously—even if you open the door or turn the power button off.
The pump will keep humming until power is disconnected or the water inside the base pan evaporates or drains out.
WARNING: ELECTRICAL AND FLOOD HAZARD Always disconnect your dishwasher from the electrical power supply before attempting any diagnostic or repair work. Unplug the unit from the wall outlet or switch off the dedicated circuit breaker in your home’s breaker panel. Turn off the hot water supply valve beneath your kitchen sink before removing any panels or tilting the appliance.
E15 Diagnostic and Repair Overview
Fixing an E15 error ranges from simple drain adjustments to replacing worn silicone seals. The table below outlines the practical metrics for each major troubleshooting step.
| Diagnostic / Repair Step | Est. Time | Tools Needed | Est. Cost (USD) |
|---|---|---|---|
| 45-Degree Tilt Drain Reset | 15–20 mins | Towels, Bucket | $0 |
| Sump Screw Inspection & Tightening | 15 mins | Torx T20 Screwdriver | $0 |
| Sump Gasket Seal Kit Installation | 45–60 mins | Torx T20, Hook Tool, Dish Soap | $15 – $25 |
| Door Gasket / Lower Seal Replacement | 30 mins | Needle-nose Pliers, Towel | $35 – $70 |
| Water Inlet Valve Replacement | 45 mins | Adjustable Wrench, Torx T20, Pliers | $30 – $65 |
| Drain Pump / Hose Inspection | 45 mins | Pliers, Towels, Flashlight | $0 – $45 |
Primary Causes of Water in the Base Pan
Water does not belong in the lower drip basin. When an E15 code triggers, the liquid originated from one of six primary failure points inside or around the appliance.
1. Degraded Tub Sump Gasket
The black rubber gasket bridging the stainless-steel tub floor to the plastic sump assembly breaks down over time. Thermal expansion, chemical wear from detergents, and age cause microscopic gaps around this junction. Water drips straight down through these gaps directly into the lower basin.
2. Excessive Detergent Foam (Suds Lock)
Using standard liquid dish soap or adding too much rinse aid creates dense mountains of foam. As the spray arms spin, foam forces water out past the lower door seal corners. The suds collapse into water inside the bottom tray, instantly raising the Styrofoam float.
3. Clogged Spray Arm Nozzles
Hard water minerals, food debris, or plastic wrappers can block the tiny holes in the upper and lower spray arms. When nozzles become clogged, water jets are redirected downward or sideways at extreme pressure. This misdirected water stream shoots straight past the door seals or tub seams.
4. Loose Sump Assembly Screws
The plastic sump housing beneath the stainless-steel floor is secured by four Torx screws. Over hundreds of heat cycles, these screws frequently back out and loosen up. A loose sump destroys the compression seal, allowing wash water to trickle into the lower tray.
5. Damaged Lower Door Gasket or Perimeter Seal
The rubber gaskets surrounding the tub opening prevent water from splashing out during intense wash cycles. If these seals become torn, misaligned, or coated in grease, water runs down the inside of the front access panel. From there, gravity pulls it directly into the base tray.
6. Cracked Water Inlet Valve or Loose Hose Clamps
The internal water inlet valve cycles open to fill the machine. Age or freezing temperatures can crack the valve’s plastic body, or internal hose clamps can vibrate loose. This causes a slow, constant leak whether the dishwasher is actively running or sitting idle.
The 45-Degree Tilt Reset (Quick Fix)
The 45-degree tilt method is the fastest way to clear the E15 code and get your dishwasher running again. This process physically pours the trapped water out of the base tray, allowing the Styrofoam float to drop back onto the microswitch.
Step 1: Pull out unit & turn off power.
Step 2: Place towels behind the appliance.
Step 3: Tilt backward 45° to drain base pan.

  +------+              +------+
  |      |              |     /
  | Bosch|   ===>       |  45°
  |      |              |   /  <-- Water drains onto towels
  +------+              +--+____
We recommend following this exact procedure to safely perform the tilt reset:
- Turn off the circuit breaker supplying power to the dishwasher.
- Turn off the water supply valve located under your kitchen sink.
- Remove the lower kick plate (toe kick) by unscrewing the two Torx screws at the bottom front.
- Carefully slide the dishwasher out from under the countertop by a few inches.
- Lay several thick bath towels on the floor behind and underneath the back of the appliance.
- Firmly grasp the front frame of the unit and tilt the entire dishwasher backward at a 45-degree angle.
- Hold the appliance in this tilted position for 60 to 90 seconds to allow all trapped water to spill out onto the towels.
- Set the unit back upright, restore power, and check the display.
If the E15 code disappears and the pump stops running, you have successfully cleared the error. However, if water leaks back into the tray during the next cycle, you must address the leak source permanently.
Step-by-Step Diagnostic Checklist
Follow this systematic testing sequence to isolate the exact source of the leak triggering your E15 code.
START DIAGNOSIS
  │
  ├─> 1. Check inside tub for excessive suds? ──(YES)──> Clear suds with vinegar/oil.
  │                                                      Run warm rinse cycle.
  │
  ├─> 2. Are sump screws loose inside tub? ──────(YES)──> Tighten 4x Torx T20 screws.
  │                                                      Re-test unit.
  │
  ├─> 3. Are spray arm holes clogged? ───────────(YES)──> Clean nozzles with needle.
  │                                                      Re-align spray arms.
  │
  ├─> 4. Water dripping from sump perimeter? ────(YES)──> Install silicone gasket kit
  │                                                      (Part #0012005744).
  │
  └─> 5. Water leaking from inlet valve/hoses? ──(YES)──> Replace valve or tighten
                                                         hose clamps.
Diagnostic Step 1: Check for Detergent Foam
Open the door immediately after clearing the code. Inspect the bottom of the tub for thick foam or suds layer. If foam is present, soap is the sole cause of your E15 error.
Diagnostic Step 2: Inspect Sump Screws
Remove the lower dish rack, filter basket, and micro-filter screen at the bottom of the tub. Locate the four Torx T20 screws securing the plastic sump to the steel floor. Use a T20 screwdriver to check if any of these screws turn freely or feel loose.
Diagnostic Step 3: Inspect Spray Arm Jet Holes
Pull out both the lower and upper spray arms. Look closely at every small water nozzle along the length of each arm. Use a needle or toothpick to clear away any trapped food particles, calcium deposits, or debris.
Diagnostic Step 4: Inspect Door Gaskets
Examine the soft rubber seal running along the left, top, and right edges of the tub frame. Look for tears, flattened spots, or localized mold buildup that keeps the door from sealing flush. Inspect the rigid lower door seal at the bottom edge for warping.
Diagnostic Step 5: Perform an Active Under-Tub Leak Test
Leave the toe kick off, restore power, and start a standard quick wash cycle. Shine a bright flashlight into the lower cabinet space beneath the tub while the machine fills. Watch closely for water drops clinging to the sump walls, hose connections, or water valve.
How to Permanently Fix the E15 Code
Once you identify the path water takes into the lower basin, select the corresponding repair procedure below.
Repair 1: Installing the Bosch Sump Gasket Kit (Part #0012005744)
This is the most common permanent solution for Bosch dishwashers suffering from persistent E15 errors. Bosch designed a specialized silicone O-ring insert kit specifically to fix leaking sump seals without requiring complete machine teardowns.
       [ Stainless Steel Tub Floor ]
-------------------------------------------
      O=== [ Silicone O-Ring Seal ] ===O  <-- Installed into groove
-------------------------------------------
          [ Plastic Sump Housing ]
- Disconnect all electrical power and turn off the water line.
- Remove the lower rack, spray arm, micro-filter, and stainless steel filter plate.
- Remove the four Torx T20 screws surrounding the drain sump opening.
- Take the large rubber silicone ring from the Bosch repair kit (#0012005744).
- Coat the silicone ring lightly with liquid dish soap or water to act as a lubricant.
- Stretch the silicone ring over the plastic lip inside the tub, pushing it down between the stainless steel tub wall and the plastic sump casing.
- Use a plastic wiring tool or smooth putty knife to press the gasket uniformly into the gap all the way around the circumference.
- Reinstall the four Torx T20 screws into the sump housing.
- Tighten the screws evenly in a crisscross pattern to establish equal compression around the brand-new seal.
- Reassemble the filter screen and spray arm, then run a short test cycle.
Repair 2: Cleaning Chemical Foam and Clearing Suds
If non-he dish soap or excessive rinse aid entered the system, you must eliminate the suds to stop the foam from overflowing.
- Sponge out as much standing water and foam from the main tub as possible.
- Pour one cup of cooking oil or vegetable oil directly onto the bottom of the dishwasher tub. The oil breaks the surface tension of the soap suds instantly.
- Close the door and select a drain/rinse cycle to pump out the oil-soap mixture.
- Pour two cups of white distilled vinegar into the bottom of the tub.
- Run a complete heavy/sanitize wash cycle on the highest temperature setting to flush all remaining soap residue out of the internal lines.
Repair 3: Replacing the Water Inlet Valve
If water drips continuously from the blue or brass inlet valve assembly into the lower pan, the valve internal solenoid or plastic housing has failed.
[ Water Line ] ---> [ Inlet Valve Assembly ] ---> [ Internal Hose ]
                           |
                     (Leak Point)
                           |
                           v
                   [ Bottom Base Pan ]
- Disconnect power to the dishwasher and shut off the home’s water supply line valve.
- Remove the front lower toe kick and outer metal access plate.
- Disconnect the brass water line fitting from the inlet valve using an adjustable wrench. Keep a towel handy for residual water.
- Unplug the two wire harness connectors attached to the valve solenoids.
- Squeeze the hose clamp on the outlet tube inside the cabinet using pliers and slide it down the hose.
- Pull the rubber hose off the valve outlet port.
- Remove the mounting screws holding the old valve to the frame bracket.
- Mount the new OEM water inlet valve to the bracket using the same screws.
- Push the rubber hose onto the new valve port and secure the clamp over the fitting.
- Reattach the electrical harness connectors and thread the water supply line back onto the valve inlet.
- Turn the water supply back on, inspect for immediate drips, and restore electrical power.
Preventative Maintenance Tips
Keeping water out of the base pan requires periodic cleaning and proper operating practices. Implementing these habits will protect your machine from future flood faults.
- Clean the Micro-Filter Monthly: Remove and scrub the mesh filter at the bottom of the tub under hot running water using a soft brush. A clogged filter restricts water flow, causing wash water to back up and spill over the tub edges.
- Inspect Spray Arm Holes: Check the spray arm jet openings every few months for hard water scale or trapped debris. Clear obstruction immediately to prevent high-pressure streams from spraying against door gaskets.
- Use Only Auto-Dishwasher Detergents: Never use liquid hand dish soap, laundry detergent, or non-approved cleaning agents inside your dishwasher. Always use high-quality single-dose detergent pods or specialized powders designed for automatic dishwashers.
- Check Sump Screws Annually: Take five minutes once a year to verify that the four Torx T20 screws inside the tub floor remain snug. Catching loose screws early prevents water from reaching the base tray float switch.
- Wipe Down Door Seals: Clean the flexible rubber door seals regularly with a damp microfiber cloth to remove food soil and grease. Built-up grime holds gaskets open slightly, creating small paths for water to leak out during wash cycles.
Frequently Asked Questions
Can I run my Bosch dishwasher while the E15 code is active?
No, you cannot operate the machine while the E15 code is displayed. The E15 code engages an automated flood protection mode that disables all normal wash functions and forces the drain pump to run non-stop. You must drain the water from the lower base tray and reset the float switch before the dishwasher will accept any commands.
Why does the drain pump keep running even when the dishwasher is turned off?
The continuous operation of the drain pump is a safety design feature built into Bosch dishwashers. When the Styrofoam float switch in the bottom tray detects water, the main control module bypasses the power button. It runs the pump continuously to prevent incoming water from overflowing the appliance and damaging your home’s flooring.
Is the 45-degree tilt a permanent fix for E15?
The 45-degree tilt is usually a temporary fix rather than a permanent solution. Tilting the appliance drains the trapped water out of the base pan and resets the safety float switch, clearing the error code. However, unless the original cause—such as a worn sump gasket, loose screws, or clogged spray arms—is fixed, water will accumulate in the base again.
What is the part number for the official Bosch E15 gasket repair kit?
The official OEM Bosch sump gasket kit is part number 0012005744 (also listed as 12005744). This kit includes a specially manufactured silicone rubber O-ring seal along with installation wire tools and new mounting screws designed to seal leaks between the stainless steel tub and the plastic sump housing.
Why did my dishwasher show E15 after using a dishwasher cleaner tablet?
Some commercial dishwasher cleaning tablets contain concentrated surfactants that generate high volumes of foam when combined with grease buildup. Excessive foam spills over the lower tub lip into the base pan, triggering the Styrofoam float switch. Draining the base tray using the tilt method and running a cycle with cooking oil will clear the residual suds.
Safety Precaution Notice
Before proceeding with any repair checklist: Always unplug the appliance from its electrical socket and turn off shutoff valves for incoming water (for washers and dishwashers). Discharge capacitors if working on motors.