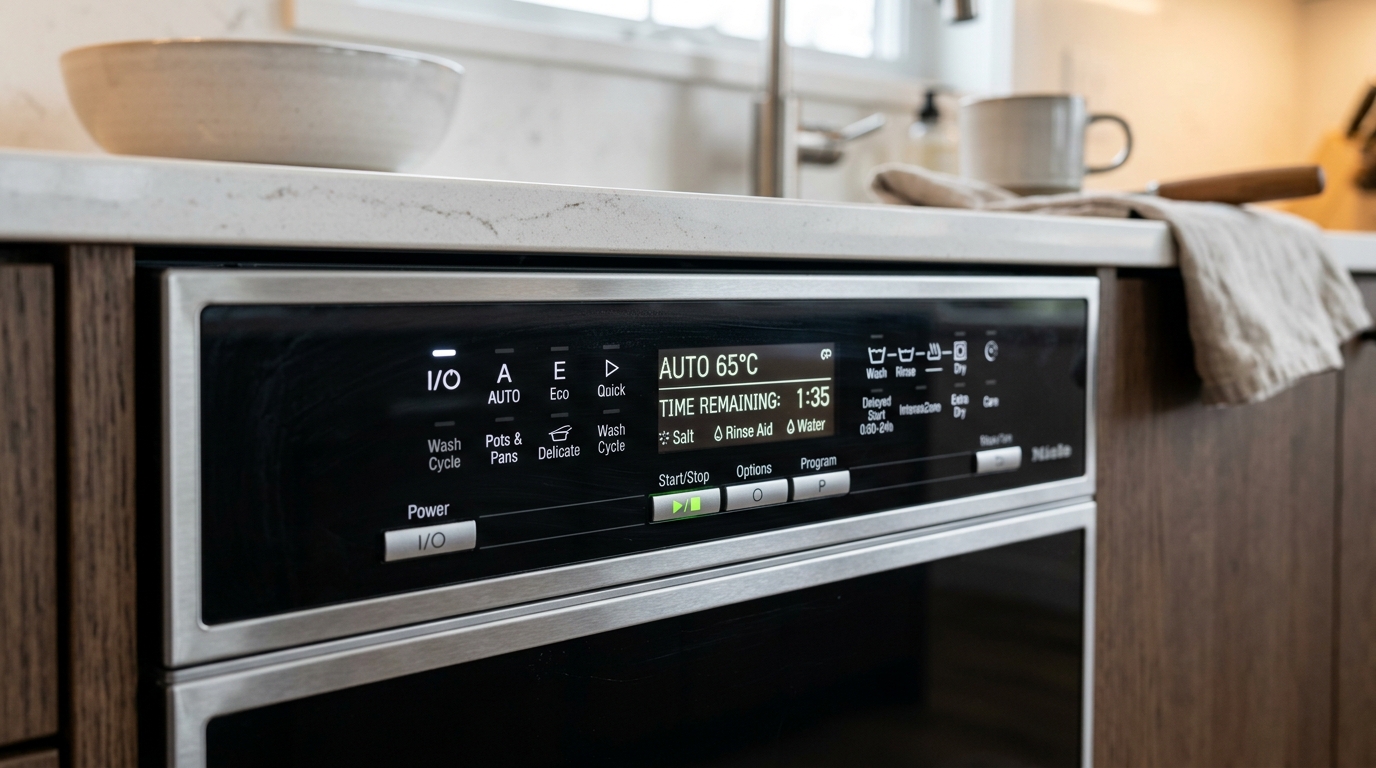
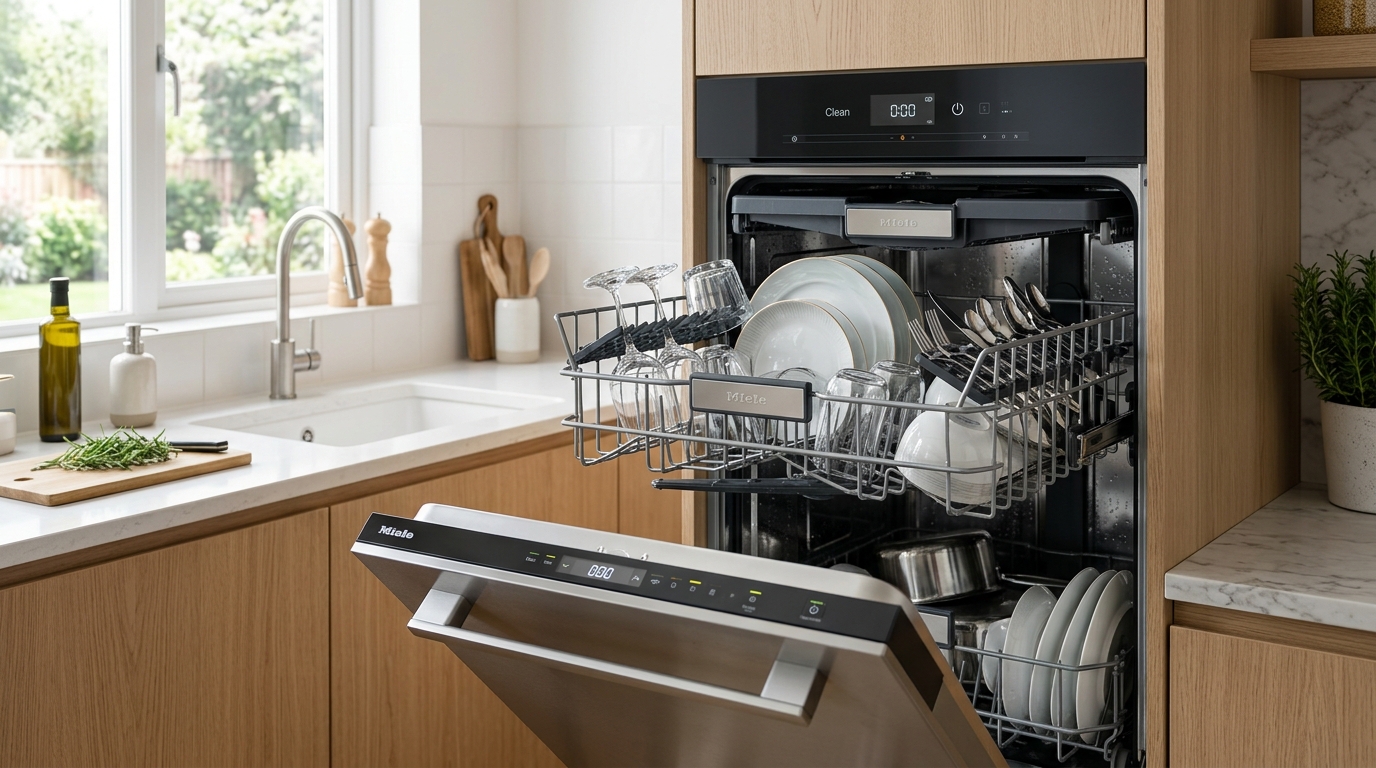
Bosch Dishwasher E22 Error Code: Step-by-Step Fix
Required Tools for this Fix
- Sponge
- Warm water
Quick Summary Answer: The Bosch dishwasher error code E22 indicates that the filter circulation pathway is blocked, preventing water from flowing freely through the sump basin. This issue is most commonly caused by a food-clogged triple filter system, debris jamming the drain pump impeller, or a dislodged pump cover. You can usually fix this error within fifteen minutes by deep cleaning the filter assembly and clearing obstructions from the sump cavity.
What Does the Bosch Dishwasher E22 Error Code Mean?
Bosch dishwashers rely on continuous water circulation through a triple-stage filtration system located at the bottom of the tub. When error code E22 appears, the control module has detected restricted water movement through this central sump pathway.
Water cannot pass through the micro-filter screen fast enough to meet the circulation pump’s operating volume requirements. This fault typically surfaces toward the end of a wash cycle or right before a rinse phase.
[ Wash Tub Basin ]
         │
         ▼
[ Triple-Stage Filter ]  ──(Food & Sludge Blockage)──> [ E22 ERROR TRIGGERED ]
         │
         ▼
[ Sump Housing & Impeller ]
         │
         ▼
[ Drain Hose / Exit ]
The control board monitors the electrical resistance and motor load on the circulation and drain pumps. When the filter mesh fills with grease, fine particulate matter, or hard debris, it creates hydrostatic resistance.
The machine interprets this pressure drop as a blocked circulation path. You may also notice standing, dirty water pooled beneath the lower spray arm when opening the door.
Diagnostic Overview & Repair Specs
Before grabbing your tools, review the basic parameters of this repair. Most homeowners can resolve an E22 fault code without paying for an expensive service call.
| Diagnostic Step | Est. Time | Tools Needed | Est. Cost (DIY vs Pro) |
|---|---|---|---|
| Filter Assembly Cleaning | 10–15 mins | Warm water, degreasing soap, soft nylon brush | $0 (DIY) / $150–$250 (Pro) |
| Sump Cavity & Impeller Inspection | 15–20 mins | Sponge, Torx T20 screwdriver, flashlight | $0 (DIY) / $150–$250 (Pro) |
| Check Valve & Drain Hose Check | 20–30 mins | Pliers, shop towels, bucket, wire coat hanger | $0–$20 (DIY) / $200–$300 (Pro) |
| Drain Pump Replacement (If Failed) | 45–60 mins | Torx T20, flathead screwdriver, work gloves | $45–$85 (DIY) / $250–$400 (Pro) |
WARNING: Risk of Electrical Shock and Lacerations
Always disconnect your dishwasher from its power source by turning off the dedicated circuit breaker or unplugging the power cord under the sink. Turn off the water supply line before inspecting internal components. Wear puncture-resistant gloves when cleaning the sump basin, as broken glass and sharp bone fragments frequently settle around the filter housing.
Primary Culprits Behind the E22 Fault Code
Understanding what triggers this error code helps you target the correct component immediately. We have broken down the primary causes based on thousands of field repairs.
       Common Causes of Error E22
┌────────────────────────────────────────┐
│ [45%] Clogged Triple Micro-Filter      │
│ [30%] Loose Impeller Cover Clip        │
│ [15%] Bone / Glass in Pump Sump Cavity │
│ [10%] Kinked Hose / Check Valve Sludge │
└────────────────────────────────────────┘
1. The Micro-Filter Screen and Coarse Mesh Saturation
The cylindrical filter inside a Bosch dishwasher contains an ultra-fine stainless steel mesh. Over time, microscopic food soils, starches, and animal fats coagulate over these tiny perforations.
Even if the filter looks clean from a top-down view, a thin film of grease can completely block water transfer. When the circulation pump pulls a vacuum, the lack of flow immediately triggers the E22 code.
2. Food Waste and Foreign Objects in the Sump Cavity
Items that bypass the main filter screen drop directly into the lower sump housing. Common culprits include toothpicks, fruit seeds, lemon seeds, unpopped popcorn kernels, and small bone fragments.
These objects can wedge beneath the lower filter seat and choke the intake channel. Once the intake is restricted, water backs up into the tub floor.
3. Loose or Missing Drain Pump Impeller Cover
Inside the sump basin, Bosch utilizes a specialized snap-on plastic cover that sits over the drain pump impeller. This small white or gray arch is structurally required to create suction and directional flow.
If this cover becomes unclipped during a previous cleaning, the pump will spin in open water without moving fluid. The appliance interprets this hydraulic failure as a blocked pathway, resulting in an E22 or E25 code.
  CORRECT: Cover Snapped Tight         INCORRECT: Cover Dislodged
  ┌───────────────────────────┐       ┌───────────────────────────┐
  │   [Pump Cover]            │       │         [Pump Cover] ⤢    │
  │        ▼                  │       │            (Loose)        │
  │   ┌─────────┐             │       │                           │
  │   │Impeller │ ──> Suction │       │   ┌─────────┐             │
  │   └─────────┘     Created │       │   │Impeller │ ──> Cavitation/
  └───────────────────────────┘       └────────────────── No Flow─┘
4. Thick Grease Emulsions and High-Fat Build-Up
Running frequent low-temperature, eco-friendly cycles without high-heat sanitary options can lead to grease build-up. Fats solidify inside the internal sump passages and the non-return check valve.
This sticky sludge traps loose coffee grounds and fine debris, creating a dense paste that water cannot penetrate.
5. Drain Hose Back-Pressure and High Loop Issues
If the drain hose connected under your kitchen sink lacks a proper high loop or air gap, dirty sink water will back-siphon. This creates excessive hydrostatic back-pressure on the dishwasher’s internal drainage system.
When the machine attempts to push water through the filter pathway against this back-pressure, the cycle times out and displays the E22 code.
Step-by-Step Diagnostic & Repair Guide
Follow this practical, field-tested troubleshooting sequence to clear the blockage and restore your dishwasher to normal operation.
Diagnostic Workflow:
[Remove Racks] ──> [Extract Filter] ──> [Degrease Mesh] ──> [Clear Sump] ──> [Secure Impeller Cover] ──> [Reset & Test]
Step 1: Drain Standing Water and Prep the Work Area
Open the dishwasher door fully and pull out the bottom dish rack to create open access. If you find standing water in the tub bottom, bail it out using a small plastic cup and an absorbent sponge.
Transfer the collected water into a bucket until the bottom sump basin is fully exposed. Dry the perimeter around the circular filter assembly with a clean shop towel.
Step 2: Extract, Disassemble, and Deep Clean the Filter Unit
Turn the central cylindrical filter handle counter-clockwise approximately one-quarter turn until it unlocks. Lift the entire filter assembly straight up out of the tub floor.
Step-by-Step Filter Separation:
1. Twist Handle Counter-Clockwise (1/4 Turn)
2. Lift Cylinder Up
3. Pull Metal Base Plate Away from Cylinder
4. Separate Internal Micro-Screen Tube
Disassemble the components: the outer coarse mesh, the flat stainless steel base plate, and the inner micro-fine mesh cylinder.
Submerge all three parts in hot water mixed with grease-cutting liquid dish soap.
Scrub the mesh thoroughly inside and out using a soft nylon dish brush or an old toothbrush.
Hold the cylindrical micro-filter up to an overhead light source to verify the perforations are clear. If light cannot pass evenly through the screen, scale or grease remains trapped.
Rinse the components under high-pressure warm tap water until every single pore is free of buildup.
Step 3: Inspect the Sump Basin and Impeller Access Cover
Shine a bright flashlight directly down into the circular sump well exposed at the bottom of the tub. Inspect the area for broken glass, twist ties, labels from jars, or hard food solids.
Remove any visible debris using long-nose pliers or a damp shop cloth.
Locate the pump impeller cover on the left or rear side of the sump depression. On many Bosch models, this is a curved white plastic tab marked with an arrow or labeled “PUMP.”
Sump Basin Component Layout:
┌────────────────────────────────────────┐
│               Tub Floor                │
│                                        │
│          ┌──────────────────┐          │
│          │ Circular Sump    │          │
│          │                  │          │
│          │  [Pump Cover]    │          │
│          │      └──> [Impeller Inside] │
│          │                  │          │
│          │  [Check Valve]   │          │
│          └──────────────────┘          │
└────────────────────────────────────────┘
If your model uses a Torx screw to secure the cover, remove the T20 screw and set it in a safe place. Lift the cover off using its integrated pull tab or gently pry it up with a blunt tool.
Step 4: Check the Drain Pump Impeller for Physical Obstructions
Look directly into the small cavity exposed beneath the removed impeller cover. You will see a small, multi-bladed impeller wheel.
Carefully reach into the chamber with your gloved finger or a wooden dowel to spin the impeller blades. The impeller should rotate smoothly with a slight magnetic resistance every quarter-turn, which is normal for brushless DC drain pumps.
If the blades are seized, look for wrapped string, hair, fruit pits, or glass shards wedged between the blades and the pump housing.
Extract all debris until the blades rotate freely through their full revolution.
Impeller Status Checklist:
[ ] Blades are intact and free of cracks
[ ] No hair or threads wrapped around central shaft
[ ] No glass or debris wedged beneath the blade edges
[ ] Assembly rotates with normal, distinct magnetic clicks
Reinstall the pump impeller cover by sliding the bottom locating tabs in first. Press down firmly on the top of the cover until you hear an audible, distinct “click.”
If the cover is not completely locked into place, the pump will not move water and the E22 code will return immediately. Reinsert the Torx T20 screw if your model includes one.
Step 5: Verify Drain Hose Routing and Check Valve Operation
Locate the small rubber non-return flapper valve positioned near the sump intake or pump outlet chamber. This rubber flap should be supple, clean, and able to open and shut without sticking.
If the rubber is stiff, coated in mineral scaling, or torn, replace the check valve flapper.
Next, open your under-sink cabinet and inspect the ribbed drain hose coming from the dishwasher. Make sure the hose rises up higher than the sink’s drain pipe level before dropping down to connect to the disposal or plumbing drain tailpiece.
Proper High-Loop Drain Configuration:
       [Sink Rim Level]
             ▲
            / \  <── High Loop at Top of Cabinet Wall
           /   \
          /     \
[Dishwasher]     ▼
          [Garbage Disposal / Waste Drain]
Straighten out any tight bends or flat pinch points along the hose length. If you recently installed a new garbage disposal, ensure the interior solid plastic knockout plug was punched out completely.
Step 6: Perform a Factory Reset and Test Cycle Run
Reassemble the triple filter system by lowering the stainless steel plate into position over the sump. Slide the micro-filter cylinder into place and twist it clockwise until the directional alignment arrows lock together.
Alignment Mark Check:
Top Filter Arrow ──► ◄── Sump Housing Arrow (Locked)
Restore electrical power to the unit at the main household breaker box.
Open the door and press and hold the START button down continuously for 3 to 5 seconds until the display reads 0:01 or 0:00.
Close the door and let the dishwasher drain out its internal circuit for approximately sixty seconds.
Open the door once the cycle finishes, select a short “Express” or “Rinse” cycle, and press START.
Listen for the drain pump initiating fluid flow without mechanical grinding, humming, or error interruptions.
Advanced Troubleshooting: When Cleaning the Filter Fails
If you have cleaned the filter assembly, secured the pump cover, and cleared the sump cavity but the E22 code persists, deeper mechanical issues must be addressed.
Testing the Drain Pump Motor
A failing drain pump motor may spin freely by hand but fail under a live electrical load. To test the pump, shut off the breaker, disconnect the wire harness from the pump terminals, and use a digital multimeter set to measure resistance (Ohms).
Multimeter Test Matrix for Bosch BLDC Drain Pumps:
┌─────────────────────┬──────────────────────────┐
│ Terminal Probe Pair │ Expected Resistance Read │
├─────────────────────┼──────────────────────────┤
│ Pin 1 to Pin 2      │ ~75 to 90 Ohms           │
│ Pin 2 to Pin 3      │ ~75 to 90 Ohms           │
│ Pin 1 to Pin 3      │ ~75 to 90 Ohms           │
│ Any Pin to Ground   │ Infinite (Open Circuit)  │
└─────────────────────┴──────────────────────────┘
If the reading displays zero ohms (short circuit) or infinite resistance (open winding), the motor is burnt out. You must replace the complete drain pump assembly.
Inspecting for Drain Hose Clogs
Grease plugs often develop deep inside the corrugated drain line where the hose attaches to the kitchen sink drain pipe. Disconnect the drain hose from under the sink and place the open end into a large bucket.
Pour hot water down the internal dishwasher drain cavity to see if it flows freely out of the hose end. If water trickles out slowly, feed a flexible drain snake or a straightened plastic wire through the hose to clear the grease plug.
Preventative Maintenance: Stop Error E22 Before It Starts
Routine maintenance prevents solid waste and grease from accumulating in your dishwasher’s circulation path.
Recommended Maintenance Schedule:
Every Week   ──> Rinse and brush the central micro-filter cylinder.
Every Month  ──> Run an empty high-heat machine care cycle with a specialized cleaner.
Every 3 Mos  ──> Inspect the sump cavity and wipe down the rubber door gasket.
Optimal Scraping Protocol
Scrape large food bones, pits, toothpicks, and thick residues into the trash before loading dishes into the machine.
Do not completely pre-wash or hand-rinse your dishes with soap in the sink before loading.
Modern Bosch dishwasher detergents rely on enzymatic reactions with food soils to activate properly. When there is not enough food soil present, the detergents can cause foamy oversudsing that disrupts water flow, triggering pump cavitation and false E22 faults.
High-Heat Maintenance Cycles
Modern wash programs utilize lower water temperatures to meet energy efficiency standards. Run an empty cycle once a month using the “Pots & Pans” or “Sanitize” mode combined with a quality dishwasher cleaning tablet.
The sustained high heat (typically 155°F to 160°F) melts stubborn grease build-up throughout the internal sump chambers, heating element, and drain lines.
Temperature Comparison:
Eco Wash Mode:     115°F - 125°F  ──> (Encourages grease build-up over time)
Sanitize / Pots:   155°F - 160°F  ──> (Dissolves oils, fats, and scale deposits)
Bosch Dishwasher Error E22 FAQs
Can I run my dishwasher with error code E22 showing on the display?
No, the dishwasher will pause or terminate its current cycle until the error state is cleared. Running the unit while the circulation pathway is blocked can cause the pump motor to overheat and suffer permanent mechanical damage. Clear the filter blockage, secure the sump components, and reset the appliance before starting another load.
How do I distinguish between Bosch error codes E22, E24, and E25?
Error code E22 specifically points to a restricted filter circulation pathway or standing water in the filtration sump. Error E24 indicates a general drain sequence failure, often tied to a kinked exterior drain hose or an unopened garbage disposal inlet. Error E25 indicates that the drain pump impeller itself is physically blocked or the pump cover clip is completely open.
Quick Code Comparison:
E22 ──> Filter / Sump flow restriction (Water unable to pass filter mesh)
E24 ──> Drain hose / Air gap / Garbage disposal knockout issue
E25 ──> Drain pump impeller seized or pump cover clip is missing/loose
Why does my Bosch dishwasher throw an E22 code even though the filter looks clean?
A visual check can be misleading because fine starches, proteins, and transparent cooking oils form an invisible barrier across the micro-mesh screen. Water cannot pass through these clogged micro-perforations fast enough to supply the circulation pump. Always wash the filter mesh with warm water, degreasing soap, and a soft-bristled brush to remove this clear film.
Is it safe to use chemical drain cleaners to fix an E22 error code?
Never pour caustic chemical drain cleaners (such as lye or sulfuric acid based products) into your dishwasher. These harsh chemicals corrode the internal rubber seals, degrade the check valve flapper, damage the plastic sump housing, and warp the heating chamber. Use only products specifically formulated for automatic dishwashers or a mixture of warm water and liquid dish soap.
Why does the E22 code only appear at the very end of the wash cycle?
Bosch dishwashers execute multiple water drain and refill stages during a single program. The final drain and dry phases use shorter pump-out windows to manage energy and cycle timing. If the micro-filter is partially clogged, the machine may pass the longer primary wash cycles but time out during the rapid final drain sequence, triggering the E22 code at the end.
Safety Precaution Notice
Before proceeding with any repair checklist: Always unplug the appliance from its electrical socket and turn off shutoff valves for incoming water (for washers and dishwashers). Discharge capacitors if working on motors.