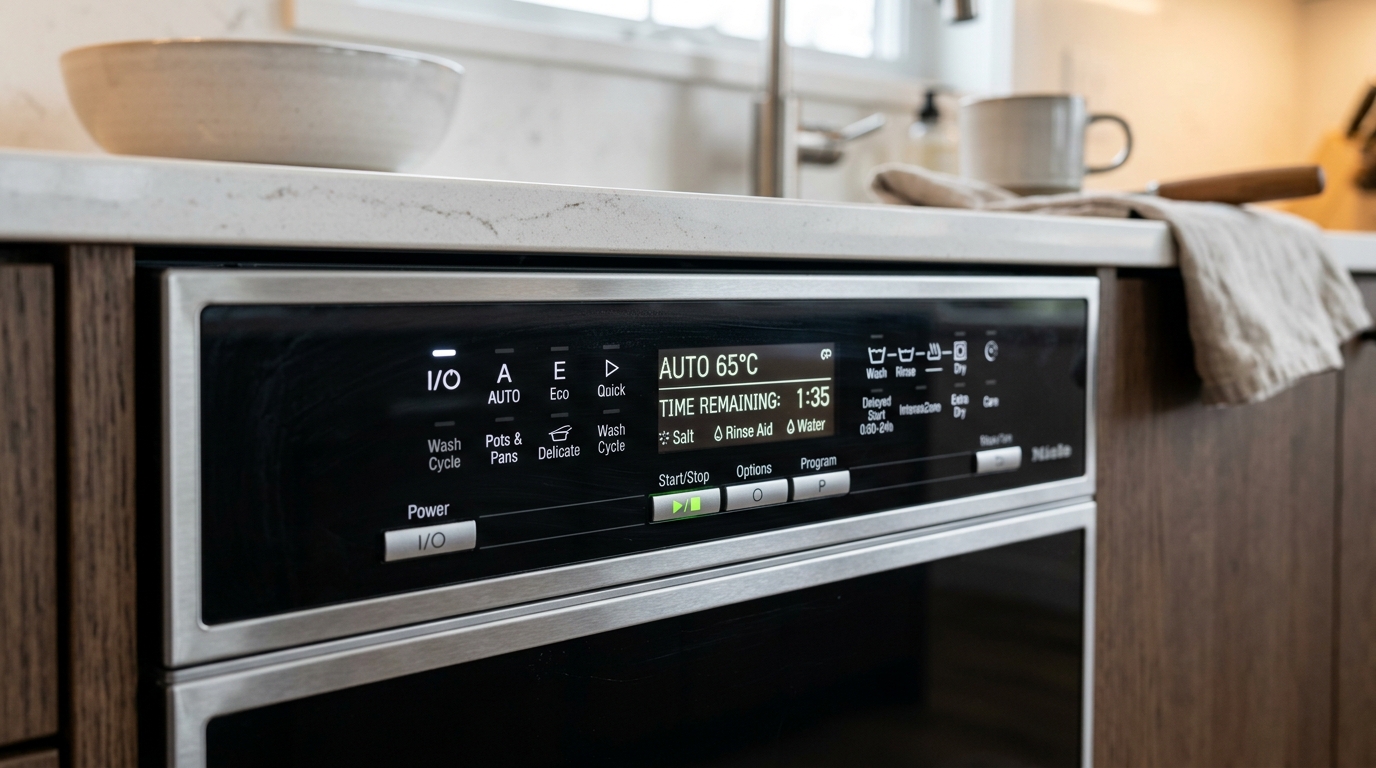
Bosch Refrigerator E10 Error Code: Step-by-Step Fix
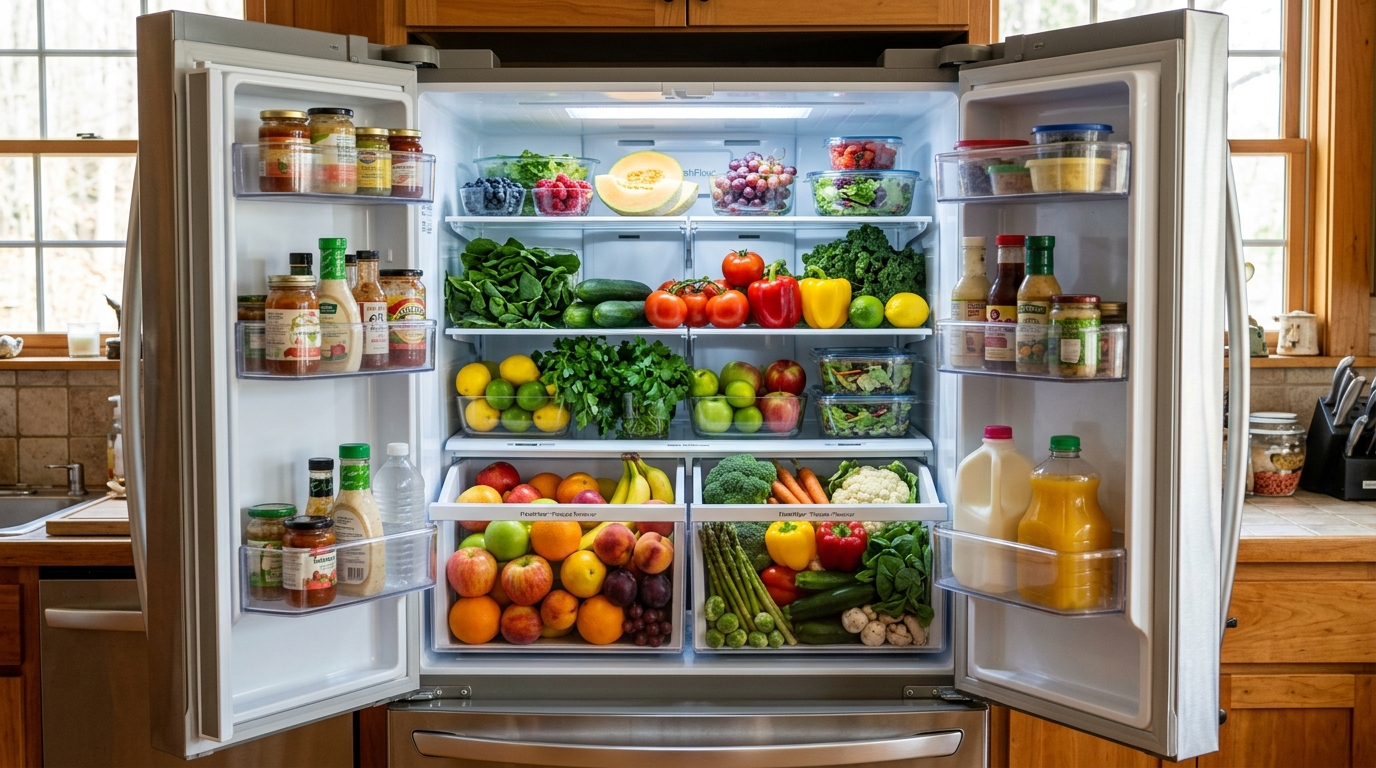
Required Tools for this Fix
- Screwdriver
- Replacement fan
Quick Summary Answer: The Bosch refrigerator E10 error code indicates a failure in the dispenser fan motor circuit, caused by a stalled motor, frost buildup blocking the fan blades, loose wiring, or a faulty fan assembly. To fix it, perform a 10-minute hard reset by unplugging the unit, inspect the dispenser chute for frost obstruction, and test the fan motor for continuity using a multimeter. If the fan motor fails the resistance test or receives proper voltage without spinning, replace the dispenser fan motor assembly.
Fixing a Bosch refrigerator displaying an E10 error code is a straightforward task when you break down the system step by step. We see this code frequently on modern Bosch French door and side-by-side models equipped with ice and water dispensers.
This comprehensive guide walks you through diagnosing, testing, and replacing the affected components to get your appliance running smoothly again.
What Does the Bosch Refrigerator E10 Error Code Mean?
The E10 error code points specifically to a communication or operational fault with the dispenser fan motor. This small fan sits inside the refrigerator door housing or upper dispenser duct assembly.
Its job is to push cold air directly into the ice dispenser chute and ice maker cavity. This keeps ice cubes from melting into a solid lump and prevents exterior sweating on the door panel.
The main electronic control board continuously monitors the fan motor speed using a feedback loop. When the control board sends power to the fan but receives no feedback RPM signal, it triggers the E10 code.
+------------------+         Voltage Output         +----------------------+
|                  | -----------------------------> |                      |
|  Control Board   |                                | Dispenser Fan Motor  |
|                  | <----------------------------- |                      |
+------------------+       RPM Feedback Signal      +----------------------+
                                                               |
                                                     [Stalled by Ice / Failed]
                                                               |
                                                        Triggers Error E10
Why the Dispenser Fan is Vital
Without this fan, cold air stalls inside the cabinet rather than circulating through the door cavity. Moisture in the air quickly condenses inside the chute and freezes.
Over time, this frost chokes the fan blades or damages the internal motor windings. Resolving the E10 code restores proper air movement and keeps your ice dispenser functioning properly.
Common Symptoms Accompanying Code E10
When code E10 appears on your display panel, you will usually notice several physical signs before or during the code’s appearance.
- Warm Dispenser Area: The ice chute trim or door panel feels warm to the touch due to active door frame heaters working without air circulation.
- Ice Clumping in the Bucket: Ice cubes inside the door container stick together or form a slushy mess.
- Frost in the Chute: A thick coat of white frost coats the plastic dispenser flap or air duct passages.
- Abnormal Noise: You hear a high-pitched squeak, buzzing, or ticking noise coming from inside the left refrigerator door prior to the error.
- Unresponsive Control Panel: The display locks up and refuses to dispense ice until you address the error condition.
Safety First: Essential Electrical Precautions
WARNING: Always disconnect power to your refrigerator by unplugging the unit or switching off the dedicated circuit breaker before removing panels or handling electrical wiring. Working on live circuits risks severe electrical shock or damage to the sensitive control board. Wear cut-resistant safety gloves when working around sharp plastic housings or sheet metal edges.
Quick Reference: E10 Troubleshooting Overview
We put together this quick overview to help you gauge the time, tools, and expense involved in fixing an E10 code.
| Diagnostic Step | Est. Time | Tools Needed | Cost |
|---|---|---|---|
| System Hard Reset | 15 mins | None | $0 |
| Ice Obstruction Clearance | 20 mins | Flashlight, Hairdryer | $0 |
| Wiring Harness Inspection | 25 mins | Screwdriver, Putty Knife | $0 - $10 |
| Fan Motor Resistance Test | 30 mins | Multimeter, Screwdriver Set | $0 |
| Dispenser Fan Replacement | 45 mins | OEM Fan Motor, Nut Driver | $35 - $85 |
| Control Board Diagnostic | 45 mins | Multimeter, Screwdriver | $120 - $280 |
Tools and Materials Needed for the Repair
Before beginning your work, gather these essential tools to complete the process efficiently.
- Flat-head screwdriver or plastic putty knife: Useful for gently prying off plastic trim pieces without scratching the finish.
- Phillips #2 screwdriver: Required for removing retaining screws on access covers and fan housings.
- Digital multimeter: Used to measure resistance (ohms) and DC voltage at the fan terminals.
- Hairdryer or steam generator: Helpful for melting stubborn ice accumulations around the fan housing.
- Towels and rags: Needed to catch dripping water during defrosting.
- Replacement dispenser fan motor: Ensure you purchase an original equipment manufacturer (OEM) Bosch replacement part matched to your model number.
Comprehensive DIY Diagnostic & Repair Checklist
Use this handy checklist to track your progress as you work through the diagnostic sequence.
- Unplug refrigerator power for 15 minutes to clear temporary logic glitches.
- Inspect the ice dispenser chute and duct for frost or ice jams.
- Safely thaw all ice accumulation around the fan blade compartment.
- Check upper door hinge wiring harnesses for pinched or severed wires.
- Disconnect fan harness and test motor windings for resistance with a multimeter.
- Check for appropriate DC voltage at the wiring harness during operation.
- Replace the dispenser fan motor if readings fall outside factory limits.
- Clear residual error codes and test dispenser functionality.
Detailed Step-by-Step Diagnostic and Fix Guide
Follow these steps in order to isolate the root cause and correct the E10 code.
Step 1: Performing a System Hard Reset
Sometimes a minor power surge or temporary voltage dip scrambles the internal memory of the control board. We always recommend starting with a simple power reset.
Unplug the refrigerator power cord directly from the wall outlet. If the plug is unreachable, switch off the breaker in your main electrical panel.
Leave the refrigerator powered down for a full 15 minutes. This gives the capacitors on the main control board time to drain completely.
Plug the unit back in or reset the breaker. If the E10 code returns immediately or within a few hours, proceed to the physical diagnostic steps below.
       UNPLUG UNIT
            │
            ▼
      WAIT 15 MINUTES (Drains Capacitors)
            │
            ▼
      RECONNECT POWER
            │
  ┌─────────┴─────────┐
  │                   │
Code Cleared?     Code Returns?
  │                   │
  ▼                   ▼
Done!             Proceed to Step 2
Step 2: Accessing the Dispenser Fan and Inspecting for Ice Obstructions
Frost buildup is the single most common cause of an E10 error. Humid room air enters through a bad door seal or stuck dispenser flap, freezing the fan in place.
Unplug the appliance once again. Open the left refrigerator door and remove the ice bucket assembly to gain clear access to the chute area.
Locate the fan housing cover, which sits near the upper portion of the internal dispenser duct panel. Use your putty knife or screwdriver to pop off the decorative trim pieces and remove the securing screws.
Look inside the duct using a flashlight. If you spot clear ice or white frost packed around the fan blades, the motor cannot turn.
Use a hairdryer set to low heat to melt all ice inside the cavity. Keep the hairdryer moving constantly so you do not warp or melt the thin plastic walls.
Dry the entire compartment thoroughly with a towel. Once cleared, manually spin the fan blades with your finger to verify they turn freely without dragging.
[ Ice Build-Up inside Duct ] ──> [ Blunts Fan Rotation ] ──> [ Motor Stalls ] ──> [ E10 Triggered ]
Step 3: Checking Electrical Connections and Wiring Harnesses
A physical disconnect or pinched wire interrupts signal transmission between the motor and board. We need to verify the integrity of the wiring route next.
Inspect the wiring harness connector at the top door hinge. Remove the plastic hinge cover on top of the cabinet by pulling up or removing its retaining screw.
Check for broken, frayed, or pinched wires exiting the cabinet and entering the door. Corrosion inside these multi-pin plugs can also block current flow.
Unplug the plastic harness connector and check for green or white oxidation on the metal pins. If clean, push the plug back together firmly until the locking tab clicks into place.
Follow the wire path down inside the door assembly to the dispenser fan housing. Reconnect any loose wiring plugs at the motor terminals.
Step 4: Testing the Fan Motor with a Multimeter (Resistance and Voltage)
If the fan spins freely and the wires look solid, test the motor electrically. Set your digital multimeter to the Ohms ($\Omega$) setting.
Disconnect the wiring plug directly from the fan motor. Touch your meter probes to the motor’s power input terminals.
Most functional Bosch dispenser fan motors operate on low-voltage DC power and should display resistance between 1,000 $\Omega$ (1k$\Omega$) and 5,000 $\Omega$ (5k$\Omega$).
If your meter displays OL (Open Line) or 0 $\Omega$ (Short Circuit), the internal motor windings are dead. The motor must be replaced.
Next, set your multimeter to DC Volts. Plug the main unit back into wall power temporarily (use caution around live wires).
Carefully measure voltage across the harness plug terminals coming from the refrigerator while the fan is commanded to run. You should measure roughly 12V DC (or 9V DC on select models).
If correct voltage reaches the plug but the fan refuses to spin, the fan assembly is defective. Unplug the refrigerator before touching components again.
       TESTING THE DISPENSER FAN
                  │
        ┌─────────┴─────────┐
        │                   │
 Resistance Test     DC Voltage Test
 (Motor Unplugged)   (Unit Powered On)
        │                   │
  ┌─────┴─────┐       ┌─────┴─────┐
  │           │       │           │
OL or 0Ω   1k-5kΩ    0V DC     12V DC
  │           │       │           │
  ▼           ▼       ▼           ▼
Bad Fan     Good    Bad Board   Bad Fan
Motor       Motor   or Cable    Motor
Step 5: Testing the Main Control Board Output
If your multimeter measured 0 volts DC at the fan harness during the test above, power is not leaving the board. This points to a broken cable inside the door frame or a failed control module relay.
Locate the main control board housing. On most Bosch units, this board sits behind a metal cover panel on the lower back exterior wall of the refrigerator.
Unplug the refrigerator from the wall. Remove the screws holding the back panel plate and set it aside.
Visually inspect the circuit board for scorched components, swollen capacitors, or a burning smell. Locate the output connector supplying the door harness.
Check pin continuity between the control board output plug and the door hinge plug. If continuity exists but no voltage is generated during operation, replace the main board assembly.
Step 6: Replacing the Bosch Dispenser Fan Motor Assembly
Replacing the fan is a straightforward task once you have confirmed it is dead. Here is the step-by-step replacement process:
- Disconnect Power: Ensure the appliance is completely unplugged.
- Expose the Motor Housing: Remove the duct cover screws and release the plastic retention tabs.
- Unplug the Harness: Press the release clip on the wire connector and pull it straight off the old fan.
- Remove Mount Screws: Unthread the mounting screws or pop the fan out of its rubber dampening grommets.
- Transfer Dampeners: Move any rubber isolation boots or gaskets from the old fan body over to the new replacement fan.
- Install New Motor: Orient the new fan so the airflow directional arrow points out toward the chute. Screw it securely into place.
- Reconnect Harness: Push the wiring harness firmly onto the new fan motor until it locks.
- Reassemble: Reattach the duct covers, trim, and ice bucket. Plug the unit back into wall power.
Preventing Future E10 Error Codes on Your Bosch Fridge
Once you clear the error, follow these practical maintenance strategies to stop frost and hardware failures from returning.
Check Door Gasket Seals
A leaking magnetic door gasket pulls warm, moist air into the freezer section constantly. This moisture drops onto the cold dispenser fan and turns into ice.
Perform the dollar bill test: Place a crisp bill against the door frame, close the door, and pull. If the bill slides out easily without resistance, replace your perimeter door gasket.
               DOLLAR BILL TEST

       Close door on bill & pull gently
                     │
         ┌───────────┴───────────┐
         │                       │
   Slides easily           Firm resistance
         │                       │
         ▼                       ▼
    Bad Gasket              Good Gasket
(Allows air in -> Frost)   (Air seal tight)
Inspect the Ice Chute Door Seal
The small rubber or plastic flap inside the dispenser chute must seal flush against its seat after every ice drop.
If ice chips stick to the seal edge, the flap stays propped open. Inspect the seal regularly and wipe away trapped ice debris.
Adjust Kitchen Humidity and Temp Settings
Avoid setting freezer temperatures excessively low (below -5°F / -20°C). Deep freezing accelerates frost accumulation inside air chutes when kitchen humidity is elevated.
We suggest keeping the fresh food section set at 37°F (3°C) and the freezer set at 0°F (-18°C) for optimal efficiency.
Frequently Asked Questions (FAQ)
Can I run my Bosch refrigerator while the E10 code is active?
Yes, your refrigerator will continue cooling food safely in both the fresh food and freezer sections. However, the ice dispenser will stop working, and frost will continue building up inside the door chute until you resolve the issue.
Why did ice build up around my dispenser fan in the first place?
Ice buildup usually stems from moist room air creeping into the dispenser chute. This happens when the outer chute flap fails to close completely, or when the door gasket seal degrades and leaks warm air.
How do I clear the E10 code after replacing the dispenser fan?
In most cases, the control board automatically clears the E10 code once it senses proper RPM feedback from the new fan motor. If the code lingers, unplug the unit for 10 minutes to force a full microprocessor reset.
What happens if I replace the fan motor and E10 comes back?
If a new fan motor fails to clear the error, you are dealing with a broken wire inside the door assembly or a damaged main control board. Check continuity along the entire wire run between the board and the door hinge.
Is the dispenser fan motor the same as the evaporator fan motor?
No, these are separate components. The dispenser fan is a small low-voltage motor dedicated solely to circulating air through the ice chute, whereas the evaporator fan is a larger blower located deep inside the freezer behind the main rear wall.
Safety Precaution Notice
Before proceeding with any repair checklist: Always unplug the appliance from its electrical socket and turn off shutoff valves for incoming water (for washers and dishwashers). Discharge capacitors if working on motors.