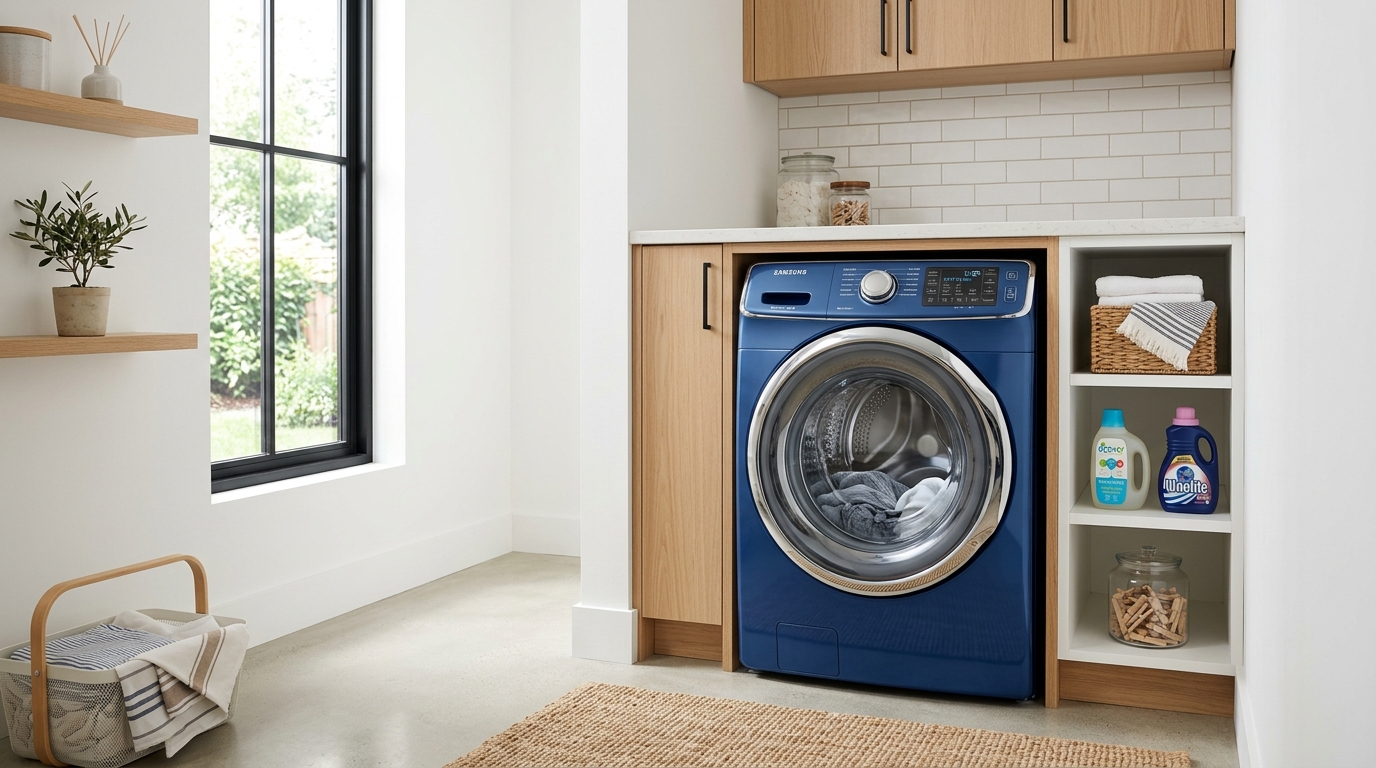
Kenmore Washing Machine OE Error Code: Step-by-Step Fix
Required Tools for this Fix
- Screwdriver
- Pliers
- Bucket
Quick Summary Answer: The Kenmore washing machine OE error code indicates a drain pump time-out, meaning the washer was unable to evacuate standing water within the factory limit of roughly 10 to 13 minutes. This issue is most commonly caused by a clogged drain pump filter (coin trap), a twisted or blocked external drain hose, or a failed electric drain pump motor. In most cases, cleaning debris out of the small access filter at the base of the machine will clear the code and restore normal operation.
Understanding the Kenmore OE Drain Time-Out Error
When your Kenmore washer stops mid-cycle and displays the OE error code, the control board has detected that water is remaining inside the tub for too long. During the drain sequence, the main control board energizes the drain pump motor and monitors the pressure switch to verify that the water level drops to an empty state. If the internal pressure transducer does not signal an empty tub after 10 to 13 minutes of continuous pump operation, the washer aborts the cycle to prevent motor burnout and floods.
Most modern Kenmore front-load and top-load units (especially those built on LG-manufactured platforms with model numbers beginning with 795 or 796) share this common error architecture. When OE flashes, the door lock will usually stay engaged until the water is safely cleared from the drum. Understanding how this drain system functions will save you hundreds of dollars in unnecessary professional repair bills.
The drain sequence relies on three mechanical and electrical stages working in unison. First, water passes through the tub drain sump into the pump housing filter. Next, an electric motor spins a small impeller to push that water up through the discharge hose and out through your household standpipe. If any link in this mechanical chain becomes restricted, the OE code appears.
Repair Overview: Cost, Time, and Tool Matrix
We compiled this quick comparison table so you can evaluate the time, complexity, and expense of troubleshooting the OE error code on your Kenmore unit.
| Diagnostic Step | Est. Time | Tools Needed | Est. DIY Cost |
|---|---|---|---|
| Clear Exterior Drain Hose | 10–15 mins | Bucket, pliers, utility brush | $0 |
| Clean Pump Filter (Coin Trap) | 15–20 mins | Shallow pan, towels, needle-nose pliers | $0 |
| Inspect/Clear Impeller | 10 mins | Flashlight, gloves | $0 |
| Test Pump Motor Resistance | 20 mins | Phillips screwdriver, digital multimeter | $0 |
| Replace Drain Pump Assembly | 45–60 mins | Screwdrivers, pliers, 10mm socket, towel | $35 – $75 |
| Inspect Pressure Switch Tube | 25 mins | Screwdriver, small wire or compressed air | $0 – $25 |
WARNING: Electrical Shock & Water Hazard Always disconnect your washing machine from the 120-volt electrical wall outlet or flip the dedicated circuit breaker before removing access panels or touching internal wiring. Water conducts electricity; ensure your work area is completely dry before opening any internal component housings.
Phase 1: Emergency Manual Water Evacuation
Before you can inspect internal parts or open the pump housing, you must remove the heavy volume of dirty water trapped inside your drum. Attempting to open the filter cap while the tub is full will unleash up to fifteen gallons of water onto your floor. We recommend using one of the three methods outlined below.
The Front Drain Tube Method (Front-Load Models)
Front-load Kenmore washers have a small access door located on the lower-left or lower-right front panel. Open this plastic flap to reveal a black rubber drain hose with a small plastic plug, sitting right next to the round pump filter knob.
Pull the flexible hose out gently, place a shallow baking dish or oil drip pan underneath it, and remove the plug. Empty the water into the pan, recap the tube, empty the pan into a sink, and repeat this cycle until water stops flowing. Keep old bath towels flat against the floor to catch minor splashes.
The Gravity Drain Method (Top-Load Models)
Top-load washers typically lack a front drain plug. Pull the washer away from the wall to access the corrugated discharge hose at the back of the cabinet.
Drop the hose down into a low-profile bucket or oil drain pan sitting flat on the floor. Gravity will naturally force the standing tub water through the hose into your container without requiring the electric pump to spin.
The Wet/Dry Shop Vacuum Approach
If your washer is backed into a tight laundry closet, use a wet/dry shop vacuum. Insert the shop vac nozzle firmly against the end of the washer discharge hose at the standpipe, sealing the connection with a rag.
Turn the vacuum on to pull the water volume out of the tub through negative pressure. This is often the fastest, cleanest approach for stubborn blockages.
Phase 2: Diagnostic Testing Checklist
Work through this diagnostic checklist sequentially. We designed this order to start with the easiest, zero-cost fixes before moving on to component replacements.
[ ] Step 1: Verify home plumbing standpipe and p-trap flow.
[ ] Step 2: Clear kinks, twists, or bends in the exterior drain hose.
[ ] Step 3: Remove, clean, and inspect the lower drain pump filter (coin trap).
[ ] Step 4: Manually rotate the drain pump impeller to check for physical seizure.
[ ] Step 5: Test the drain pump motor coil using an electrical multimeter.
[ ] Step 6: Inspect the pressure switch air tube for soap scabs and lint clogs.
[ ] Step 7: Verify line voltage coming from the main control board to the pump.
Step-by-Step Diagnostic & Repair Walkthrough
Step 1: Check Drain Hose Height and Plumbing Standpipe
We frequently see the OE error triggered by simple plumbing physics rather than a broken appliance component. Your Kenmore washer pump can only overcome a specific amount of head pressure to push water out.
First, check the insertion depth of the drain hose inside your wall standpipe. The hose should only extend 4 to 7 inches down into the pipe. If the hose is rammed all the way down, it can siphon dirty water back into the drum or fight hydraulic backpressure that stalls the pump.
Second, verify the standpipe height. It must sit between 36 and 96 inches above the finished floor. If the pipe is too tall, the pump will time out under the excessive vertical workload.
Third, confirm your home drainage pipe is not backed up. Pour a five-gallon bucket of clean water directly down the wall standpipe. If water backs up and spills over the rim, snake your household line before servicing the washer.
CORRECT DRAIN HOSE SETUP:
+------------------------------------+
|                                    |
|   [Wall Standpipe]                 |
|      |    |                        |
|      |    | <-- 4 to 7 inches max  |
|      | ~~~|     (Use anti-siphon)  |
|      |    |                        |
|      \    /                        |
|       \__/  <-- P-Trap             |
|                                    |
+------------------------------------+
Step 2: Inspect and Clean the Pump Coin Trap Filter
This is the single most common fix for the Kenmore OE error code. Small foreign objects like bobby pins, coins, baby socks, and pet hair bypass the tub seal and collect inside the pump chamber.
- Ensure all standing water was manually cleared during Phase 1.
- Place a heavy towel directly below the lower pump access door.
- Turn the large round filter knob counter-clockwise (to the left) until it breaks loose.
- Slowly unscrew the assembly and pull the plastic cylindrical basket straight out.
- Extract any foreign debris, tangled strings, coins, or hardened detergent clumps.
- Shine a bright flashlight directly inside the empty pump housing cavity.
- Wash the plastic filter under hot tap water with a soft nylon brush.
- Reinsert the filter cleanly along its alignment tracks and twist firmly to the right until snug.
If the filter was completely matted with lint or obstructed by foreign items, you have likely resolved your OE code. Reassemble the door and run a quick rinse/spin cycle to confirm.
PUMP HOUSING ANATOMY:
+-------------------------------------------------------------+
|                                                             |
|   [Pump Body] <--- [Water Inflow from Tub]                  |
|        |                                                    |
|        +-----> [Internal Impeller Fins]                     |
|        |                                                    |
|   [Filter Basket/Coin Trap] <==== [Removable Screw Cap]     |
|                                                             |
+-------------------------------------------------------------+
Step 3: Inspect the Pump Impeller Manually
While you have the filter assembly removed, look into the deep rear recess of the pump chamber. You will see a small, cross-shaped plastic fan known as the pump impeller.
Take your finger or a long wooden pencil and attempt to spin the impeller blades. You should feel slight magnetic resistance that springs back in quarter-turn increments. This rhythmic snapping resistance is normal for a permanent-magnet synchronous motor.
If the impeller will not turn at all, a hidden object is binding it. Look closely behind the blades with a mirror and flashlight for thin sewing thread, dental floss, or small screws wrapped around the motor shaft.
If the impeller spins completely loose without any magnetic resistance, or if it slides axially back and forth on its metal shaft, the plastic impeller has stripped off its internal rotor. You must replace the entire pump motor assembly in this scenario.
Step 4: Electrical Testing of the Drain Pump Motor
If the filter was clean and the impeller spins with normal magnetic action, the electric motor windings could be burnt out. You will need a digital multimeter capable of reading resistance in ohms ($\Omega$).
- Unplug the washing machine from the wall outlet.
- Remove the rear metal service panel or the lower-front panel, depending on your model.
- Locate the drain pump motor attached to the base of the cabinet.
- Squeeze the plastic locking tab on the dual-wire connector and pull the harness free from the pump terminals.
- Switch your digital multimeter to the lowest resistance setting (typically $200\ \Omega$).
- Place one meter probe on each of the two exposed metal terminals on the pump housing.
MULTIMETER READING INTERPRETATION:
--------------------------------------------------------------
Reading: 10 to 25 Ohms        --> Windings Healthy (Mechanically sound electrically)
Reading: 0.0 to 1.0 Ohms      --> Short Circuit (Replace pump)
Reading: O.L. or Infinite     --> Blown Open Circuit (Replace pump)
--------------------------------------------------------------
A healthy Kenmore drain pump will typically register between 10 and 25 ohms of electrical resistance across its coils at room temperature. If your meter displays an “O.L.” (open loop) or zero resistance, the copper coil has burned out and the pump cannot run.
You must also verify that the motor has not suffered a ground fault. Touch one probe to a pump terminal and the other probe to the clean bare metal frame of the motor; your meter must read open loop (infinite resistance).
Step 5: Check the Water Level Pressure Switch and Air Tube
Sometimes your washer drains all the water successfully, but the OE code still sounds. If you open the door after an OE fault and find an empty, dry drum, your machine has a sensor problem rather than a pumping failure.
The control board relies on an analog pressure switch (transducer) to read water depth. A narrow plastic hose runs from the base of the outer tub up to the pressure switch located directly under the top panel of the machine.
- Disconnect power to the washer.
- Remove the top panel by taking out the two rear-securing screws and sliding the top panel backward.
- Locate the circular pressure switch, which is roughly the size of a hockey puck and has a clear or black silicone tube connected to its lower stem.
- Use needle-nose pliers to slide back the small spring clamp, then pull the tube off the switch nipple.
- Blow firmly into the end of the silicone tube toward the tub.
You should hear bubbling inside the empty sump, and you should not meet strong resistance. If the hose feels blocked, dried soap residue, fabric softener, or lint has formed a plug inside the tube or at the air bell trap.
This trapped pressure makes the control board believe the tub is still flooded with water, triggering an OE code. Clear the hose with warm water, reattach it tightly with the clamp, and verify the connection is airtight.
How to Replace the Kenmore Drain Pump Assembly
If your diagnostic tests revealed a burned-out motor coil or a cracked, stripped impeller, replacing the drain pump assembly is a straightforward repair.
Tools Required
- Phillips screwdriver
- 10mm socket and ratchet
- Channel-lock pliers
- Towels and a shallow collection pan
- OEM Replacement Drain Pump (commonly part number 4681EA2001T, 5859EA1004G, or equivalent, based on your model tag)
Removal and Installation Steps
- Disconnect the unit from electrical power and turn off both hot and cold water supply faucets.
- Disconnect the main water discharge hose and drain any residual water into a flat container.
- Tip the washing machine back against a wall at a 20-degree angle and secure it with wood blocks, or remove the lower front panel.
- Disconnect the electrical wiring harness connected to the drain pump motor.
- Use channel-lock pliers to slide the spring clamps backward along the heavy black rubber hoses connected to the pump housing.
- Twist and pull the rubber hoses off the plastic pump intake and exhaust ports.
- Remove the mounting bolts (usually two or three 10mm bolts or Phillips screws) anchoring the pump bracket to the washer base frame.
- Lift the damaged pump assembly out of the appliance cabinet.
- Mount your new pump assembly into position, aligning the vibration-damping rubber feet with the frame holes.
- Reinstall the mounting bolts firmly; do not over-torque into plastic housings.
- Reattach the rubber tub sump hose and external drain hose to the new pump ports, sliding the spring clamps back into their original indentations.
- Reconnect the electrical wiring harness, ensuring the locking clip clicks securely into place.
- Stand the machine upright, restore power and water, and run an empty rinse cycle while checking the hose connections with a flashlight for leaks.
Symptom Analysis Matrix
Use this quick sound-and-symptom reference to narrow down your failure point before opening the cabinet.
+---------------------------+-----------------------------------+-----------------------------------+
| Sound / Machine Symptom   | Probable Cause                    | Recommended Action                |
+---------------------------+-----------------------------------+-----------------------------------+
| Loud buzzing / humming    | Impeller locked by coin or pin    | Clean the coin trap immediately   |
| Continuous grinding noise | Damaged impeller / stripped gears | Replace drain pump assembly       |
| Dead silence at drain step| Blown motor coil or bad board     | Test terminals with multimeter    |
| Drum is empty; throws OE  | Clogged pressure switch tube      | Inspect and blow out clear tube   |
| Foam/suds visible in door | Detergent over-sudsing lock       | Run clean cycle; reduce soap use  |
+---------------------------+-----------------------------------+-----------------------------------+
Preventative Habits: Avoiding Future OE Errors
Keeping your drain system clear requires simple adjustments to your laundry habits. Following these steps helps prevent recurring pump restrictions and expensive service calls.
Stop Detergent Over-Dosing
High-efficiency (HE) washers use very little water per cycle. Using regular non-HE soap, or using too much HE detergent, creates dense micro-suds.
These suds compress into foam when the pump tries to push them out, causing an air-lock condition known as “pump cavitation.” The impeller spins uselessly in air bubbles, triggering an OE error even though the motor is mechanically functional. Use no more than two tablespoons of genuine HE liquid detergent per standard load.
Inspect Garment Pockets
Small items represent roughly 80 percent of all physical pump obstructions. Golf tees, coins, guitar picks, hair clips, and paper clips easily navigate their way through the outer drum basket holes.
Make it an unbreakable laundry habit to turn pockets completely inside out before clothes enter the machine drum. Wash small socks, undergarments, and baby clothes inside mesh zip-up laundry bags.
Schedule Monthly Coin Trap Maintenance
Do not wait for an OE error to clean your lower pump filter. Clear out this coin trap once every 30 to 60 days. Regular maintenance prevents pet hair mats from hardening into impenetrable felt-like dams inside the pump housing.
Diagnostic Flow Logic
Follow this decision tree when tracking down the root cause of your drainage fault:
[OE Error Triggered]
         |
         v
Is water physically present in the drum?
    /         \
  [YES]       [NO] ---> Check pressure sensor hose for lint blockages
    |                   or soap scum. Verify sensor resistance.
    v
Does the pump make a humming/buzzing sound?
    /         \
  [YES]       [NO] ---> Check wiring harness for 120V input.
    |                   If 120V present, pump coil is dead.
    v                   If 0V present, main control board relay failed.
Open filter coin trap.
Is foreign debris jamming the blades?
    /         \
  [YES]       [NO] ---> Test motor coil with multimeter.
    |                   Replace worn or stripped pump.
Clear debris.
System restored.
Frequently Asked Questions
How do I manually reset my Kenmore washer after clearing the OE error?
To clear the stored error code and reset the internal control board, press the Power button to shut the machine off. Unplug the main power cord from the wall electrical outlet.
While the unit remains unplugged, press and hold the Start/Pause button down continuously for 5 seconds, then release it. Plug the washing machine back into the wall outlet, power it back on, and start a simple drain and spin cycle to verify normal function.
Can an excessive build-up of soap suds cause an OE code?
Yes, excess foam is a very common trigger for false OE codes. When detergent produces excessive lather, the drain pump impeller becomes aerated and loses its hydraulic prime, meaning it spins in foam instead of moving liquid out through the discharge hose.
If you see suds plastered against the door glass, pour half a cup of cooking oil or liquid fabric softener into the drum to knock down the foam, then initiate a manual drain cycle.
Can I run a forced drain cycle on my Kenmore washer to test the pump?
Yes, you can bypass the normal wash sequence and force the pump to energize immediately. Power the washer on, but do not touch the cycle selector dial.
Immediately press and hold the Spin Speed button until the display shows a spin speed setting, then press the Start/Pause button. The machine will lock the door and run the drain pump continuously for several minutes before ramping up the drum spin speed.
How much does it cost to have a professional technician fix an OE error?
Hiring an appliance repair technician to diagnose and repair an OE error code typically costs between $150 and $300 in total. The diagnostic service call fee alone runs between $85 and $125 across most of the United States.
If the repair only requires clearing a dirty coin trap, you will pay primarily for labor. If the technician needs to replace the drain pump assembly, expect parts and labor to tally near the higher end of that price spectrum.
How can I tell if my Kenmore washer was manufactured by LG or Whirlpool?
Look at the model and serial tag located on the inner door frame or the rear cabinet edge. If the model number starts with three digits followed by a period, those first numbers identify the original equipment manufacturer.
Kenmore models starting with 795 or 796 were made by LG and use the OE error system discussed in this guide. Kenmore models starting with 110 were manufactured by Whirlpool and typically use different error conventions (such as F9E1 for long drain times).
Safety Precaution Notice
Before proceeding with any repair checklist: Always unplug the appliance from its electrical socket and turn off shutoff valves for incoming water (for washers and dishwashers). Discharge capacitors if working on motors.