KitchenAid Dishwasher 4-1 Error Code: Step-by-Step Fix
Required Tools for this Fix
- Screwdriver
- Replacement door latch
Quick Summary Answer: The KitchenAid dishwasher error code 4-1 indicates a door switch communication failure, meaning the central control board cannot verify whether the door latch is safely closed. This issue is most commonly caused by a failed door switch microswitch, a loose wiring harness inside the inner door panel, or a misaligned door latch assembly. To resolve it, cycle power at the breaker, inspect the latch wiring, and test the door microswitch for electrical continuity using a multimeter.
KitchenAid dishwashers rely on a closed-circuit door switch to tell the main electronic control board that the door is shut tight and locked before any wash cycle begins. When error code 4-1 (often displayed as Function 4, Error 1, or four flashes followed by one flash) appears, the machine stops running to prevent water from flooding your kitchen.
We see this specific fault code across many KitchenAid models, especially those built on Whirlpool’s modern architectural platform. Let’s walk through the diagnostic and repair workflow to get your machine running without calling for an expensive service visit.
Quick Reference Diagnostic Matrix
| Diagnostic Step | Est. Time | Tools Needed | Est. Cost (DIY) |
|---|---|---|---|
| 1. Hard System Reset | 5 mins | None | $0 |
| 2. Strike Plate & Alignment Check | 10 mins | Flashlight, Level | $0 |
| 3. Latch Removal & Visual Inspection | 15 mins | Torx T15 & T20 screwdrivers | $0 |
| 4. Door Switch Continuity Test | 10 mins | Digital Multimeter | $0 |
| 5. Wiring Harness Inspection | 15 mins | Multimeter, Flashlight | $0 |
| 6. Microswitch / Latch Replacement | 20 mins | Torx Drivers, Pliers | $25 – $65 |
| 7. Main Control Board Replacement | 30 mins | Torx T15, Nut Driver | $120 – $220 |
Safety Warning: Always turn off electrical power at your home’s main circuit breaker box before removing any panels on your dishwasher. Dishwashers combine high-voltage electricity and standing water, creating a real risk of severe shock. Wear cut-resistant work gloves to protect your hands from the razor-sharp sheet metal edges inside the door panel.
What Does Error Code 4-1 Mean on a KitchenAid Dishwasher?
The main control board sends a low-voltage sensing signal through the door switch assembly. If the board detects that the switch contacts stay open when the door is latched, or if the signal drops out unexpectedly mid-cycle, it triggers the 4-1 error code.
Modern KitchenAid units run a diagnostic check right before energizing the drain pump, wash motor, and water inlet valve. If the control board detects an inconsistent reading—such as an open switch circuit while the latch sensor indicates the latch handle is down—it halts operation immediately.
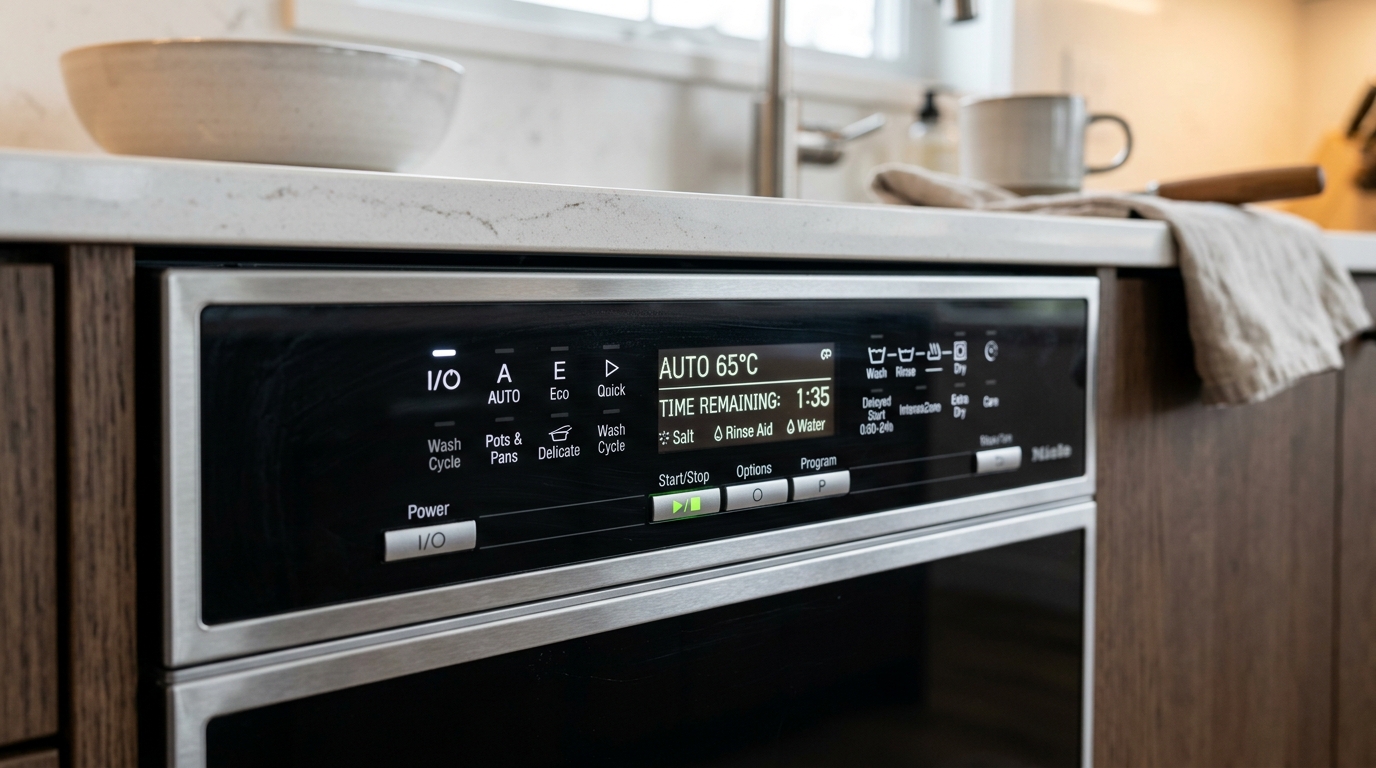
This error code can appear in two visual formats depending on your model. On digital display models, you will see “4-1” or “F4 E1” alternating on the screen. On models without an LED character display, the “Clean” or “Start” LED will blink 4 times, pause for two seconds, blink 1 time, and then repeat the sequence.
Primary Causes of KitchenAid Error Code 4-1
Understanding why this circuit breaks down helps narrow down your repair plan quickly. In our field experience, error code 4-1 traces back to four root causes:
1. Mechanical Latch Failure or Misalignment
The door latch contains mechanical catches that interface with the metal strike plate mounted on the tub frame. If your dishwasher tub has shifted or the door hinges have bent slightly over time, the strike plate will not push the latch mechanism deep enough to depress the internal microswitches.
2. Defective Microswitch
Inside the plastic door latch housing sits one or two small microswitches. Over hundreds of cycles, the internal copper contacts can burn out, corrode from steam exposure, or suffer mechanical spring fatigue. When this happens, the switch will not close electrically even when pressed down firmly.
3. Damaged or Pinched Wiring Harness
The wiring harness runs from the main control board at the bottom or top of the dishwasher, travels through the door hinge flex zone, and plugs into the latch switch. Constant bending, thermal expansion, or factory zip-ties that are pulled too tight can fracture the internal copper strands over time.
4. Main Control Board Logic Fault
If the microswitch and wiring check out fine, the input circuit on the main control board may have failed. A damaged relay, broken solder joint, or corrupted logic chip can prevent the board from processing the door status signal correctly.
Essential Tools and Safety Equipment
You do not need specialized trade tools to fix a 4-1 door switch error. You can handle the entire diagnostic process using standard hand tools:
- Torx T15 and T20 Screwdrivers: Most KitchenAid inner door panels and latch brackets use Torx screws.
- Digital Multimeter: Required for measuring electrical continuity and resistance across the switch terminals.
- Needle-Nose Pliers: Useful for disconnecting snug spade connectors from the switch body without ripping the wires.
- Flashlight or Headlamp: Helps you clearly inspect the strike plate, tub frame, and dark crevices within the door liner.
- Work Gloves: Protects your fingers against raw sheet metal edges inside the outer door skin.
Step-by-Step Diagnostic and Testing Checklist
Follow this systematic testing sequence to pinpoint the exact failure point without guessing or buying unneeded parts.
[ ] Step 1: Perform a Hard Power Reset
[ ] Step 2: Inspect Door Strike and Tub Level
[ ] Step 3: Remove the Inner Door Panel
[ ] Step 4: Inspect the Latch Assembly and Wiring
[ ] Step 5: Test the Door Switch with a Multimeter
[ ] Step 6: Test Harness Continuity to the Control Board
[ ] Step 7: Clear Stored Error Codes via Service Diagnostic Mode
Step 1: Perform a Hard Power Reset
Sometimes microprocessor logic locks up due to power surges or micro-outages.
Switch off the circuit breaker that supplies power to the dishwasher. Leave the breaker off for a full five minutes to let all internal capacitors discharge completely.
Restore power to the unit. Open and firmly shut the dishwasher door, select a regular cycle, and press Start to see if the error clears.
Step 2: Inspect Door Strike and Tub Level
A distorted cabinet or loose strike plate prevents proper switch engagement.
Open the dishwasher door and inspect the metal strike loop at the top center of the tub opening. Verify that the strike is tight and has not loosened or bent upward.
Look at how the door meets the tub frame as you close it. If the door hangs low or rubs against the side trim, adjust the leveling legs at the base of the machine so the door enters square and true.
+-------------------------------------------------------------+
|                      DISHWASHER TUB                         |
|                                                             |
|                       [Strike Plate]                        |
|                             ||                              |
|                             \/                              |
|                   [Door Latch Assembly]                     |
|                   |  [Microswitch 1]  |                     |
|                   |  [Microswitch 2]  |                     |
|                   +---------+---------+                     |
|                             | (Wiring Harness)              |
|                             v                               |
|               [Main Electronic Control Board]               |
+-------------------------------------------------------------+
Step 3: Remove the Inner Door Panel
Accessing the door switch assembly requires separating the inner and outer door panels.
Shut off power at the breaker panel before starting this step. Open the door and locate the Torx screws along the stainless steel inner perimeter.
Hold the outer door skin with one hand while backing out the screws with your Torx T15 driver. Slowly separate the inner liner from the outer front panel, being careful not to stretch any internal wire connections.
Step 4: Inspect the Latch Assembly and Wiring
With the door panel separated, look closely at the latch housing at the top center of the door.
Inspect the plastic latch body for cracks, broken retaining tabs, or signs of heat discoloration. Look closely at the wire harness plugs connected to the switch terminals to ensure they are seated all the way in.
Check the wires for pinches, rub marks, or green corrosion caused by steam leaks around the detergent dispenser or vent gasket.
How to Test the Door Switch with a Multimeter
Testing the switch with a multimeter gives you an undisputed answer regarding its electrical health.
                MULTIMETER CONTINUITY TEST

     SWITCH UNPRESSED (OPEN)        SWITCH PRESSED (CLOSED)

        +-------------+                +-------------+
        |   O.L. / 1  |                |   0.0 OHMS  |
        +-------------+                +-------------+
           |       |                      |       |
          [o]     [o]                    [o]     [o]
        Terminal Term.                 Terminal Term.
           (Plunger Up)                  (Plunger Down)
1. Disconnect the Wire Terminals
Using needle-nose pliers, gently pull the wire connectors off the switch terminals. Pull on the metal spade housing rather than the insulated wire itself to prevent breaking the internal wire strands.
2. Set Your Multimeter
Turn your multimeter dial to the lowest Ohms ($\Omega$) setting or to the Audible Continuity mode. Touch the two meter probes together to confirm you read 0.0 ohms or hear a steady beep.
3. Test the Unactuated State (Door Open)
Touch one meter probe to each of the two terminal blades on the microswitch. With the latch plunger unpressed, your multimeter should read O.L. (Open Loop / Infinite Resistance) or show no sound.
If the meter shows continuity (0 ohms) while the switch is open, the internal switch contacts have fused together, and the latch must be replaced.
4. Test the Actuated State (Door Closed)
Keep the probes firmly on the terminals and manually push the mechanical latch actuator inward using a small screwdriver or your finger.
The meter should immediately drop to 0.0 to 0.4 Ohms, or produce a continuous beep. If the reading stays at O.L. or bounces erratically, the microswitch is defective and cannot reliably communicate with the board.
How to Replace a KitchenAid Door Latch Assembly
If your diagnostic tests revealed a failed microswitch or cracked latch body, replacing the entire latch assembly is the most reliable fix.
Step 1: Disconnect the Old Assembly
Remove the two mounting screws holding the latch assembly to the inner door frame. Unclip the wiring harness plug from the microswitch terminals if you haven’t already.
Step 2: Install the New Latch
Position the new OEM latch assembly into the upper bracket on the inner door. Hand-thread the mounting screws first, then tighten them securely with your Torx driver without overtightening the plastic tabs.
Step 3: Reattach the Wiring Harness
Snap the wire harness connectors firmly onto the switch terminals until you feel them click into place. Make sure the wires are tucked neatly into their designated routing channels so they do not get pinched when you close the door skin.
Step 4: Reassemble the Door Panel
Realign the outer stainless door skin with the inner door frame. Reinstall the perimeter Torx screws, alternating sides as you tighten them to keep the door skin aligned evenly.
How to Clear the 4-1 Error via Diagnostic Cycle
After repairing or replacing the door switch, you should run the built-in KitchenAid diagnostic cycle. This step clears the stored error code from memory and tests all active components.
       KITCHENAID DIAGNOSTIC KEY SEQUENCE

    [Button 1]  ->  [Button 2]  ->  [Button 3]
         |               |               |
       Press           Press           Press
         |               |               |
    [Button 1]  ->  [Button 2]  ->  [Button 3]
         |               |               |
       Press           Press           Press
         |               |               |
    [Button 1]  ->  [Button 2]  ->  [Button 3]

    (Must complete entire sequence within 6 seconds)
- Make sure the dishwasher is in Standby Mode (door closed, display powered, no active wash cycle).
- Choose any three distinct keys on the control console (except Power or Cancel). For example: High Temp, Sani Rinse, and Heated Dry.
- Press these three keys in exact sequence: 1 - 2 - 3, 1 - 2 - 3, 1 - 2 - 3, allowing no more than one second between each keypress.
- If entered correctly, all console lights will illuminate solid for five seconds.
- Close the door fully. The dishwasher will now begin an automated 5-minute service cycle that checks the drain pump, wash motor, heater, and door switch circuits.
- Let the cycle run to completion. When the diagnostic finishes, the control board clears the 4-1 fault code from active memory.
When to Replace the Main Electronic Control Board
If your microswitches test fine, the wiring harness shows zero breaks from end to end, and the strike plate engages smoothly, the main electronic control board is the culprit.
The main control board contains the pull-up resistors and microcontrollers that read switch status. If a power surge or water vapor damages this section of the board, it will continue throwing code 4-1 even with a brand-new latch installed.
We recommend accessing the control board (located in the base pan or inside the door assembly depending on the model) and inspecting the board surface. Look for:
- Burnt electrical traces or blackened resistors.
- Swollen or leaking electrolytic capacitors.
- Brown burn marks around the wire harness header pins.
If any of these visual signs are present—or if you have verified the continuity of the harness and latch switch—replace the main control board to permanently fix the error.
Preventative Maintenance to Avoid Door Switch Errors
Taking a few simple preventative steps will keep your door latch assembly working smoothly for years:
- Do Not Slam the Dishwasher Door: Aggressive closing forces the metal strike plate against the plastic latch housing with unnecessary impact, eventually cracking the switch bracket.
- Keep the Top Gasket Clean: Wipe down the rubber door seal every month with warm water and mild dish soap to remove food debris and grease build-up that forces the door outward.
- Check Cabinet Level Once a Year: Cabinets and subfloors settle over time. Check that your dishwasher remains level from side-to-side and front-to-back so the strike plate enters the latch squarely.
- Prevent Steam Leaks: Ensure the console vent and detergent dispenser seals remain pliable and leak-free to keep corrosive moisture away from the upper wiring harness.
Frequently Asked Questions (FAQ)
Can I bypass the KitchenAid door switch to keep running cycles?
We strongly advise against bypassing the door switch. Bypassing the switch creates a severe flood risk, as the wash pump will continue running even if the door pops open. It also creates an electrical hazard and violates standard appliance safety codes.
How much does it cost to fix KitchenAid error code 4-1?
If you fix the unit yourself, an OEM KitchenAid door latch assembly typically costs between $25 and $65. If you hire a professional appliance technician, expect to pay between $150 and $275 total, which includes diagnostic fees, parts, and labor.
Why does my dishwasher show 4-1 even when the door feels tightly shut?
The door feeling shut is only a mechanical action. If the internal microswitch contacts are burned or broken, the switch cannot close the electrical circuit to signal the control board. The board reads this as an open door despite the mechanical latch being engaged.
What is the difference between error codes 4-1 and 4-2 on a KitchenAid dishwasher?
Error code 4-1 indicates that the door switch circuit is stuck open or failing to communicate when a cycle starts. Error code 4-2 indicates that the door switch is detected as stuck closed continuously, meaning the board never detects the door opening between completed cycles.
Where can I find the correct replacement latch part number for my KitchenAid model?
Locate the model and serial number tag printed along the inner stainless steel door rim or on the left side of the tub frame. Search that exact model number on an authorized OEM appliance parts distributor site to retrieve the correct latch assembly part number for your specific build series.
Safety Precaution Notice
Before proceeding with any repair checklist: Always unplug the appliance from its electrical socket and turn off shutoff valves for incoming water (for washers and dishwashers). Discharge capacitors if working on motors.