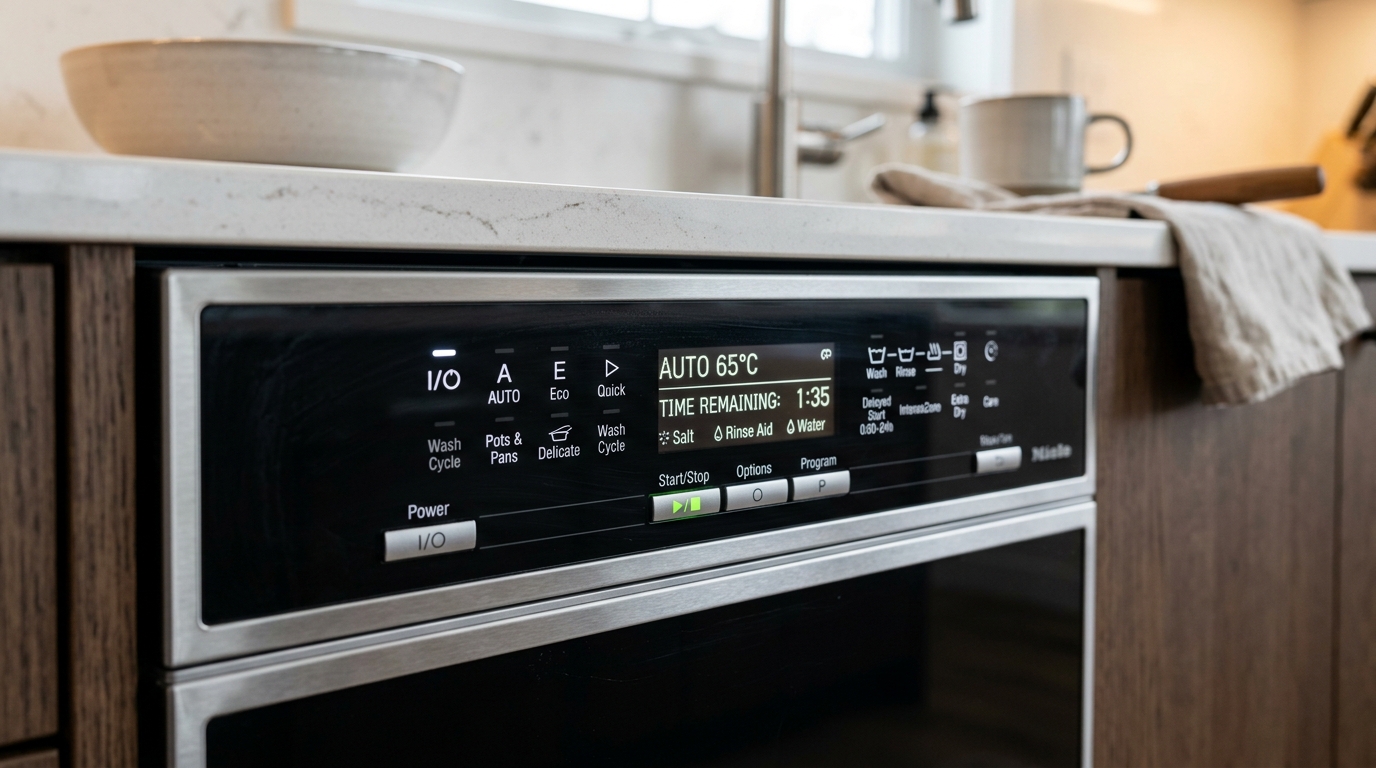
KitchenAid Dishwasher HE Error Code: Step-by-Step Fix
Required Tools for this Fix
- Multimeter
- Nut driver
- Replacement element
Quick Summary Answer: The KitchenAid dishwasher HE error code indicates a heating error, meaning the control board detected that the water failed to heat properly during a cycle. The most common culprit is a burned-out heating element, followed by a tripped high-limit thermostat or a faulty control board relay. You can usually fix this by testing the heating element under the tub for continuity using a multimeter and replacing the element if it reads an open circuit.
The KitchenAid “HE” error code appears when your dishwasher cannot raise the wash water to the target operating temperature. KitchenAid dishwashers rely on hot water to sanitize dishes and activate detergent enzymes effectively. When the internal heating logic detects that water temperatures have not risen by a specific number of degrees within a predetermined run time, it trips the HE error and shuts down the heating circuit to protect your dishes and appliance.
In most cases, the control board also locks out the heating element from running in future cycles until the error code is addressed and cleared through a diagnostic cycle. This protective lockout prevents electrical shorts from creating a runaway thermal scenario. If your dishes are coming out wet, cold, and covered in greasy residue, you are dealing with an active heating circuit fault.
Diagnostic Overview: Time, Tools, and Cost
Before tearing into your dishwasher, review what you will need for this diagnostic procedure. Most homeowners can complete this inspection and part replacement using standard hand tools and a basic digital multimeter.
| Diagnostic Step | Est. Time | Tools Needed | Est. Cost (DIY vs. Pro) |
|---|---|---|---|
| Run Diagnostic Mode & Clear Codes | 5–10 mins | None (Keypad sequence) | $0 |
| Inspect Heating Element in Tub | 5 mins | Flashlight | $0 |
| Access Under-Tub Components | 15–20 mins | 1/4” Nut Driver, Torx T15, Work Gloves | $0 |
| Multimeter Continuity Test (Element) | 10 mins | Digital Multimeter, 1/4” Nut Driver | $0 ($30–$75 for replacement element) |
| Test High-Limit Thermostat (TCO) | 10 mins | Digital Multimeter, Flathead Screwdriver | $0 ($15–$35 for replacement TCO) |
| Test Thermistor / Temperature Sensor | 10 mins | Digital Multimeter | $0 ($20–$45 for replacement sensor) |
| Inspect Wiring & Control Board Relay | 15–25 mins | Phillips #2, Torx T15, Visual Inspection | $0 ($150–$250 if control board is blown) |
WARNING: Severe Electrical Shock & Flood Hazard
Always turn off the circuit breaker supplying power to your dishwasher before removing any panels, touching wiring, or handling electrical components. Dishwashers combine high-voltage electrical circuits with pressurized water lines in a tight, metal-framed environment. Never test internal wiring or components for continuity while the machine is connected to live household electrical power.
What Causes the KitchenAid HE Error Code?
Understanding the heating system helps pinpoint which component failed. The heating loop is composed of five distinct items that must all operate in sequence.
First, the heating element itself is a metal-sheathed calrod assembly located in the bottom of the tub. It receives 120 volts of alternating current directly through a mechanical relay located on the main control board. When electrical current passes through the resistive nichrome wire inside the element, it radiates heat into the water sitting in the sump.
Second, the system includes a high-limit thermostat—frequently called a thermal cut-off (TCO)—mounted directly flush against the underside of the stainless steel tub. This component acts as a safety kill-switch. If the tub gets abnormally hot due to low water levels, the bi-metal disc inside the thermostat snaps open, severing power to the element instantly.
Third, the machine uses a thermistor (NTC temperature sensor) to constantly measure water temperature. The thermistor changes its electrical resistance based on how warm or cold the water is, sending real-time data back to the microcomputer on the control board. If this sensor drifts out of calibration, the board will believe the water is not heating even if the element works perfectly.
Finally, the main electronic control board houses the switching relay and logic circuits. If the relay contacts weld shut or burn out, power will never reach the heating element beneath the tub. Corroded spade terminals or burnt wiring between these points can also break the electrical loop and trigger the HE code.
Diagnostic Testing Checklist
Follow this systematic, step-by-step checklist to isolate the exact cause of your heating failure. Work through these checks in order from simplest to most advanced.
[ ] 1. Check for physical damage, blistering, or cracks on the heating element loop.
[ ] 2. Run the diagnostic sequence to force the control board to re-read temperatures.
[ ] 3. Disconnect power at the main home breaker box.
[ ] 4. Remove the lower kickplate access panels.
[ ] 5. Disconnect the wiring leads from the heating element terminal pins.
[ ] 6. Test the heating element with a digital multimeter for resistance (10 to 30 ohms).
[ ] 7. Test the heating element terminals for a short circuit to ground.
[ ] 8. Test the high-limit thermostat for continuity (0 ohms).
[ ] 9. Check the thermistor resistance value against ambient room temperature.
[ ] 10. Inspect the wiring harness underneath the tub for scorched or loose terminals.
[ ] 11. Inspect the main control board for blown solder joints or burnt relay tracks.
Step-by-Step Diagnostic and Repair Procedures
1. Perform a Visual Inspection Inside the Tub
Start inside the dishwasher tub without taking anything apart. Open the door, pull the lower dish rack completely out of the machine, and set it aside.
Inspect the circular metal heating element resting near the bottom of the tub. Look closely for blisters, splits in the metal casing, discoloration, or black burn marks. If you spot a split in the casing with white powder or dark ceramic insulation spilling out, the element has failed physically.
A cracked element cannot be repaired and must be replaced immediately. If the element looks pristine and smooth, you still cannot rule it out, as heating elements often break internally without showing external physical damage.
2. Enter Diagnostic Mode to Clear Soft Errors
Sometimes, the HE code is triggered by a single cold-water fill cycle caused by a temporarily malfunctioning home water heater. Running the built-in KitchenAid diagnostic mode clears the lockout memory and forces the control board to test all loads.
With the door open or closed (depending on whether your controls are front-facing or top-mounted), press any three non-power keys in rapid sequence: 1 - 2 - 3, 1 - 2 - 3, 1 - 2 - 3. Ensure you press each button within one second of the previous press.
If executed correctly, all console lights will illuminate, indicating the diagnostic cycle has initiated. Close the door and allow the dishwasher to complete this 10-to-15-minute automated test cycle.
If the HE error returns after running diagnostics, you are dealing with a hard component failure.
Keypad Sequence:
[Key 1] -> [Key 2] -> [Key 3] ->
[Key 1] -> [Key 2] -> [Key 3] ->
[Key 1] -> [Key 2] -> [Key 3]
(Press within 1-second intervals)
3. Remove Access Panels to Reach the Electrical Components
Make sure the circuit breaker is turned off before touching the lower panel. Locate the two 1/4-inch hex screws securing the lower toe-kick and access cover plates to the bottom frame of the dishwasher.
Remove these screws using a 1/4-inch nut driver. Pull the metal toe-kick plate forward, and pull away the thick felt or fiberglass insulation sound blanket behind it.
You now have access to the bottom of the wash tub. Use a dependable work light so you can clearly see the wiring and component terminals situated underneath the tub floor.
4. Test the Heating Element for Resistance and Ground Shorts
Look toward the rear underside of the tub to find the two threaded plastic nuts that secure the heating element. You will see two metal spade terminals protruding straight down through the center of these plastic retaining nuts.
       [ Dishwasher Tub Floor ]
          ||              ||
         [Nut]          [Nut]
          ||              ||
      [Terminal 1]    [Terminal 2]
           |               |
       (Wire Lead)    (Wire Lead)
Gently grasp the slip-on wiring connectors attached to these terminal pins and pull them straight down to disconnect them. We suggest using needle-nose pliers on the metal connectors rather than tugging on the wires themselves.
Turn your digital multimeter dial to the lowest Resistance (Ohms / $\Omega$) setting. Place one meter probe on terminal 1 and the other meter probe on terminal 2.
- Expected Reading: A functioning KitchenAid heating element will show a resistance reading between 10 ohms and 30 ohms (most read around 12 to 18 ohms).
- Failed Reading: If your meter shows “OL” (Open Loop), “1.”, or infinity, the internal nichrome element wire is severed. Replace the element.
Next, leave one probe on one of the element terminals and touch the other meter probe firmly to the bare metal frame or metal tub of the dishwasher. Your meter must read “OL” or open circuit. If you get any resistance reading to ground, the element is shorted out and must be replaced.
5. Test the High-Limit Thermostat (Thermal Cut-Off)
If the heating element tested fine, redirect your attention to the high-limit thermostat. This small, disc-shaped component is clipped directly to the bottom metal pan of the tub, usually toward the right or center.
The thermostat has two wires running to it and monitors tub temperature to prevent thermal runaway. Disconnect at least one of the two wire leads from the thermostat terminals to prevent testing backfeed through the wiring harness.
Set your multimeter to the Continuity or lowest Ohms setting. Touch a probe to each of the two metal spade terminals on the thermostat.
- Expected Reading: At room temperature, the thermostat contacts should be closed, giving you a reading of 0.0 to 0.5 ohms (accompanied by an audible beep on continuity mode).
- Failed Reading: If your meter reads “OL” or infinite resistance at room temperature, the bi-metal internal switch has tripped permanently. The high-limit thermostat is broken and must be replaced.
6. Test the Thermistor / Water Temperature Sensor
The thermistor—often integrated with the Optical Water Indicator (OWI)—is located in the bottom of the plastic sump housing. It measures water temperature and detects soil levels in the wash water.
Locate the sensor plug on the sump and release the locking tab to disconnect the wire harness connector. Set your digital multimeter to measure resistance up to 100k Ohms (100,000 $\Omega$).
Place your meter probes across the thermistor pins inside the component socket. At normal room temperature (approximately 70°F to 77°F), a standard Whirlpool/KitchenAid thermistor should read between 45,000 and 52,000 ohms (45k to 52k ohms).
If your meter reads near 0 ohms, shows infinite resistance (“OL”), or shows erratic values, the thermistor is dead. Because this sensor supplies temperature data to the control board, an erratic reading triggers an HE error code even when the heating element is mechanically sound.
7. Inspect the Wire Harness and Control Board
If the element, thermostat, and thermistor all pass electrical tests, the problem lies in the wiring harness or the control board itself.
Inspect the wiring connections running between the control board and the element terminals under the tub. Look closely for melted plastic spade covers, discolored insulation, or loose crimp connections. A loose connection creates electrical resistance, which generates heat and melts the connector, breaking the circuit.
If the wiring is intact, access the main control board located inside the drop-down front door panel or in a protective plastic casing along the lower right base. Shut off power and remove the inner door screws using a Torx T15 screwdriver to separate the door panels.
Unsnap the plastic housing around the main control board. Inspect the printed circuit board for black soot marks, swollen capacitors, or a cracked/scorched heater relay. The heater relay is a small rectangular plastic box soldered to the board; if the relay contacts arc and burn out, the board cannot send voltage to the element, necessitating a replacement control board.
How to Replace a Failed KitchenAid Heating Element
If your multimeter proved the heating element is open, follow these instructions to swap in a replacement.
Step 1: Drain Residual Water
Empty any standing water inside the tub sump using a sponge or wet/dry shop vacuum. This prevents water from pouring through the element mounting holes into your floor insulation when the element is removed.
Step 2: Disconnect the Under-Tub Hardware
With the dishwasher disconnected from power and the kickplate off, remove the two wiring leads from the element terminals. Using an adjustable wrench or large channel-lock pliers, unscrew the two large plastic nuts holding the element studs to the underside of the tub. Turn the nuts counterclockwise to remove them completely.
Step 3: Remove the Old Element
Move inside the dishwasher tub. Pull the lower spray arm up and out of the way if necessary.
Unclip the heating element from the plastic mounting brackets attached to the floor of the tub. Lift the element up and forward, pulling the threaded terminal posts completely through the bottom tub holes.
Step 4: Install the New Element
Ensure the new heating element includes two fresh rubber or silicone sealing washers. Slide one washer onto each threaded post until it sits flush against the bottom of the element frame inside the tub.
Feed the threaded terminal posts down through the matching holes in the bottom of the tub. Snap the metal loops of the element securely into the plastic stabilizing clips on the tub floor.
Step 5: Secure and Reconnect
Go underneath the dishwasher tub. Thread the two plastic retaining nuts onto the terminal posts by hand to avoid cross-threading.
Tighten the nuts firmly with your pliers or wrench. We suggest tightening them until the rubber gaskets compress flat against the tub floor, but avoid over-torquing them, which could crack the plastic tub or snap the mounting posts.
Push the wiring harness spade terminals firmly onto the new element posts until they seat completely. Reinstall the kickplate, restore electrical power at the breaker, and run a diagnostic test cycle to verify proper operation.
Preventive Maintenance to Avoid Repeat HE Errors
Taking care of your dishwasher ensures heating components remain fully operational for years. These simple maintenance habits keep the heating circuit working within manufacturer specifications.
- Run Hot Water at the Sink First: Run your kitchen sink faucet until the water runs hot before starting the dishwasher. This ensures the dishwasher fills with hot water right away, reducing workload and thermal stress on the internal heating element.
- Clean the Sump Filter Monthly: A clogged cylinder filter restricts water flow across the heating element and OWI sensor. If water cannot circulate freely, localized overheating can trip the high-limit thermostat.
- Address Hard Water Mineral Scaling: Hard water leaves calcium and lime deposits on the metal element sheath, insulating it and causing it to run hotter than designed. Run a cup of white vinegar or commercial dishwasher descaler through an empty cycle every two to three months to dissolve scaling.
- Check Detergent Use: Using excessive detergent causes foaming and oversudsing. Suds insulate the water sensor, preventing accurate temperature readings and increasing cycle times unnecessarily.
Frequently Asked Questions (FAQ)
1. Can I continue using my dishwasher with the HE code displayed?
We advise against running the dishwasher with an active HE code. While the dishwasher may physically run through a cold wash cycle, your dishes will not be sanitized, and grease will redeposit onto dishware. Furthermore, running cycles with an unresolved heating circuit problem can cause electrical issues if a damaged wire or element shorts out against the metal tub.
2. How do I clear the HE error code without replacing parts?
You can clear the code by initiating the diagnostic mode: press any three control keys in a 1-2-3, 1-2-3, 1-2-3 sequence within five seconds, then close the door. This clears the non-volatile memory on the control board and forces a self-test. However, if the heating element or thermostat is physically broken, the HE code will return immediately during the next standard wash cycle.
3. What is the standard resistance reading for a working KitchenAid heating element?
A healthy KitchenAid dishwasher heating element should measure between 10 and 30 ohms on a digital multimeter. Most factory replacement elements measure right around 15 to 20 ohms. If your multimeter reads “OL” (open loop) or zero ohms, the heating element has suffered an internal breakdown and must be replaced.
4. Why does my element look completely normal if it is triggering an HE code?
Heating elements are constructed with an inner nichrome resistance wire surrounded by magnesium oxide powder inside an outer metal sheath. The inner wire can snap or burn apart due to metal fatigue without bursting through the outer sheath. A visual inspection alone is never sufficient; you must verify electrical continuity with a multimeter.
5. Can a low water level or faulty water inlet valve trigger an HE code?
Yes, insufficient water level can trigger an HE code. If the water inlet valve is clogged or failing, the dishwasher might only fill with an inch or two of water. The heating element needs complete submersion in circulating water to dissipate heat; if water is lacking, the high-limit thermostat will trip to prevent overheating, cutting off the heating circuit and posting an HE error.
Safety Precaution Notice
Before proceeding with any repair checklist: Always unplug the appliance from its electrical socket and turn off shutoff valves for incoming water (for washers and dishwashers). Discharge capacitors if working on motors.