Samsung Refrigerator 33E Error Code: Step-by-Step Fix
Required Tools for this Fix
- Screwdriver
- Multimeter
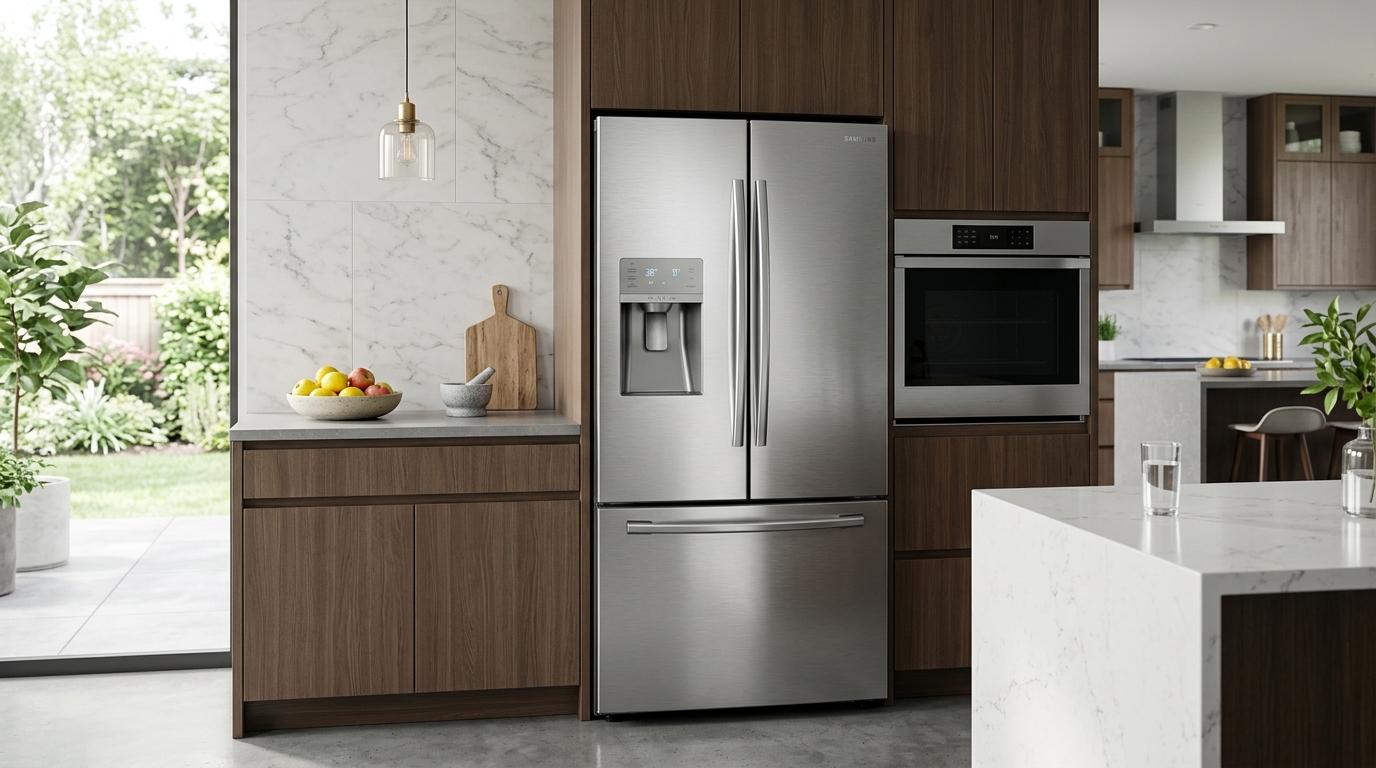
Quick Summary Answer: The Samsung refrigerator error code 33E (or 33 C) indicates an ice pipe heating line circuit error, meaning the main control board detects an open or shorted circuit in the ice fill pipe heater. The most common cause is a pinched, broken, or unplugged wire harness at the top door hinge, often occurring right after moving or door reinstallation. To fix it, inspect and reconnect the hinge wire harness, test the heater resistance with a multimeter (expecting around 80 to 130 ohms), or replace the damaged wiring or heater assembly.
What Does the Samsung 33E Error Code Mean?
Samsung refrigerators feature an integrated heating line wrapped around the ice maker water fill tube or ice chute. This low-wattage foil or wire heater prevents condensation and stops water from freezing inside the line before it reaches the ice tray.
The Main Power Control Board (PCB) constantly monitors the electrical resistance across this heater loop. When the control board sends current through the circuit and reads an infinite resistance (open loop) or zero resistance (dead short), it logs the fault. The display panel then locks out certain functions and blinks the code 33E (or 33 C on numeric displays).
[Main Control Board (PCB)]
        |
   (Wiring Harness via Top Left Hinge)
        |
[Ice Pipe / Fill Tube Heater Element] ---> Open Circuit / Broken Wire = Error Code 33E
This error usually appears following a recent delivery, a kitchen remodel, or a deep cleaning where the refrigerator doors were removed. If the wires inside the hinge cover were pinched upon reassembly, the circuit breaks instantly.
DIY Repair Snapshot: Costs, Time, and Tools
| Diagnostic Step | Est. Time | Tools Needed | Estimated DIY Cost |
|---|---|---|---|
| Hinge Wiring Inspection | 10–15 mins | Phillips screwdriver, flashlight | $0 |
| Wire Splice / Connector Repair | 20–30 mins | Wire strippers, heat shrink, crimp tool | $5 – $15 |
| Multimeter Resistance Testing | 15–20 mins | Digital multimeter | $15 – $40 |
| Heater Assembly Replacement | 45–60 mins | Screwdrivers, putty knife, heat gun/dryer | $40 – $90 |
| Main Control Board Replacement | 30–45 mins | Screwdrivers, work gloves | $90 – $220 |
⚠️ ELECTRICAL SAFETY WARNING
Always disconnect your refrigerator from the main power outlet or trip the dedicated breaker before removing any access panels or handling electrical wiring. Refrigerator capacitors and line-voltage terminals carry lethal current even when the compressor is idle. Never perform continuity or resistance checks while the appliance is connected to live power.
Primary Causes Behind the Samsung 33E Error
                         ROOT CAUSES OF 33E
                                 │
     ┌───────────────────────────┼───────────────────────────┐
     ▼                           ▼                           ▼
[Pinched Hinge Wire]    [Burnt Heater Element]      [Main PCB Circuit Fault]
 • After door install     • Internal element open     • Blown resistor/trace
 • 80% of all cases       • High age/thermal wear     • Rare (< 5% of cases)
1. Pinched or Severed Wire at the Top Left Door Hinge
Over 80% of all 33E errors trace back to the top left door hinge. When technicians or homeowners take the French doors off to clear tight doorways, these thin harness wires are easily snagged during reinstallation. The metal hinge plate pinches the harness, slicing the thin copper strands inside the insulation.
2. Burnt-Out Ice Pipe Heating Element
The heating element itself is a low-wattage resistive trace embedded in a foil wrap around the ice pipe. Like any heating element, constant thermal cycling can cause the internal filament to fatigue and burn open over time. Once the filament snaps, the circuit loses continuity.
3. Loose or Corroded Molex Connectors
Moisture from the freezer compartment or dispenser water line can creep into plastic molex plugs. This leads to pin corrosion or terminal backing, where a pin pushes out the rear of the plastic housing during connection. The control board interprets this poor physical contact as a broken circuit.
4. Main Control Board (PCB) Failure
While uncommon, the driver circuit or sensing resistor on the main PCB can burn out due to power surges. If the board cannot properly read the feedback voltage from a perfectly healthy heater, it triggers the 33E error code.
Step-by-Step Diagnostic Testing Checklist
Work through this diagnostic checklist sequentially to isolate the faulty component without guessing.
[Step 1: Soft Reset] ──► Fixed? ──► Done!
         │ (No)
[Step 2: Inspect Hinge Wires] ──► Physical Damage Found? ──► Repair Wire / Clear Code
         │ (No Damage)
[Step 3: Multimeter PCB Test] ──► Resistance Normal (80-130Ω)?
         ├──► YES: Main PCB faulty ──► Replace Board
         └──► NO (O.L / Infinite): ──► Test Heater Directly at Door
Phase 1: The Hard System Reset
- Unplug the refrigerator power cord from the wall outlet.
- Leave the unit completely unpowered for a full 10 minutes to allow the onboard microprocessors to drain their residual charge.
- Plug the unit back in and check if the code clears immediately upon boot.
Phase 2: Physical Inspection of the Hinge Harness
- Remove the screw securing the top left hinge plastic cover.
- Lift the cover off and inspect the bundle of wires exiting the refrigerator cabinet and entering the door.
- Look for crushed insulation, exposed copper, severed conductors, or sharp bends directly under the hinge mounting plate.
- Unplug the multi-pin molex connectors and check for bent, recessed, or green/black corroded pins.
Phase 3: Electrical Multimeter Testing
- Disconnect the refrigerator from power.
- Access the Main Control Board on the back of the refrigerator by removing the sheet metal panel.
- Locate the wire harness connector responsible for the door and ice pipe heaters (consult your model’s wiring schematic on the rear panel, typically connector CN70 or CN79).
- Set your digital multimeter to the Ohms ($\Omega$) setting.
- Place the multimeter probes across the specific ice pipe heater terminals to read the total loop resistance.
Interpreting Multimeter Readings
Use these benchmark values to determine which part has failed:
+------------------------------------+---------------------------------------------+
| MULTIMETER READING                 | DIAGNOSIS                                   |
+------------------------------------+---------------------------------------------+
| 80 Ω to 140 Ω                      | Circuit is healthy; Main PCB is faulty      |
| O.L. or Infinite Resistance (∞)   | Broken wire, open heater, or loose plug     |
| 0.0 Ω to 5.0 Ω                     | Dead short in the wiring or heater element  |
+------------------------------------+---------------------------------------------+
If you measure infinite resistance at the main board, move your testing directly to the hinge connector. This isolates whether the break is in the cabinet harness or inside the door assembly.
How to Repair the Samsung 33E Fault
                                  REPAIR PATHWAY
                                        │
             ┌──────────────────────────┴──────────────────────────┐
             ▼                                                     ▼
   [Harness Wire Repair]                                 [Heater Replacement]
  1. Strip damaged leads                                1. Disassemble ice chute cover
  2. Solder or crimp with seal                          2. Peel old foil heater
  3. Insulate with marine heat-shrink                   3. Apply new OEM heater wrap
Method 1: Repairing Pinched or Broken Hinge Wires
If your inspection reveals a damaged wire at the door hinge, you can repair the harness without replacing the entire door.
Damaged Wire Section:
----[   Broken Copper Core   ]----

Step 1: Cut out damaged segment.
Step 2: Slide heat-shrink tubing over wire.
Step 3: Crimp with insulated barrel connector or solder.
----=====[ Crimp / Solder Joint ]=====----
Step 4: Heat-shrink sealed over repair.
Tools Required:
- Wire strippers (18–22 AWG gauge)
- Heat gun or mini-torch
- Heat-shrink butt connectors (marine grade preferred)
- Electrical tape
Repair Instructions:
- Power Down the Refrigerator: Ensure the unit remains unplugged.
- Cut Out the Damaged Section: Cut the damaged wire right at the break using sharp wire cutters. Strip back approximately 1/4 inch of insulation from both ends.
- Join the Conductors: Insert the stripped copper wires into a heat-shrink butt connector. Crimp the connector down firmly using your crimping tool.
- Seal the Joint: Apply heat evenly using a heat gun until the internal adhesive melts and flows around the wire jacket. This stops moisture from penetrating the copper strands.
- Reroute the Harness: Route the wire bundle away from pinch points beneath the hinge bracket. Reinstall the plastic cover, making sure no wires are caught between the plastic tabs and the steel cabinet.
Method 2: Replacing the Ice Pipe / Fill Tube Heater
If the wiring is intact all the way to the door but testing directly at the heater yields an open circuit, the heater element must be replaced.
       [Ice Fill Tube Assembly]
                 │
   ┌─────────────┴─────────────┐
   ▼                           ▼
[Old Foil Heater]      [Clean Surface]
(Peel off & discard)    (Apply OEM Heater Pad)
Step 1: Remove the Ice Maker Assembly
Open the freezer or French door ice room compartment. Unscrew the mounting screws holding the ice maker in place, disconnect the wire harness, and pull the ice maker unit out.
Step 2: Access the Fill Tube
Remove the plastic duct housing surrounding the water inlet tube. You will see a small heating element wrapped in aluminum tape directly around the fill tube.
Step 3: Detach the Faulty Element
Unplug the heater lead from the local sub-harness. Carefully peel the old heater foil away from the water tube, taking care not to puncture or kink the plastic water line.
Step 4: Install the New Heater
Clean the plastic tube surface thoroughly with rubbing alcohol. Peel the backing off the new OEM heater element, wrap it snugly around the fill tube, and connect the wiring harness plug firmly until it clicks.
Step 5: Reassemble and Secure
Reinstall the air duct housing, secure all screws, and slide the ice maker back into its mounting bracket. Reconnect the primary harness and verify no wires are bound.
Method 3: Replacing the Main Control Board (PCB)
If the heater and harness read normal resistance (80 to 130 ohms) all the way back to the main control board terminals, the board’s internal sensing circuit has failed.
1. Remove Rear Cover ──► 2. Photograph Connectors ──► 3. Swap Board ──► 4. Plug In
- Access the Board Housing: Pull the refrigerator out from the wall. Remove the sheet metal screws securing the control board cover on the upper-rear panel.
- Document Wiring: Take a clear, high-resolution photo of every harness connector plugged into the board to reference their exact positions later.
- Disconnect Plugs: Release the locking tabs on each wire harness connector and pull them straight out from the board. Avoid tugging on the wires themselves.
- Swap the Board: Unclip the old PCB from the plastic standoffs. Snap the new OEM board into place and reconnect every harness using your photo as a guide.
- Reinstall Cover: Screw the metal protective panel back in place before restoring power.
How to Clear the 33E Code and Force a Reset
After completing the repair, the refrigerator display must be reset to resume normal operation.
+---------------------------------------------+---------------------------------------------+
| REFRIGERATOR STYLE                          | RESET BUTTON COMBINATION                    |
+---------------------------------------------+---------------------------------------------+
| French Door (Standard Control Panel)        | Press ENERGY SAVER + LIGHTING for 8 seconds |
| French Door (Alternate Panel)               | Press FREEZER + FRIDGE for 8 to 10 seconds  |
| Side-by-Side Models                         | Press POWER FREEZE + POWER COOL for 8 secs  |
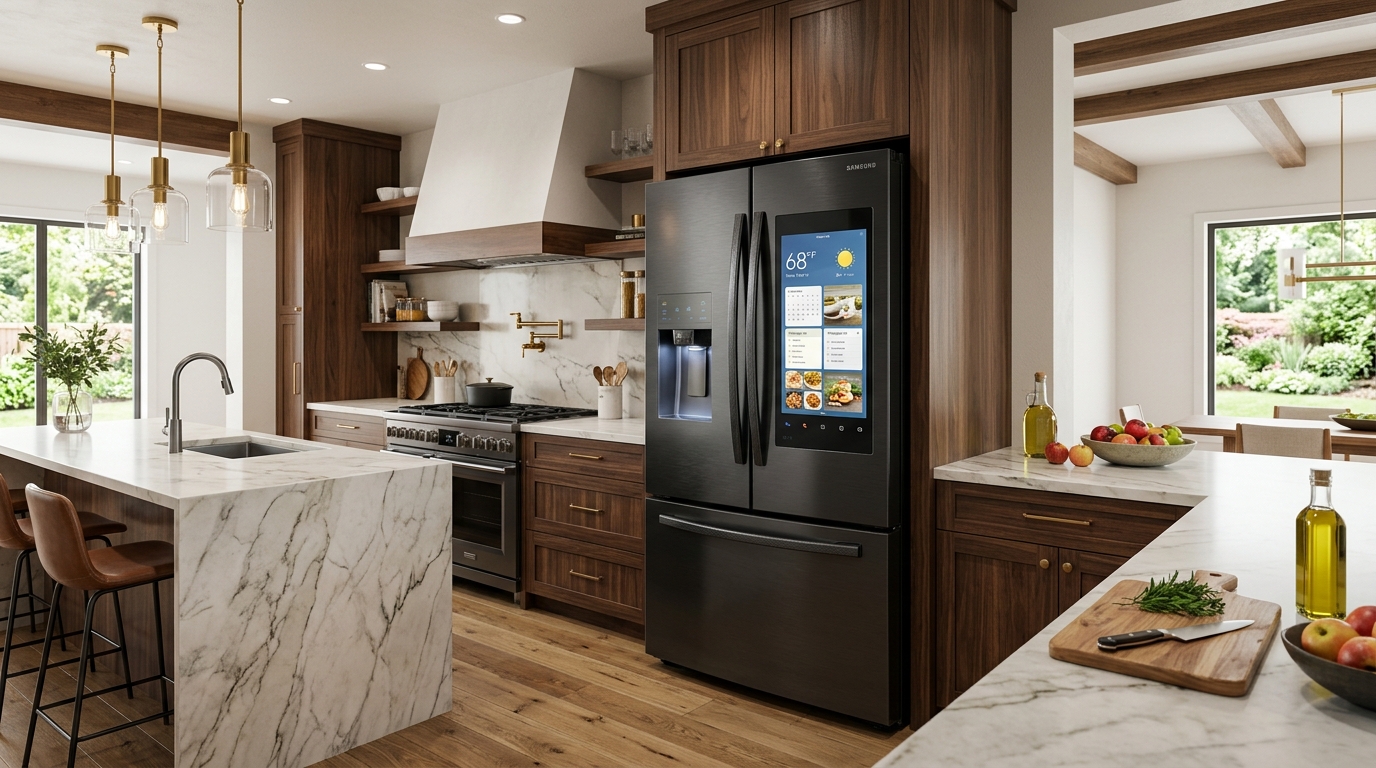
| Family Hub Touchscreen Display              | Toggle Red Reset Switch inside top door cap |
+---------------------------------------------+---------------------------------------------+
Hold the specified button combination down simultaneously until you hear a chime or the screen stops blinking. The display will go blank for two seconds and then show the actual compartment temperatures.
Preventing Future Ice Duct & Wiring Issues
Taking a few preventative measures protects the new components and avoids repeat errors:
- Harness Slack Management: Whenever the refrigerator doors are removed or adjusted, leave sufficient slack in the wire harness at the hinge. Ensure the wires sit comfortably in the molded routing channels designed for them.
- Inspect Door Gaskets: Check the magnetic door seals around the ice maker compartment. A torn gasket allows warm, humid kitchen air to enter, overworking the fill tube heater and accelerating component failure.
- Keep Water Pressure Optimal: Maintain home water pressure to the refrigerator between 30 and 120 PSI. Low water pressure causes water to trickle slowly through the fill tube, which increases the likelihood of freeze-ups inside the line.
Frequently Asked Questions (FAQ)
Can my refrigerator run safely with the 33E error code active?
Yes, the refrigerator will continue cooling both the fresh food and freezer compartments. However, the ice maker system will shut down, and water may freeze solid inside the fill pipe. This can block future ice production and potentially crack the water line, causing internal leaks.
Why did the 33E code appear right after my refrigerator was delivered?
Delivery teams frequently remove refrigerator doors to fit the unit through standard residential entryways. During reassembly, the hinge cover or metal bracket often pinches the wiring harness. This cuts the thin ice pipe heater wire and instantly sets the 33E error code.
Can I bypass or jumper the ice pipe heater to eliminate the code?
We do not advise jumping this circuit. The main PCB specifically measures resistance across the heating load. Placing a zero-ohm jumper wire creates a short circuit that can destroy the main control board, while leaving it disconnected keeps the error code locked on the screen.
How do I know if the failure is in the door harness or the main control board?
Unplug the wiring harness connector at the top left door hinge and use a multimeter to measure resistance across the heater pins going down into the door. If you measure an open circuit (infinite resistance) at the hinge, the failure is inside the door or heater. If you read 80 to 130 ohms at the hinge, the issue lies in the cabinet-to-PCB wiring or the board itself.
Does Samsung warranty cover the 33E error code repair?
If your refrigerator is within its standard one-year manufacturer warranty, Samsung covers the parts and labor to repair this issue. If the damage was caused by third-party movers pinching the wires during delivery, the moving company or delivery contractor is typically liable for the repair cost.
Safety Precaution Notice
Before proceeding with any repair checklist: Always unplug the appliance from its electrical socket and turn off shutoff valves for incoming water (for washers and dishwashers). Discharge capacitors if working on motors.