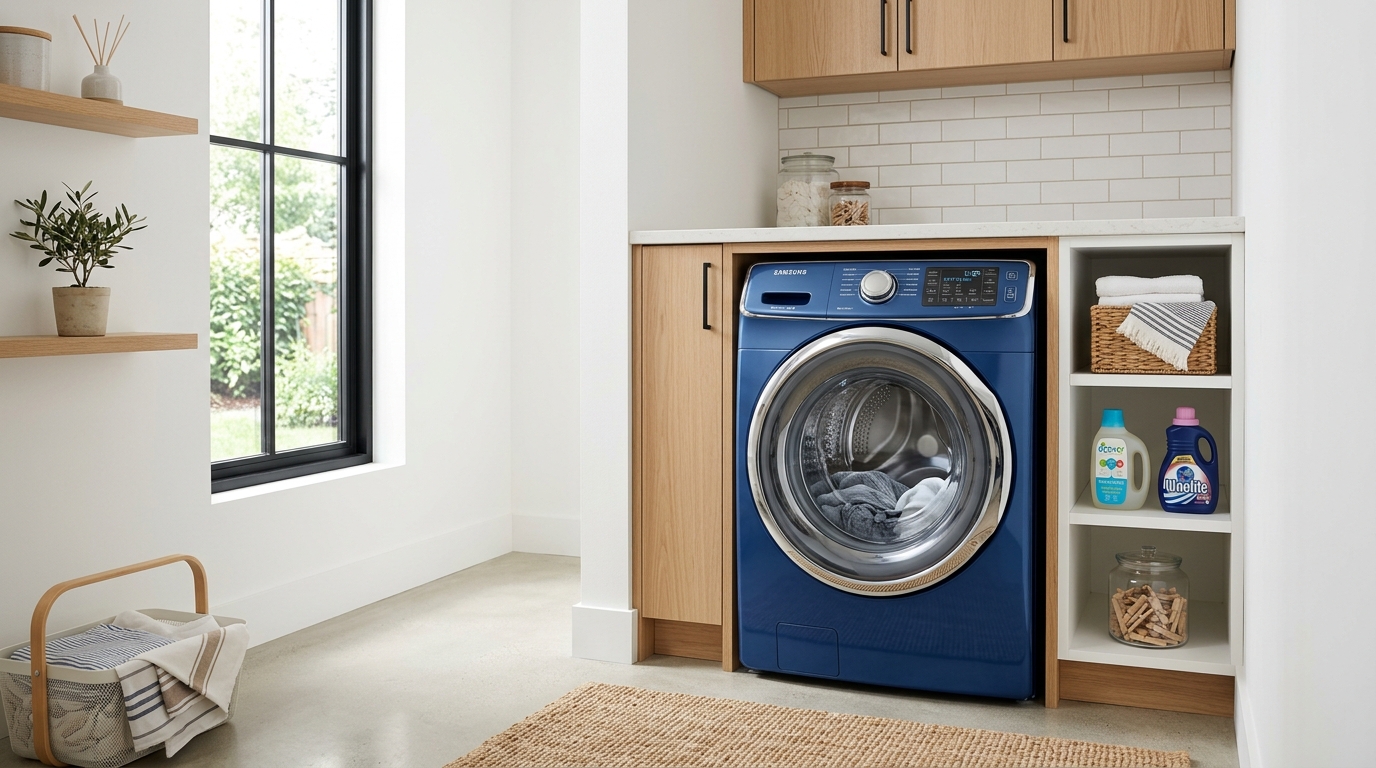
Samsung Washing Machine Ub Error Code: Step-by-Step Fix
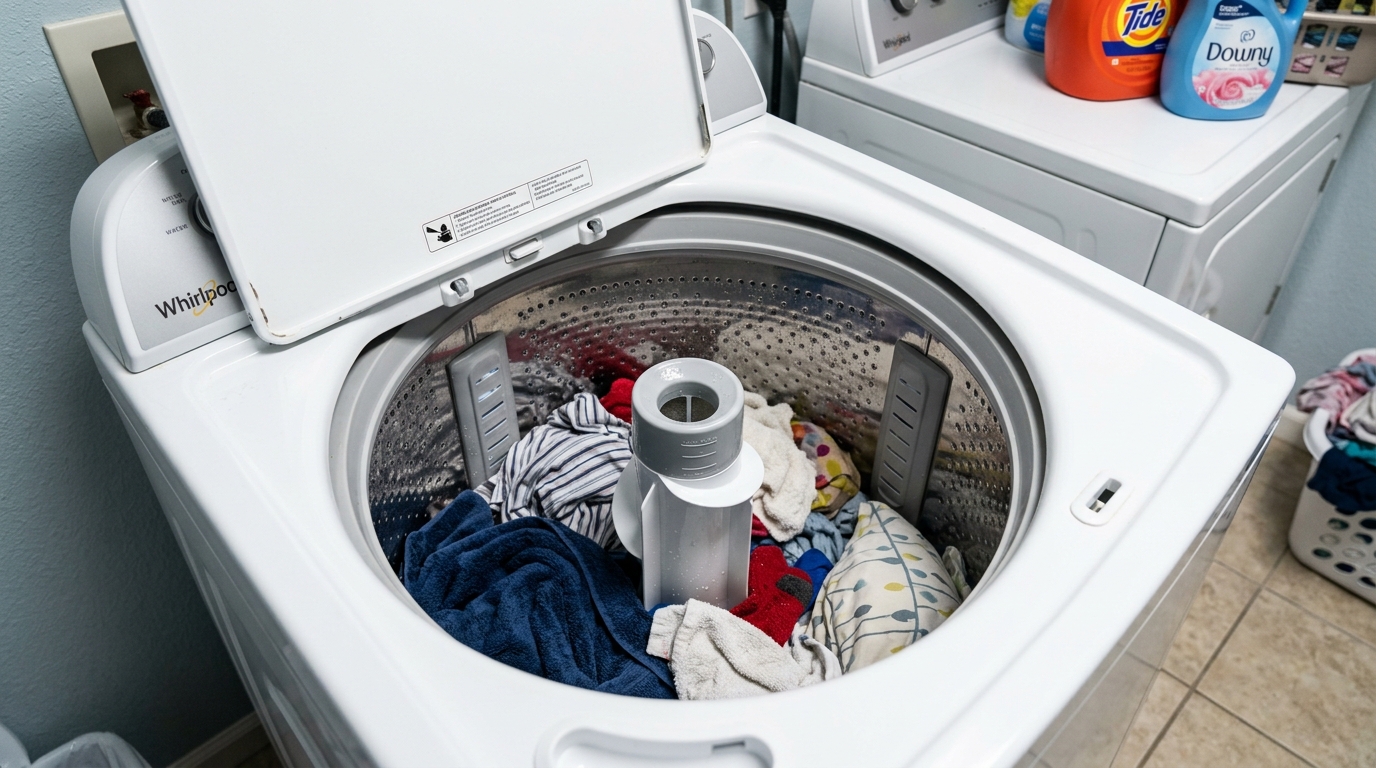
Required Tools for this Fix
- Bubble level
- Wrench
Quick Summary Answer: The Samsung washer error code Ub (or UE) indicates an Unbalanced Load, meaning the machine detected an uneven weight distribution that prevents the drum from reaching high spin speeds safely. The quickest fix is pausing the cycle, manually rearranging heavy laundry items, verifying that the washer’s leveling feet sit flat on the floor, and running a calibration mode. If the error persists when the washer is completely empty, the issue stems from worn suspension rods (top-loaders) or damaged shock absorbers (front-loaders).
Understanding the Samsung Ub Error Code
Samsung washing machines rely on sophisticated vibration sensors and motor speed monitors to protect the appliance from self-destruction during high-speed spin cycles. When the control board registers excessive tub movement or uneven motor resistance, it stops the drum and displays the Ub error code (sometimes shown as UE or dc on older models).
This system prevents the washer from violently shaking, walking across your laundry room floor, or cracking the outer plastic tub assembly. On front-load machines, the main control board monitors the Hall Sensor (rotor position sensor) on the direct-drive motor to detect sudden speed fluctuations caused by an off-center load. On top-load machines, mechanical balance switches or 3D vibration sensors detect physical contact between the tub and the cabinet walls.
Understanding whether the issue is operational (how you load laundry) or mechanical (broken internal parts) requires a systematic diagnostic approach. We will walk you through every test, from zero-cost load adjustments to component replacements.
Quick Reference Diagnostic Table
Use this summary table to gauge the difficulty, time investment, and potential cost of resolving your Samsung Ub code.
| Diagnostic Step | Est. Time | Tools Needed | Cost |
|---|---|---|---|
| Load Redistribution | 2–5 Mins | None | $0 |
| Appliance Leveling Check | 5–10 Mins | Spirit Level, Wrench | $0 |
| Control Board Recalibration | 3–5 Mins | None | $0 |
| Top-Load Suspension Rod Test | 10–15 Mins | None | $0 |
| Suspension Rod Replacement | 30–45 Mins | Screwdriver, Putty Knife, Grease | $40 – $90 |
| Front-Load Shock Absorber Test | 20–30 Mins | Screwdriver, Socket Wrench | $0 |
| Shock Absorber Replacement | 45–60 Mins | Socket Set, Pliers, Jack Stand/Blocks | $30 – $70 |
| Rotor Bolt & Hall Sensor Check | 30–40 Mins | 10mm & 17mm Sockets, Phillips Screwdriver | $20 – $45 |
WARNING: Always disconnect your washing machine from the wall power outlet or trip the circuit breaker before removing any access panels or touching internal components. Shut off the hot and cold water supply valves behind the unit to prevent accidental flooding. Wear cut-resistant work gloves to protect your hands from sharp sheet metal edges inside the appliance cabinet.
Step-by-Step Diagnostic Checklist
Before buying replacement parts, follow this logical diagnostic sequence to pinpoint the exact failure point.
- Step 1: Pause the washer, open the door, and check for bunched, single, or oversized items.
- Step 2: Run a dedicated Spin Only cycle with an empty tub to isolate mechanical faults from load issues.
- Step 3: Place a spirit level on top of the washer cabinet to verify front-to-back and side-to-side alignment.
- Step 4: Push down on all four corners of the machine to check for loose or unadjusted leveling feet.
- Step 5: Execute the official Samsung Calibration Mode to reset the control board’s balance thresholds.
- Step 6: Perform the “Bounce Test” on top-load tubs to inspect the damper suspension rods.
- Step 7: Inspect front-load shock absorbers for hydraulic fluid leaks or cracked plastic mountings.
- Step 8: Check the rear drive motor for a loose rotor bolt or damaged Hall sensor.
- Step 9: Test for play in the inner drum to check for a cracked spider arm assembly (front-loaders).
Level 1 Fixes: Load Balancing, Leveling, and Recalibration
1. Correcting Laundry Load Imbalances
The most frequent cause of the Ub error is an improperly distributed load. A single heavy item—such as a bath mat, weighted blanket, or heavy winter coat—absorbs massive amounts of water and sticks to one side of the drum.
IMBALANCED LOAD                        BALANCED LOAD
+-----------------------+              +-----------------------+
|  [Heavy Towel]        |              |  [Towel]    [Towel]   |
|                       |              |                       |
|        ( EMPTY )      |    ====>     |   [Shirt]   [Jeans]   |
|                       |              |                       |
|                       |              |  [Towel]    [Shirt]   |
+-----------------------+              +-----------------------+
(Tub wobbles violently)                (Weight distributed evenly)
Never wash a single heavy item by itself. Add two or three bath towels to help balance the weight across the drum.
Avoid washing waterproof or water-resistant items on standard cycles. Water gets trapped inside waterproof fabrics, creating massive pockets of weight that throw the drum off-center during high-speed spinning.
2. Leveling the Appliance
If your washing machine is not perfectly level, gravity pulls the drum toward the lower side, making the Ub error trigger easily.
UNLEVEL CONDITION                      CORRECTED LEVEL
   +---------------+                      +---------------+
  /               /|                     |               ||
 /   WASHER      / |                     |   WASHER      | |
+---------------+  |                     +---------------+ |
| o [Bubble]    |  |  ====>              |   o[Bubble]o  | |
|   (Tilted)    | /                      |   (Centered)  | /
|               |/                       |               |/
+---------------+                        +---------------+
Place a bubble spirit level flat on the top panel of the washer, checking side-to-side and front-to-back alignment.
Use an open-ended wrench to turn the threaded feet at the bottom of the unit. Lower the high side or raise the low side until the bubble rests in the center.
Once the unit is level, ensure all four feet rest firmly on the floor. Tighten the top locking nut on each leg upward against the cabinet base to lock the height in place.
3. Running Samsung Calibration Mode
Every time you adjust the feet or move the appliance, you should run Samsung’s internal calibration routine. This process measures the empty weight of the tub and resets the vibration detection baseline in the main control board.
- Ensure the drum is completely empty and turn off the power.
- Press and hold the Temp. and Delay End buttons simultaneously.
- While holding those buttons, press the Power button until Cb (Calibration Mode) appears on the display.
- Press the Start/Pause button to start the test.
- The drum will rotate clockwise and counterclockwise for 3 to 5 minutes until the screen displays 0, End, or turns off.
Level 2 Fixes: Replacing Worn Suspension Rods (Top-Load Models)
If your top-load Samsung washer throws the Ub error while running empty, the damper suspension rods are likely worn out. Top-load washers suspend the entire tub assembly from four corner steel rods equipped with springs and damper housings.
TOP-LOAD WASHER SUSPENSION SYSTEM

   [Cabinet Corner Top]
           |
           |  <-- Steel Rod
           |
      +----+----+
      |  Spring |  <-- Dampening Spring
      |         |
      |[Damper] |  <-- Friction Sleeve (Wears out over time)
      +----+----+
           |
   [Outer Tub Flange]
Over time, the friction grease inside the plastic dampers degrades. This causes the tub to bounce violently instead of absorbing kinetic energy during acceleration.
Performing the Bounce Test
Open the lid of your top-load washer. Reach inside and firmly press down on the center rim of the tub with both hands, pushing it down about 3 inches, then release it instantly.
BOUNCE TEST DIAGNOSTIC:

  Good Rods:                Failed Rods:
  Press Down -> Release     Press Down -> Release
       |                         |
  Tub rises once and stops  Tub bounces up and down 2-4 times
  (Dampers work correctly)   (Dampers are worn out)
If the tub bounces up and down multiple times like a car with bad shock absorbers, replace all four suspension rods. Always replace all four rods at the same time to ensure equal support.
Step-by-Step Suspension Rod Replacement
- Unplug the washer and disconnect the water inlet hoses.
- Tape the glass lid securely to the top frame using painter’s tape to keep it from flopping open.
- Remove the two mounting screws located at the rear back corners of the top main panel.
- Slide a thin putty knife into the front seam between the top panel and the front cabinet to release the spring clips.
- Lift the top main cover up and hinge it back against a wall or secure it with a strap.
- Reach inside a corner, lift up on the suspension rod assembly, and detach the top ball socket from the cabinet corner support bracket.
- Unhook the bottom damper cup from the outer tub mounting bracket and lift the old rod out of the machine.
- Apply fresh white lithium grease or damping grease to the top ball joint and bottom bushing of the new rod assembly.
- Drop the new rod into place, inserting the bottom end into the tub bracket, then locking the top ball into the cabinet socket.
- Repeat the process for all four corners, close the top cabinet panel, re-install the screws, and run a calibration cycle.
Level 3 Fixes: Front-Load Shock Absorbers & Springs
Front-load Samsung washing machines do not hang from top rods in the same manner as top-loaders. Instead, the heavy outer tub rests on two to four hydraulic shock absorbers attached to the bottom frame, while two heavy-duty coil springs suspend it from the top chassis frame.
FRONT-LOAD SUSPENSION LAYOUT

       +-------------------------+
       |   Top Cabinet Frame     |
       +------------+------------+
                    |
              [Top Spring]
                    |
          +---------+---------+
          |                   |
          |     OUTER TUB     |
          |                   |
          +---------+---------+
                    |
            [Shock Absorber]
                    |
       +------------+------------+
       |   Bottom Chassis Base   |
       +-------------------------+
Inspecting Front-Load Shock Absorbers
To inspect the bottom shocks, unplug the washer and remove either the back service panel or the front panel (depending on your model series).
Inspect the shaft of each plastic shock absorber. If you notice oily residue, black friction dust coating the piston, or cracked mounting pins, the shock absorbers have lost their dampening resistance.
SHOCK ABSORBER FAULT INDICATORS

   GOOD SHOCK ABSORBER               FAILED SHOCK ABSORBER
+-----------------------+         +-----------------------+
| [Clean Plastic Shaft] |         | [Oil/Grease Leaking]  |
|                       |         | [Black Rubber Dust]   |
| [Firm Resistance]     |         | [Cracked Pin Mount]   |
+-----------------------+         +-----------------------+
Unbolt the plastic securing pins by depressing the locking tab with a socket socket or pliers, then pull the pin clear. Slide the shock off the tub leg bracket. Compress the old shock by hand—if it slides back and forth effortlessly without resistance, it can no longer prevent the drum from hitting the sides of the cabinet.
Replace all shocks with OEM Samsung parts, re-insert the locking pins until they click firmly, reassemble the paneling, and perform a test spin.
Level 4 Fixes: Advanced Motor, Hall Sensor, and Drum Diagnostics
When load adjustments, leveling, and suspension parts fail to eliminate the Ub code, the issue usually points to the drive system or drum structure.
1. Loose Direct-Drive Rotor Bolt
Samsung direct-drive washing machines mount a large permanent magnet rotor directly onto the rear shaft of the tub. If the center shaft bolt backs out even slightly, the rotor wobbles relative to the stator. This wobble sends erratic RPM signals to the control board, triggering a false Ub error code.
DIRECT DRIVE MOTOR DIAGNOSTIC

  +-----------------------+
  |    Stator Coils       |
  |   +---------------+   |
  |   | Center Shaft  |   | <-- Check center bolt tightness (17mm socket)
  |   +---------------+   |
  |    Rotor Assembly     | <-- Check for back-and-forth play
  +-----------------------+
- Disconnect power, shut off the water valves, and remove the rear sheet metal panel.
- Locate the large round metal rotor assembly in the center of the outer tub.
- Grab the edge of the metal rotor and push/pull it toward and away from you.
- If there is noticeable play, place a 17mm socket wrench on the center bolt and tighten it securely (typically torqued to ~40–45 ft-lbs).
2. Testing and Replacing the Hall Sensor (RPS)
The Hall Sensor (Rotor Position Sensor) is a small plastic electronic module clipped to the stator assembly. It tells the main control board the exact speed and position of the inner drum.
If this sensor fails or develops an internal short, it misreads smooth tub motion as violent vibration, immediately throwing a Ub or 8E code.
HALL SENSOR LOCATION & WIRING

    [Stator Coils Assembly]
          |
          +---> [Hall Sensor Module] (Plastic clip-on component)
                      |
                      +---> [3-Wire Harness] (Check for corrosion/breaks)
Unbolt the center rotor bolt, slide the outer metal rotor off the splined shaft, and unbolt the stator housing (usually held by six 10mm bolts).
Unclip the Hall Sensor from the stator body, disconnect the wiring harness, and install a replacement sensor. Inspect the wiring harness leads for chafing, breaks, or wire corrosion that could drop signal voltage.
3. Broken Spider Arm Assembly (Flange)
On front-load washers, the inner stainless steel basket mounts to a three-pronged aluminum bracket called the spider arm. Over time, liquid fabric softeners, laundry detergent buildup, and hard water minerals cause galvanic corrosion, disintegrating the aluminum arm.
SPIDER ARM (INNER TUB FLANGE) DIAGNOSTIC

  Normal Spider Arm:                 Corroded / Fractured Arm:
       \   /                              \   x  <-- Broken Arm
        \ /                                \ /
         |                                  |
    (Centered)                         (Tub Drops / Wobbles)
To diagnose a failed spider arm:
- Open the front loading door and press your hand upward against the top inner edge of the stainless steel drum.
- Try to push the inner metal tub upward relative to the outer plastic tub frame.
- If the inner basket moves up and down independently with a clunking sound, or if you can tilt the drum unevenly, the spider arm is broken.
- Spin the inner drum by hand. If it scrapes against the door bellows rubber or wobbles like an warped wheel, the spider arm requires replacement.
Note: Replacing a spider arm requires completely tearing down the washer, splitting the outer tub in half, and removing the inner drum. If your machine is older, the cost of a new spider arm, tub seals, and bearings may approach the cost of a replacement washer.
Preventative Maintenance to Avoid Future Ub Errors
- Avoid Excess Detergent: Use no more than 1 to 2 tablespoons of High-Efficiency (HE) detergent per load. Excess soap creates oversuds, which cushions the tub unevenly and accelerates corrosion on aluminum spider arms.
- Balance Heavy Loads Carefully: Never wash a single heavy item alone. Always add complementary items (like additional towels) to give the drum weight counterpoints during spin acceleration.
- Keep the Machine Solidly Leveled: Periodically place a level on the cabinet top. House floor joists can settle over time, allowing the leveling legs to back out of position.
- Check Cabinet Clearance: Ensure the washing machine maintains at least 1 inch of clearance on all sides so the tub does not strike nearby walls or cabinets during spin acceleration.
- Run Monthly Self-Clean Cycles: Run a pure hot water Self-Clean or Pure Cycle using an washer cleaner tablet to dissolve lint, mineral deposits, and detergent sludge that alter tub balance.
Frequently Asked Questions
1. Can I bypass or clear the Ub error code on my Samsung washer?
You cannot bypass the Ub error through software overrides because it is a physical safety feature designed to protect the machine from mechanical destruction. You can clear the code from the display screen by pressing the Power or Start/Pause button, but the error will reappear immediately during the next spin cycle if the underlying load imbalance or mechanical fault remains uncorrected.
2. Why does my Samsung washer get a Ub error when running completely empty?
When a washing machine throws the Ub code with an empty drum, you can rule out laundry distribution as the cause. An empty Ub error indicates broken internal dampening components—such as stretched top suspension springs, failed bottom shock absorbers (front-loaders), worn friction suspension rods (top-loaders), or a failed Hall sensor that misreads motor speed signals.
3. How much does it cost to repair a Samsung Ub error code?
If the cause is an unbalanced load or out-of-level legs, the repair costs $0. DIY replacement of top-loader suspension rods or front-loader shock absorbers costs between $30 and $90 for parts. If a professional appliance technician replaces suspension components, expect labor and service call fees to total between $150 and $300. Replacing a broken spider arm assembly can cost upwards of $400 to $600 due to extensive labor.
4. What is the difference between Samsung Ub, UE, and dc error codes?
All three codes refer to drum weight and balance issues, but they differ slightly by age and model type. Ub is the modern error code displayed on Samsung washers made after 2014. UE stands for Unbalanced Error on older front-load and top-load units. The dc code stands for Door/Cover error or Unbalanced Load on select top-loading models, often triggered when an off-center load strikes the physical safety switch inside the cabinet frame.
5. Why does my washer keep adding time and refilling with water during the spin cycle?
This behavior is an automated recovery attempt. When the control board senses an unbalanced load as the spin cycle begins, it pauses the spin, fills the tub with a small amount of water, and agitates back and forth. The machine does this intentionally to float the laundry items, redistribute them evenly across the tub base, drain the water, and attempt to spin again. If it fails three consecutive times, it stops and displays the Ub error code.
Safety Precaution Notice
Before proceeding with any repair checklist: Always unplug the appliance from its electrical socket and turn off shutoff valves for incoming water (for washers and dishwashers). Discharge capacitors if working on motors.