Whirlpool Dishwasher F8 E1 Error Code: Step-by-Step Fix
Required Tools for this Fix
- Pliers
- Screwdriver
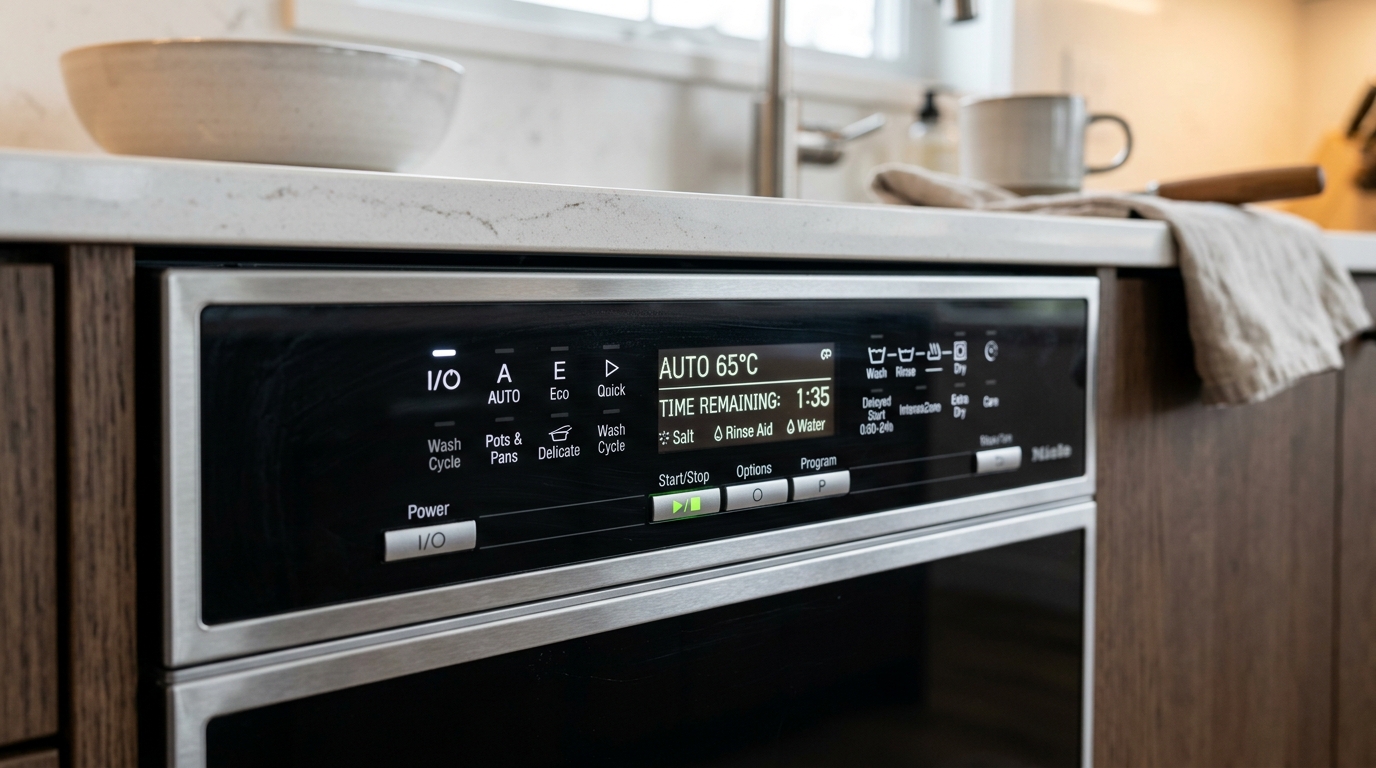
Your Whirlpool dishwasher is flashing the F8 E1 error code (sometimes displayed as 8-1), and you are likely staring at a pool of dirty water or wondering why the machine refuses to fill. This specific fault code indicates a dual-natured problem: the control board has detected either a slow drain sequence or a low water fill condition.
In our years of servicing household appliances, we have found that this error is highly solvable without calling for an expensive service visit. We will guide you through the exact diagnostic process we use in the field to locate the blockage or part failure and get your kitchen running smoothly again.
WARNING: ELECTRICAL AND WATER SAFETY FIRST Before attempting any diagnostic steps or repairs, disconnect the dishwasher from its power source by unplugging it or switching off the corresponding circuit breaker in your home’s breaker panel. Additionally, shut off the water supply valve, typically located under the kitchen sink, to prevent accidental flooding while working on the unit.
Quick Diagnostic & Repair Reference
We compiled this quick-reference table to help you plan your repair. It outlines the common diagnostic targets, the tools you will need, estimated repair times, and typical part replacement costs.
| Diagnostic Step | Est. Time | Tools Needed | Est. Cost (DIY) |
|---|---|---|---|
| Check Garbage Disposal Plug | 5 mins | Flathead screwdriver, hammer | $0 |
| Clean Filter & Sump | 10 mins | None (or Torx T15 screwdriver) | $0 |
| Inspect Drain Hose | 15 mins | Pliers, bucket, towels | $0 |
| Test/Clean OWI Sensor | 20 mins | Torx T15, old toothbrush, vinegar | $0 |
| Test Drain Pump | 30 mins | Multimeter, Torx T15, nut drivers | $45 - $80 |
| Replace Water Inlet Valve | 30 mins | Channel locks, Torx T20, nut drivers | $25 - $50 |
| Replace Float Switch | 15 mins | Multimeter, Phillips screwdriver | $15 - $30 |
Decoding the F8 E1 Error Code
The F8 E1 code translates to “Slow Drain” or “Low Fill.” The control board monitors water levels using sensors and timing algorithms. If the water does not clear the tub within a set timeframe during the drain cycle, or if the water fails to reach the proper operating height during the fill cycle, this error triggers.
The Drain Side of the Equation
When your dishwasher enters a drain cycle, the control board energizes the drain pump. The board expects the water level to drop to zero within a specific number of seconds, verified by either the optical water indicator (OWI) or pressure switches. If water remains in the tub after the pump runs its designated cycle, the controller assumes a blockage or pump failure exists.
The Fill Side of the Equation
Conversely, if the dishwasher starts a wash cycle and the water level sensor does not detect enough water within the opening minutes, the system halts to protect the heating element and wash pump. This can happen due to a failing inlet valve, a stuck overfill float, or low household water pressure.
Phase 1: Diagnosing the Drain System
We recommend starting with the drainage system, as roughly 70% of F8 E1 codes stem from simple blockages in the drain path.
1. The Garbage Disposal Knockout Plug
If you recently installed a new garbage disposal, this is almost certainly your culprit. New disposals come with a solid plastic plug inside the drain port where the dishwasher line connects.
We suggest disconnecting the rubber drain hose from the side of your garbage disposal. Take a long screwdriver and insert it into the metal port on the disposal. If you hit a solid plastic wall, the installer forgot to knock out the bypass plug.
To fix this, place the tip of a flathead screwdriver against the plug inside the port and tap the handle firmly with a hammer. The plastic plug will break free into the disposal chamber. Reach inside the disposal hopper and retrieve the plastic piece before running the unit.
+-------------------------------------------------------+
|                 DISPOSAL INLET PORT                   |
|                                                       |
|   [ Dishwasher Hose ] ---> ( Port )                   |
|                               |                       |
|                               v [ Internal Plug ]     |
|                       (Must be knocked out!)          |
+-------------------------------------------------------+
2. Inspecting and Cleaning the Filter Assembly
A clogged filtration system restricts water flow to the drain pump, triggering the slow drain error. Open the dishwasher door and remove the lower dish rack to expose the bottom of the tub.
Locate the circular filter assembly in the center floor of the tub. Twist the upper cylinder filter counterclockwise and lift it out. Remove the fine mesh plate beneath it.
Inspect the sump area below the filters for food particles, broken glass, labels, or congealed grease. We recommend rinsing the filters under warm tap water and scrubbing them gently with a soft brush and dish soap. Reassemble the components and verify they click securely back into place.
3. Testing the Drain Hose for Blockages and Kinks
Pull your dishwasher out from under the counter slightly to inspect the entire length of the drain hose. Look for sharp bends, kinks, or heavy objects pinching the line.
Disconnect the drain hose from the sink drain or air gap connection. Place the open end of the hose into a large bucket.
We suggest running a brief manual drain cycle to see if the machine pumps water with strong force into the bucket. If the stream is weak, or if water only trickles out, the hose itself is likely clogged with grease or food debris. You can clear minor clogs by blowing through the hose or running a flexible drain snake through it.
Phase 2: Testing and Replacing the Drain Pump
If the path is clear but water remains in the tub, the drain pump itself may be jammed or electrically dead.
Accessing the Drain Pump
To get to the pump, you must remove the lower kickplate panel at the bottom front of the dishwasher. Unscrew the securing screws, remove the panel, and set it aside.
Lay a dry towel underneath the motor area to catch any escaping water. Locate the drain pump, which is typically the smaller pump attached to the side of the main sump assembly. It has two wires connected to a wire harness and a locking tab holding it in place.
Inspecting for Mechanical Jams
Twist the drain pump body counterclockwise (or press the plastic retaining tab and twist) to remove it from the sump. Inspect the impeller blades inside the pump port.
Spin the impeller with your finger. It should spin with slight magnetic resistance, snapping in quarter-turns. If it is locked up, or if you find string, hair, or toothpicks wrapped around the shaft, clear the obstruction or replace the pump.
       [Sump Assembly]
              |
              v
     [Locking Tab] ---> Press and twist
              |
      [Drain Pump Motor] <=== Inspect impeller here
              |
              v
     [Electrical Harness]
Electrical Testing with a Multimeter
Set your digital multimeter to the Ohms (resistance) setting. Disconnect the wire harness from the drain pump terminals.
Touch one meter probe to each of the two metal terminals on the pump motor. A healthy Whirlpool drain pump should read between 15 and 30 Ohms of resistance.
If your meter reads “OL” (Open Line) or zero resistance, the motor windings have failed. In this scenario, you must install a new OEM drain pump to clear the F8 E1 code.
Phase 3: Diagnosing the Water Fill System
If your dishwasher drains perfectly but still throws the code, the problem lies in the water filling system. The machine is not getting enough water to satisfy the control board.
1. Checking the Overfill Float Switch
The float switch is a safety device located in the front left or right corner of the dishwasher tub floor. It looks like a small inverted plastic cup.
Press down on the float and release it. It should make a distinct clicking sound and spring back up smoothly. If it is stuck in the raised position due to dried soap scum or food debris, the machine will think it is overflowing and refuse to fill.
Clean around the float shaft with warm water and vinegar. If it moves freely but still fails to fill, test the microswitch beneath the tub using your multimeter.
Access the switch from behind the kickplate. Disconnect the wires and test the terminals for continuity; the switch should show continuity when the float is down and open when the float is lifted.
     [Float Cup (inside tub)]
               |
         (Tub Floor)
               |
        [Actuator Stem]
               |
     [Microswitch (under tub)]  <=== Test with multimeter
2. Inspecting the Water Inlet Valve
The water inlet valve controls the flow of water into the tub. Over time, household water sediment can clog the fine mesh screen inside the valve inlet, or the internal solenoid can fail.
Locate the inlet valve behind the lower kickplate on the left side. Visually inspect the brass elbow fitting where your home water line connects.
Shut off the main water valve and disconnect the water line from the inlet valve. Peer inside the valve’s port to inspect the screen. If it is packed with rust or sediment, do not attempt to clean it, as you risk pushing debris into the valve seat, which can cause flooding. We suggest replacing the entire valve instead.
Testing the Inlet Valve Solenoid
Unplug the wire harness from the inlet valve solenoid terminals. Set your multimeter to Ohms.
Touch the probes to the valve terminals. A functioning Whirlpool inlet valve typically displays a resistance reading between 500 and 1,500 Ohms.
If your reading is outside this range, or if the meter shows no continuity at all, the solenoid is burnt out. Replace the valve to restore proper water flow to your appliance.
Phase 4: Checking the Optical Water Indicator (OWI)
Many modern Whirlpool dishwashers utilize an Optical Water Indicator (OWI) sensor. This sensor is located in the sump bowl under the filters and measures both water temperature and turbidity (cleanliness).
Cleaning the OWI Sensor
If the lens of the OWI sensor becomes coated with grease, calcium scale, or soap scum, it cannot accurately detect water levels. This confusion leads directly to the F8 E1 error code.
Locate the small, black plastic bulb protruding into the side of the sump basin beneath the filters. Dip an old toothbrush in warm water mixed with white vinegar or citric acid.
Gently scrub the black sensor lens to remove any film. Wipe the lens dry with a clean microfiber cloth and reassemble the filter system.
       SUMP BASIN (Top-down view)
      +-----------------------------+
      |  [Center Filter Area]       |
      |                             |
      |   (OWI Sensor Lens) <-------+--- Clean this black bulb
      |   [Black plastic dome]      |
      +-----------------------------+
Step-by-Step Diagnostic Checklist
Follow this systematic checklist to trace the error logically:
- Power Down: Disconnect the electrical plug and turn off the water supply.
- Clean Tub Filters: Remove and wash the cylindrical filter and flat mesh plate.
- Check Waste Connections: Verify the garbage disposal knockout plug is removed.
- Inspect Air Gap: Ensure your countertop air gap or high-drain loop is free of debris.
- Examine Drain Hose: Look for bends, pinches, or heavy grease blockages.
- Test Float Switch: Ensure the mechanical float moves freely and clicks.
- Inspect Inlet Screen: Check the water valve intake screen for rust or sediment.
- Test Components with Multimeter:
- Drain Pump Motor (Target: 15–30 Ohms)
- Inlet Valve Solenoid (Target: 500–1,500 Ohms)
- Float Microswitch (Target: Continuity when down, open when up)
- Clean OWI Sensor: Scrub the black sensor tip inside the sump area.
Preventative Maintenance to Keep the Code Away
Once you resolve the F8 E1 error, we suggest implementing a few maintenance habits to prevent its return. These steps protect the sensors and pump motors from premature wear.
Use High-Quality Detergent and Rinse Aid
Cheap powder detergents often do not dissolve completely, leaving a chalky residue on the OWI sensor and float assembly. We recommend using high-quality detergent tablets or liquid gel packs. Always keep your rinse aid dispenser full, as this helps sheet water off the internal components, preventing calcium buildup.
Run a Monthly Cleaning Cycle
Run an empty cleaning cycle once a month using a dedicated dishwasher cleaner or a bowl of white vinegar. Place a dishwasher-safe bowl filled with two cups of vinegar on the top rack and run a hot, heavy wash cycle. This dissolves grease deposits and hard water scale that block the drainage lines and coat the optical sensors.
Scrape, Don’t Pre-Rinse
While it sounds counterintuitive, you should scrape large food scraps off your plates but avoid pre-washing them completely clean. Modern dishwasher detergents need food proteins and starches to react with to work effectively. If there is no food present, the active chemicals create excess foam, which can trick the OWI sensor into registering a low-water or drainage fault.
Frequently Asked Questions
1. Can a low hot water temperature trigger the F8 E1 code?
Yes, indirectly. If your household hot water temperature is too low (below 120°F / 49°C), grease and fats from food will not dissolve properly during the cycle. This grease solidifies on the filters, the drain pump impeller, and the OWI sensor, eventually triggering a slow drain or water level fault. We suggest running the kitchen sink faucet until the water is hot before turning on your dishwasher.
2. My dishwasher drains, but then the error code reappears immediately. Why?
This usually points to a failing water inlet valve or a faulty OWI sensor. Even if the machine successfully drains all water at the start of a cycle, it will throw the F8 E1 code if the inlet valve fails to fill the tub with enough water within the specified time. Test your water inlet valve using a multimeter and check your home’s water pressure.
3. How do I clear and reset the control board after fixing the issue?
To reset the control board and clear the active F8 E1 code, you need to initiate the diagnostic service mode. Close the dishwasher door and press any three keys on the control panel in sequence (e.g., 1-2-3, 1-2-3, 1-2-3) with no more than one second between presses. All LED lights on the console will illuminate, signifying the diagnostic mode is active. Let the machine run through its short test cycle, or press the Start key to clear the memory and return to normal operation.
4. Is it safe to run my dishwasher while it has the F8 E1 code?
We do not recommend running the dishwasher when this code is present. If the issue is a slow drain, the machine could overflow and flood your kitchen floor. If the issue is a low fill, the wash pump and heating element can overheat due to a lack of water, causing permanent damage to expensive internal components.
5. Why does the drain pump continue to run even when the dishwasher is turned off?
If your drain pump runs continuously, even with the power button turned off, the flood safety system has been activated. This usually means water has leaked into the structural plastic drip pan beneath the dishwasher tub, activating a float switch down there. Disconnect the power, remove the kickplate, dry any standing water from the base tray, and inspect the water inlet valve or door seals for leaks.
Safety Precaution Notice
Before proceeding with any repair checklist: Always unplug the appliance from its electrical socket and turn off shutoff valves for incoming water (for washers and dishwashers). Discharge capacitors if working on motors.