Whirlpool Washing Machine F8 E1 Error Code: Step-by-Step Fix
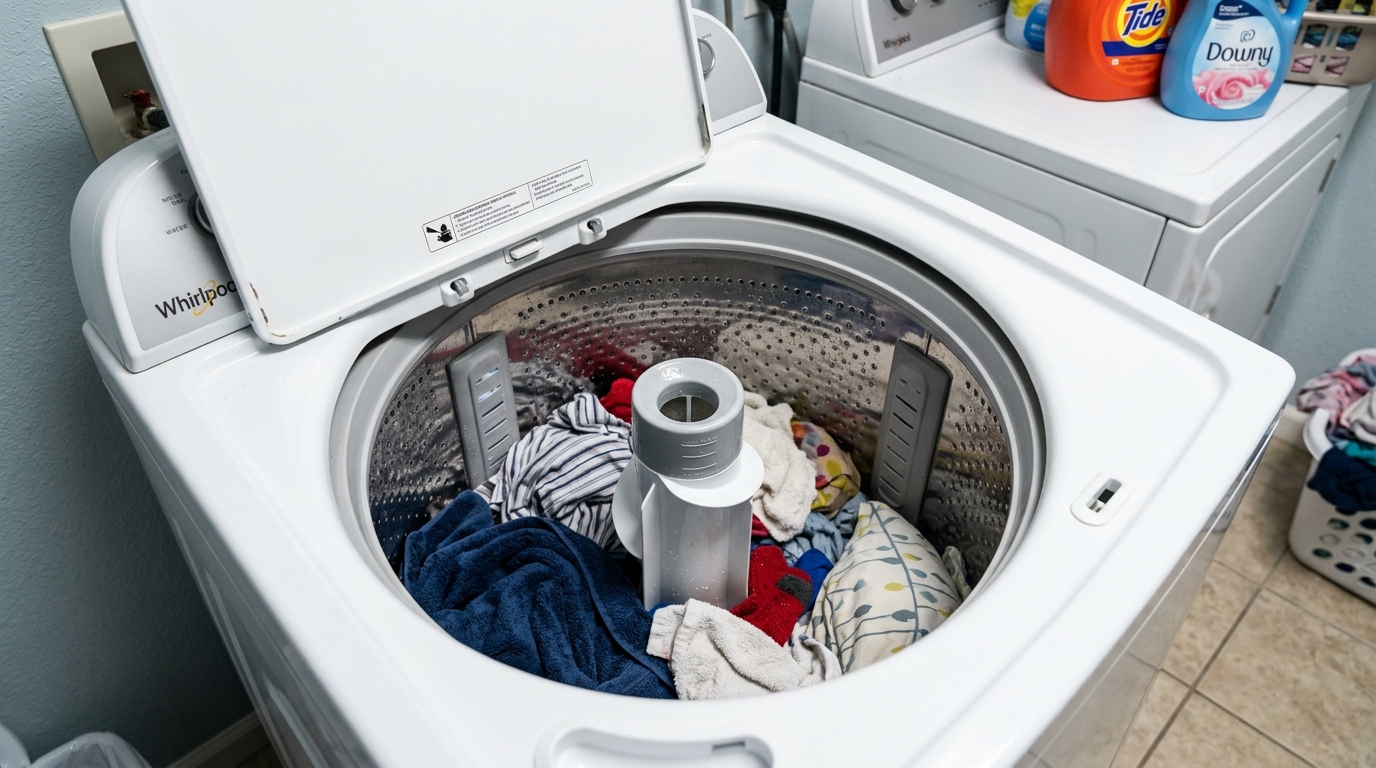
Required Tools for this Fix
- Pliers
- Bucket
Quick Summary Answer: The Whirlpool washing machine error code F8 E1 indicates a “Long Fill” or “Low Water Flow” condition, meaning the machine’s control board detects that water is entering the tub too slowly or not at all. The most common cause is a closed home water shutoff valve, a kinked supply hose, or clogged inlet valve mesh screens. You can usually fix it within ten minutes by opening both hot and cold supply valves fully, straightening the supply hoses, and cleaning the debris filters inside the water inlet connections.
Understanding the Whirlpool F8 E1 Error Code
Modern Whirlpool high-efficiency (HE) washers rely on precise timing algorithms to manage water consumption and protect drive components. When you select a cycle and press start, the central control board energizes the water inlet valve solenoids.
The machine expects the water level pressure transducer to register a specific rise in water volume within a factory-set timeframe, typically eight to thirteen minutes. If the water level does not reach the designated target threshold within that window, the wash cycle halts. The drain pump may run automatically to evacuate standing water, and the display flashes the alternating F8 and E1 fault codes.
On models without a digital readout, this fault often shows up as flashing “Fill” or “Wash” status LEDs combined with warning chimes. Regardless of how your specific model displays it, the message is identical: the machine is thirsty, and water delivery has fallen below minimum operational parameters.
WARNING: Electrical and Water Hazard
Always disconnect the washing machine from its electrical power outlet before removing access panels, inspecting internal wiring, or handling internal components. Turn off both the residential hot and cold water shutoff valves before unthreading fill hoses to prevent flooding and property damage. Work with dry hands and keep a towel and catch bucket nearby.
Quick Diagnostic Overview
Use this reference table to gauge the time, equipment, and expenses associated with each stage of the repair process:
| Diagnostic Step | Est. Time | Tools Needed | Est. Cost (DIY) |
|---|---|---|---|
| 1. Water Supply & Valve Check | 5 mins | None (Visual/Manual inspection) | $0 |
| 2. Hose & Screen Inspection | 10–15 mins | Channel-lock pliers, bucket, nylon brush | $0–$5 |
| 3. Anti-Siphon Standpipe Check | 5 mins | Tape measure, flashlight | $0–$10 |
| 4. Valve Solenoid Multimeter Test | 15–20 mins | Phillips screwdriver, 1/4” nut driver, Multimeter | $0 (if tool owned) |
| 5. Pressure Transducer Hose Check | 20–30 mins | 1/4” nut driver, putty knife, small pliers | $0–$15 |
| 6. Water Inlet Valve Replacement | 30–45 mins | 1/4” nut driver, pliers, replacement valve | $35–$85 |
The Primary Causes of the F8 E1 Code
Diagnosing this code requires understanding how water travels from your municipal pipe into the tub. Let us examine the components that most frequently fail or become obstructed.
[Home Supply Line]
       │
       ▼
[Dual Shutoff Valves] (Must be fully open)
       │
       ▼
[Inlet Hoses] (Check for kinks and tight bends)
       │
       ▼
[Sediment Filter Screens] (Located at washer inlet connections)
       │
       ▼
[Electric Water Inlet Valve] (Tested via resistance/voltage)
       │
       ▼
[Washer Tub] ─── Air Pressure Line ───► [Pressure Transducer]
1. External Supply Restrictions
The washer requires both hot and cold supplies to operate correctly, even if you select a cold-only wash. Modern temperature control systems mix hot and cold supplies constantly to maintain precise wash temperatures. If your cold faucet is open but the hot valve is shut off, the unit will trigger an F8 E1 code during fill cycles.
2. Sediment Clogs in the Valve Screen
Every washer inlet valve features built-in fine mesh screens positioned inside the plastic threaded connections on the rear panel. These screens capture rust, calcium flakes, and plumbing debris before foreign material can foul the internal valve seals. Over time, particularly after city water main work or in homes with hard well water, these screens plug up completely.
3. Siphoning Through the Drain Standpipe
If your drain hose extends too far down the wall standpipe, or if the connection is sealed airtight with tape, a siphoning effect occurs. As incoming water fills the tub, the drain hose siphons it straight out into the home sewer system simultaneously. Because the tub never accumulates enough water to trigger the pressure sensor, the control board assumes incoming water flow is deficient.
4. Burned-Out Valve Solenoids
The water inlet valve uses electromagnetic coils (solenoids) to lift internal rubber diaphragms and let water pass. Over years of thermal cycling, these thin copper coils can short or open electrically. When the control board sends 120 volts AC to the coil, a dead solenoid simply remains shut.
5. Pressure Hose Disconnection or Pinching
The pressure switch does not measure water directly; it reads air pressure trapped inside a clear plastic hose running down to an air dome at the bottom of the outer wash tub. If this tube slips off, develops a pinhole, or pinches behind the cabinet, the control board receives no pressure feedback.
Step-by-Step Diagnostic and Testing Checklist
Follow this orderly sequence to locate the exact point of failure without spending money on parts you do not need.
[Start Diagnostics]
       │
       ▼
Are both faucets fully open? ─────► NO  ──► Open faucets fully.
       │ YES
       ▼
Are hoses kinked or twisted? ─────► YES ──► Untwist/replace hoses.
       │ NO
       ▼
Are inlet screens clogged?   ─────► YES ──► Clean mesh screens with brush.
       │ NO
       ▼
Drain hose siphoning water?  ─────► YES ──► Adjust hose depth to 4.5"-7".
       │ NO
       ▼
Solenoids fail multimeter?   ─────► YES ──► Replace water inlet valve assembly.
       │ NO
       ▼
Inspect pressure switch hose ─────► Clear blockages, re-seat securely.
Step 1: Verify Water Supply Lines and Home Pressure
Begin by pulling the washer away from the wall to access the laundry shutoff valves.
Make sure both the hot and cold valves are turned fully counterclockwise. Even a partially closed valve can throttle incoming flow below the gallon-per-minute threshold demanded by the control module.
Check for visible kinks or sharp bends in your fill hoses, particularly if your machine sits close to the wall. Reinforced rubber hoses can collapse internally without showing dramatic damage on the outside, so inspect them with water running.
Step 2: Clear Inlet Screens and Flush Lines
Turn off both wall valves and disconnect the washer power cord.
Place a catch bucket behind the machine and unthread the hot and cold fill hoses from the back of the washer. Point the disconnected hose ends directly into the bucket and open the wall valves one at a time. This test confirms that your household plumbing supplies strong, steady water pressure to the appliance.
Look inside the two plastic threaded inlets on the back of the washer where you just removed the hoses. You will see small plastic or wire mesh screens seated inside.
Extract these screens carefully using needle-nose pliers. Rinse away sediment under a kitchen faucet, scrub them clean using an old toothbrush, and reseat them firmly. Never run the washer without these screens installed, as loose sediment will permanently ruin the valve diaphragms.
Step 3: Check Standpipe Insertion Depth and Siphoning
Inspect where the ribbed gray drain hose enters the wall standpipe or laundry tub.
The drain hose must never drop more than 4.5 to 7 inches into the standpipe. If pushed down 12 to 18 inches, the tip submerges beneath the standing water trap, establishing an automatic siphon that pulls water out of the wash tub as fast as it enters.
Verify that there is a physical air gap between the drain hose and the inside of the standpipe. Never use duct tape or expanding foam to seal the drain hose into the pipe. The drain requires an open atmospheric gap to break siphon suction naturally.
CORRECT DRAIN SETUP                INCORRECT (SIPHON RISK)
───────────────────                ───────────────────────
   │          │                          │          │
   │  Air Gap │                          │  NO GAP! │ (Taped airtight)
   │  ▼    ▼  │                          │  [TAPE]  │
   │ ┌──────┐ │                          │ ┌──────┐ │
   │ │Drain │ │                          │ │Drain │ │
   │ │Hose  │ │                          │ │Hose  │ │
   │ │      │ │                          │ │      │ │
   │ │Max   │ │                          │ │Deep  │ │
   │ │4.5"-7" │                          │ │Drop  │ │
   │ └──────┘ │                          │ │(>12")│ │
   │          │                          │ └──────┘ │
   │          │                          │~~~~~~~~~~│ (Submerged in trap)
Step 4: Electrical Testing of the Water Inlet Valve
If your water supply is strong and the screens are clean, test the internal valve assembly using a digital multimeter.
Access the valve by removing either the top console (on top-load washers) or the rear upper service panel (on front-load washers). You will see wire harnesses plugged into the individual solenoids for hot, cold, and dispenser bypass channels.
- Disconnect the wire harness terminals from one solenoid coil at a time to prevent miswiring.
- Set your multimeter to measure resistance in Ohms ($\Omega$) on the lowest setting ($R \times 1$ or 2k scale).
- Touch your meter’s red and black probes to the two exposed flat metal terminals on the solenoid coil.
- Compare your reading against factory specifications: a functional Whirlpool solenoid coil typically reads between 800 and 1,200 Ohms (some newer low-voltage coils read between 500 and 900 Ohms).
- If your meter reads Open Loop (O.L.), infinite resistance, or zero Ohms, the coil is dead. You must replace the complete valve assembly.
Repeat this electrical test for every solenoid on the valve body. If even one coil fails the test, the entire valve cluster requires replacement.
Step 5: Pressure Switch and Air Dome Inspection
If the valve coils test fine and water pours in rapidly during cycles, the machine might simply fail to register the rising water.
Find the thin, flexible plastic hose connected to the pressure switch or electronic pressure transducer. On top-load units, this switch is usually mounted beneath the main top control console; on front loaders, it sits fastened along the upper cabinet frame.
Inspect the transparent tube along its entire run down to the wash tub. Look for:
- Splits, cracks, or punctures caused by rubbing against the spinning tub during high-speed extraction.
- Moisture, condensation, or liquid detergent build-up inside the tube.
- Loose friction fittings at the sensor nipple or the lower tub air trap.
Detach the hose from the switch end and blow through it gently. You should hear bubbling if water rests in the tub, and air should move without resistance. If you hit backpressure, clean out lint and hardened soap scum using warm water flushed through a syringe.
Step 6: Read Diagnostic Codes and Clear Memory
Whirlpool machines store faults in an internal memory bank that does not always reset automatically when you clear the physical problem.
To wipe the active fault code and verify operational status, put your machine into its built-in diagnostic test routine:
- Ensure the washer is plugged in, with all console LEDs turned off, and the door/lid closed.
- Turn the primary cycle selector knob counterclockwise at least one full turn to reset the encoder counter.
- Turn the knob clockwise three clicks, counterclockwise one click, and clockwise one click (Right-Right-Right-Left-Right sequence). Complete this pattern within six seconds.
- All console indicator lights will illuminate and blink if you entered the service mode correctly.
- Turn the selector knob until the display reads 02 or until the “Wash” light glows steady, then push Start to run the automated quick diagnostic service cycle.
- The washer will energize the cold valve, then the hot valve, and test the pressure sensor circuits step-by-step.
Step-by-Step Replacement: Water Inlet Valve
When testing confirms an open solenoid coil or internal mechanical failure, replacing the valve cluster is straightforward.
Required Tools and Components
- OEM Whirlpool Water Inlet Valve (match your model tag precisely)
- 1/4-inch nut driver or socket
- Phillips screwdriver
- Channel-lock pliers
- Small flathead screwdriver
Procedure for Top-Load Models
- Cut the Utilities: Unplug the washer electrical cord from the wall. Shut off both hot and cold faucets securely.
- Remove Hoses: Disconnect the water inlet hoses from the back of the washer using channel-lock pliers.
- Open Rear Access: Remove the two 1/4-inch hex screws securing the plastic valve guard or upper rear cover plate.
- Disconnect Wire Harnesses: Note the color locations of the wiring harnesses. Depress the plastic locking tabs and unplug the wiring connectors from each solenoid.
- Release Internal Tubing: Use pliers to slide back the spring clamp holding the internal rubber hose to the valve outlet spout. Twist the hose gently to break the factory seal and slip it off.
- Swap the Valve: Remove the mounting screw holding the valve body to the washer frame. Discard the old valve, place the new OEM assembly in position, and drive the mounting screw back in.
- Reattach Internal Plumbing: Slide the rubber hose fully onto the new valve spout and reposition the spring clamp past the barb.
- Reconnect Wiring: Snap every electrical plug back into its designated solenoid until the locking clip clicks shut.
- Final Assembly: Reinstall the metal or plastic rear cover panel. Thread the hot and cold water hoses onto the correct brass connections (Hot to H, Cold to C).
- Test for Leaks: Turn the water supply valves back on slowly. Inspect every hose connection for seeping water before sliding the appliance back into place.
TOP-LOAD VALVE ACCESS
┌───────────────────────────────────────┐
│              Console                  │
├───────────────────────────────────────┤
│                                       │
│    [Rear Panel Screws]                │
│            │                          │
│            ▼                          │
│    ┌───────────────┐                  │
│    │ Inlet Valve   │◄── Cold / Hot In │
│    │ Assembly      │                  │
│    └───────┬───────┘                  │
│            │ (Discharge Tube)         │
│            ▼                          │
│       [Tub Basin]                     │
│                                       │
└───────────────────────────────────────┘
How to Prevent Water Fill Errors
Proactive maintenance prevents low-flow errors and shields your home from water leaks.
1. Upgrade to Braided Stainless Steel Hoses
Replace standard black rubber hoses every five years. Braided stainless-steel exterior jacketing prevents internal line collapse and avoids the catastrophic hose bursts that flood laundry rooms. Look for hoses with large-diameter brass fittings to maintain optimal flow rates.
2. Flush Household Spigots Annually
Sediment settles inside standard laundry spigots over time, especially on hot water lines downstream from traditional tank water heaters. Once a year, shut off the faucets, disconnect the hoses, and purge a gallon of water directly into a bucket. This sweeps out heavy debris before it can travel downstream into your machine’s inlet screens.
3. Maintain Tub Cleanliness
Detergent overdosage creates thick soap scum along the lower tub floor. This residue enters the pressure chamber dome, hardens, and plugs the air transducer tube.
Run a dedicated cleaning cycle monthly using an oxygenated tub cleaning tablet and the hottest available water setting. Avoid overusing concentrated liquid fabric softeners, which leave behind animal fat binders that gum up pressure reading systems.
Frequently Asked Questions
Can a faulty drain pump trigger an F8 E1 code?
No, a faulty drain pump triggers drainage-specific errors such as F9 E1 or F2 E1. However, if the drain pump runs continuously due to a stuck board relay or siphon condition, it can prevent water from pooling in the tub. This dynamic mimics a slow-fill condition and triggers an F8 E1 error.
Does hard water cause this error to return repeatedly?
Yes, high concentrations of dissolved minerals like calcium and magnesium cause scale to build up on the inlet valve screens and the internal valve pins. If you live in an area with hard well water, install an inline sediment pre-filter between your spigots and washer hoses to capture minerals before they choke the washer.
How do I reset my Whirlpool washer after clearing an F8 E1 error?
Unplug the power cord from the electrical outlet for three complete minutes to drain residual energy from the control board’s capacitors. Plug the washer back in, open and close the lid or door six times within twelve seconds to reset the computer, and run a diagnostic check.
Why does my washer hum loudly when the F8 E1 code appears?
The buzzing or humming sound comes from the water inlet valve solenoids. When the control board energizes the coils, they create an electromagnetic field to pull the internal plungers open. If your home supply valves are closed, or if the inlet screens are plugged tight, the dry solenoids vibrate loudly without incoming water to cool and dampen them.
What home water pressure does a Whirlpool HE washer require?
Whirlpool washers need an incoming dynamic water pressure between 20 and 100 PSI (Pounds per Square Inch) to operate correctly. Pressures below 20 PSI cannot reliably collapse the internal rubber diaphragms inside modern pilot-operated valves. This low pressure leads to very slow fills, cycle aborts, and recurring F8 E1 codes.
Safety Precaution Notice
Before proceeding with any repair checklist: Always unplug the appliance from its electrical socket and turn off shutoff valves for incoming water (for washers and dishwashers). Discharge capacitors if working on motors.